I don't love fall.
Don't get me wrong, the fall that most people love are these cool crisp 60 degree days with the sun shining.
Pumpkin spice latte in hand, leaves falling at their feet.
I like those days.
The fall I don't love, is the reality of the weather in the Seattle area.
Rain, grey skies, and bone chilling cold.
But I do love Halloween.
Candy is a weakness of mine and the fact that people pass it out to you
FOR FREE makes it one of my favorite holidays.
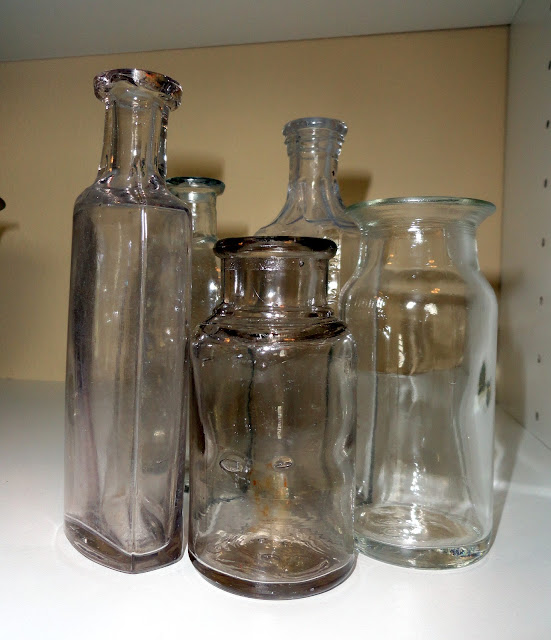
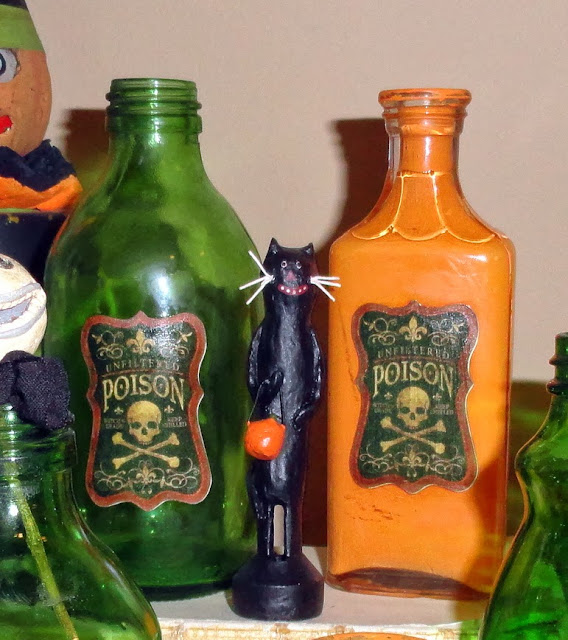
I thought I would add to my Halloween decor by making some mod podge poison bottles from bottles that I found this summer cheap at garage sales.
I wanted to color the jars, so I did some research on how to do that.
Some tutorials say that you can use regular paint and then bake it, but most follow ups say that doesn't work so well.
I decided to look for some glass paint at Hobby Lobby and guess what I found?
This transform Mason glass enamel.
It's specially made to dye Mason jars.
I thought it was the perfect thing to try!
The directions on the paint specifically say not to mix it with water.
Guess what the first thing was that I did?
I mixed it with water.
I filled the bottom inch up with my watered down paint mix, and then shook it up.
Then I turned the bottles upside down to dry.
I wasn't super impressed with how the paint dried.
It started to chip off, so I thought I would take a few of the jars and actually follow the paints directions.
In the picture below, the jar on the left is with the enamel paint mixed with water, and on the right is the enamel paint left thick from the jar as per the directions.
Once I read the directions again, they said that you have to let the paint dry 24 hours, which is probably why the paint was chipping and rubbing off.
Both techniques work, it's just a matter of preference.
After I finished painting the bottles, I found some graphics that I wanted to put on the bottles as labels.
Graphics Fairy came through on these vintage labels.
I saved them to my desktop, opened them in my Silhouette SD software and made them in to print and cut images. You can find a Silhouette print and cut tutorial here.
Once the images were cut, I simply mod podged them on to the jars.
I love how the jars turned out and they were so simple.
What's your favorite way to decorate for Halloween?


No comments
Post a Comment