


Using Duck Tape on your Fingernails
I can take zero credit for this idea.
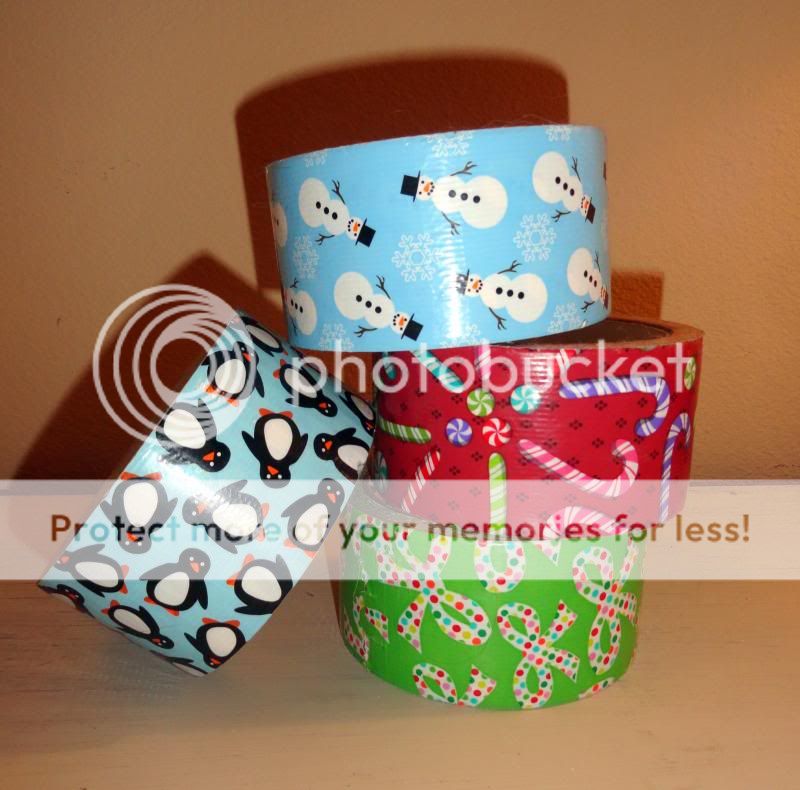
My tween daughter is obsessed with nail art and Duck Tape and from the moment I got this fun package of Duck Brand ® holiday tape, my daughter has been creating.
She included me in a project and I loved the idea so much I wanted to share it with you!
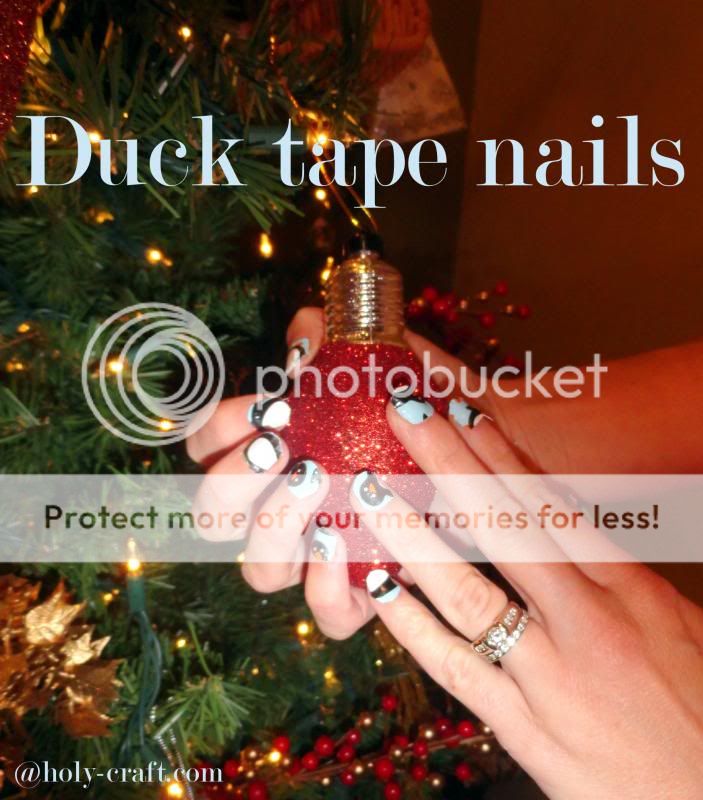
Isabella created Duck Tape® nail art using Duck Brand holiday prints.
Aren't they fun?!
It's the perfect way to jazz up your nails for your upcoming holiday party or just for fun.
It's the perfect way to jazz up your nails for your upcoming holiday party or just for fun.
{and it provided some awesome mother daughter bonding time in the process!}
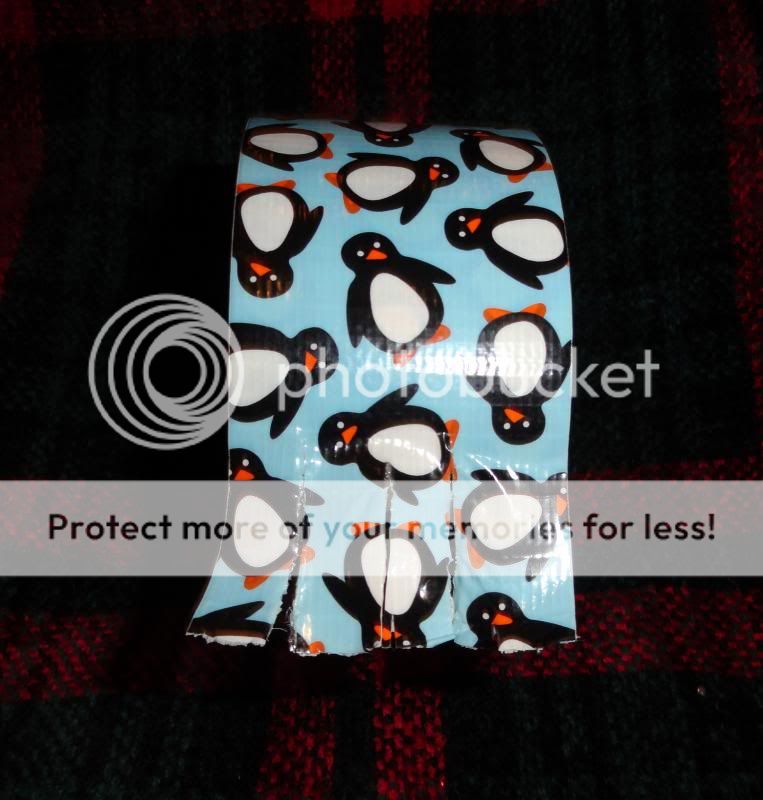
We tried all the different tape holiday prints {aren't they fun?!} but we both loved the penguin design so much that we wanted to showcase it for you today in our tutorial.
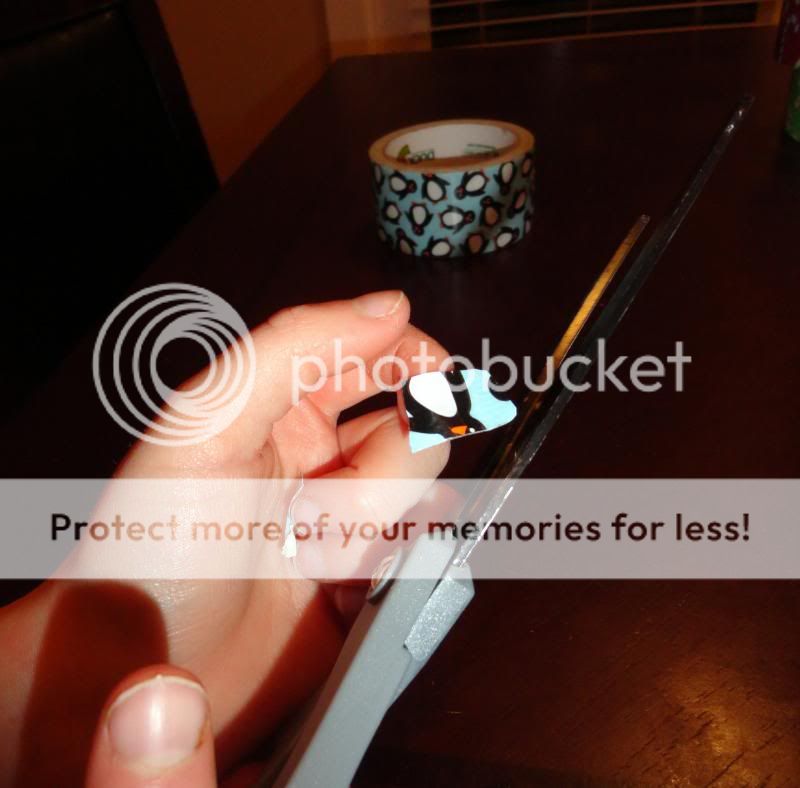
Start by cutting strips in your Duck Tape®
Various sizes work for your various sized nails.
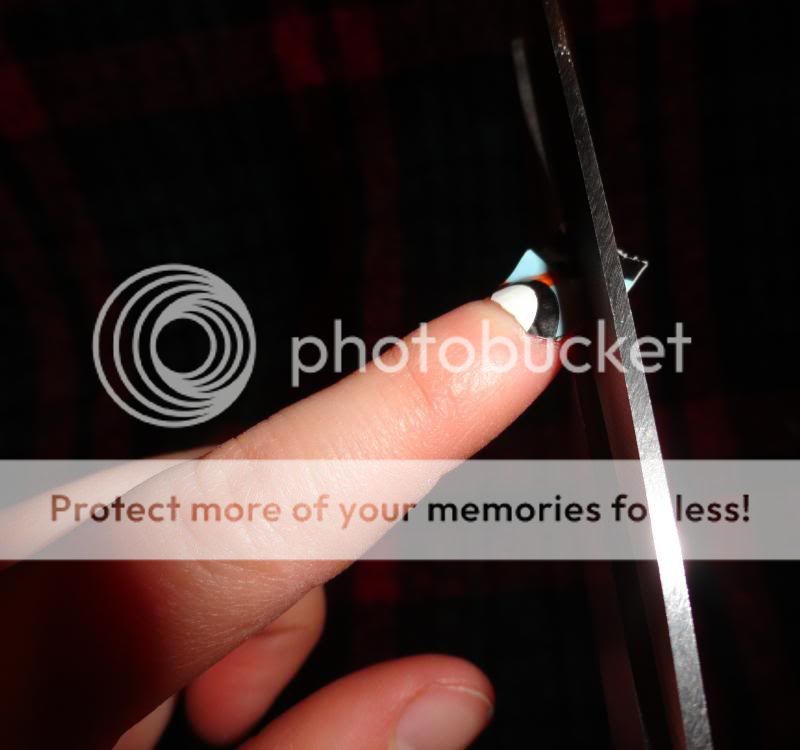
Place the cut tape on your nail and trim the cut piece as needed to fit.

Round the edges of your tape
Press the cut tape on your nail {rounded side down towards your nail bed}
and trim the excess from the top.
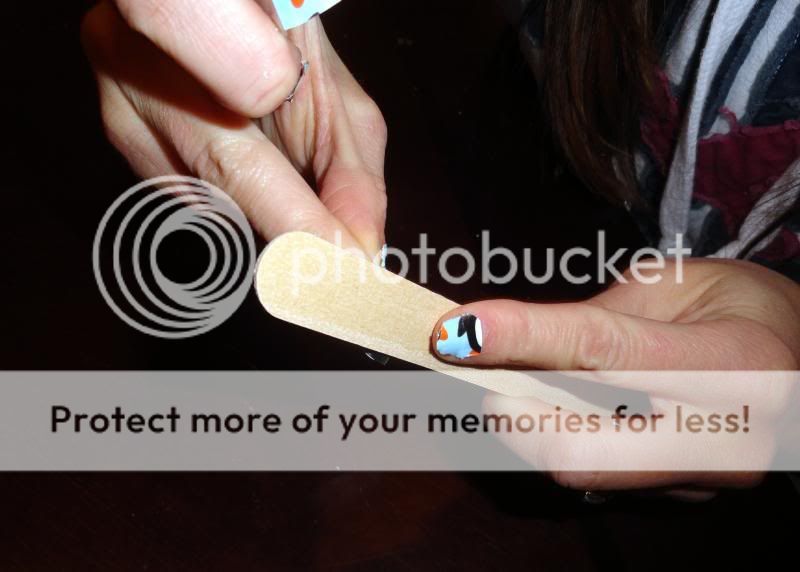
File the top edges to make a smooth edge and to remove the remaining tape from the top.
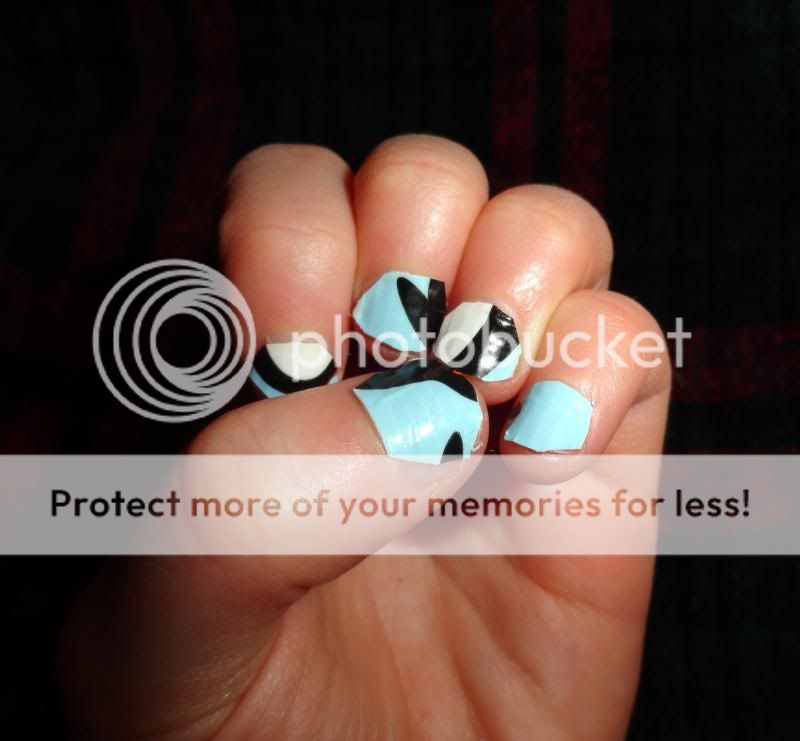
These are my daughter's nails
{she did them herself!}
and mine
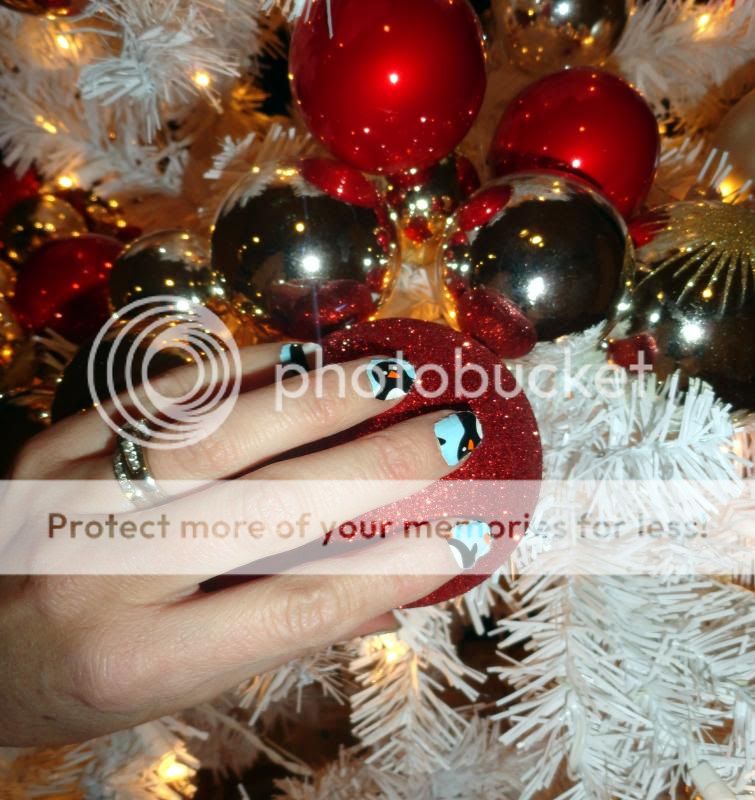
I wore them for several hours, and even after washing my hands, they held up well!
There are so many awesome possbilities for Duck Brand® holiday designs.
From wrapping packages to making holiday projects, or for stuffing in stockings, believe me, your creative kids {young and old} will find 101 different ways to use Duck Brand® tape!
There are so many different fun prints and patterns so that you can Duck the Halls!
Share your projects with the #DuckTheHalls hashtag
Duck Brand® is on Twitter @TheDuckBrand
Follow them for tons of creative inspiration!

No comments
Post a Comment