
Making your own sharpie mugs isn't a new thing.
I'm sure you have seen them all over the interwebs.
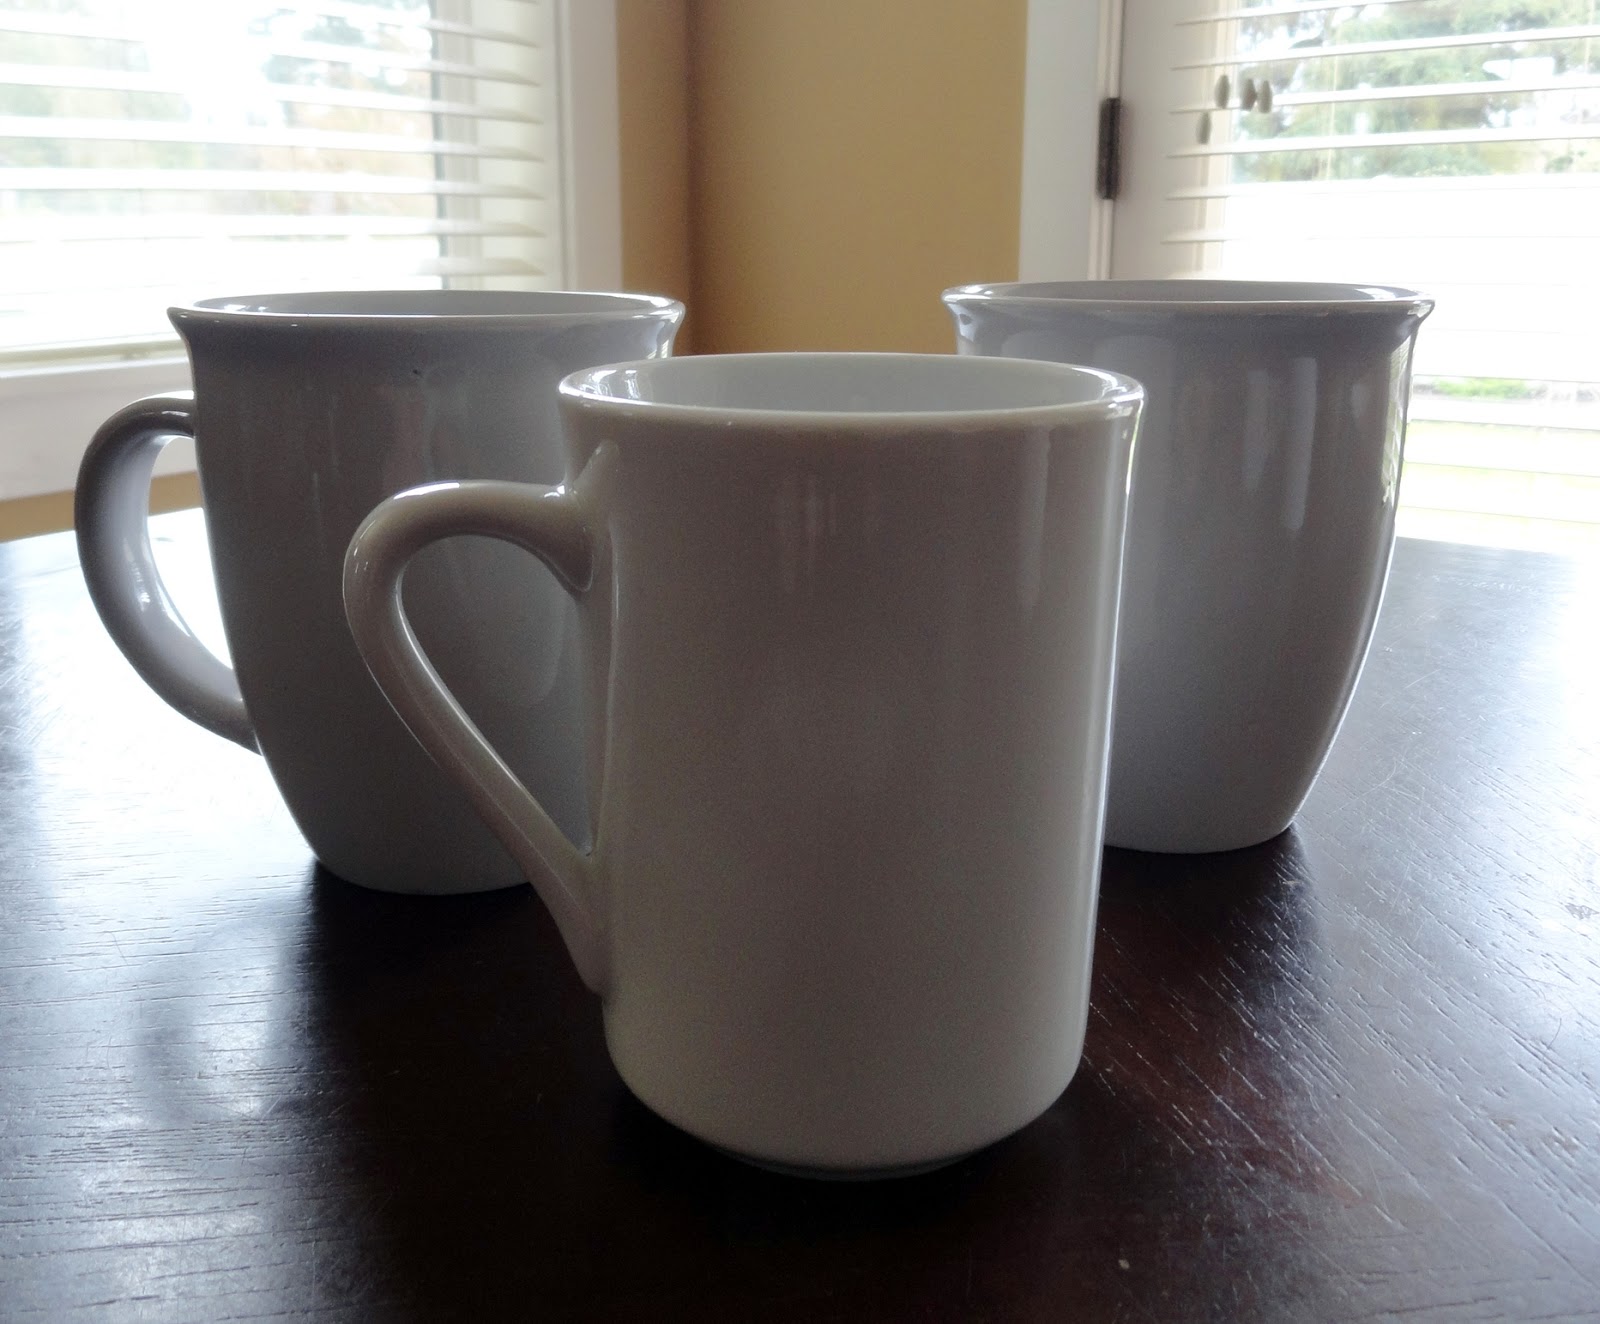
When I found some plain mugs for a quarter a piece,
I thought that the time was right to give it a try.
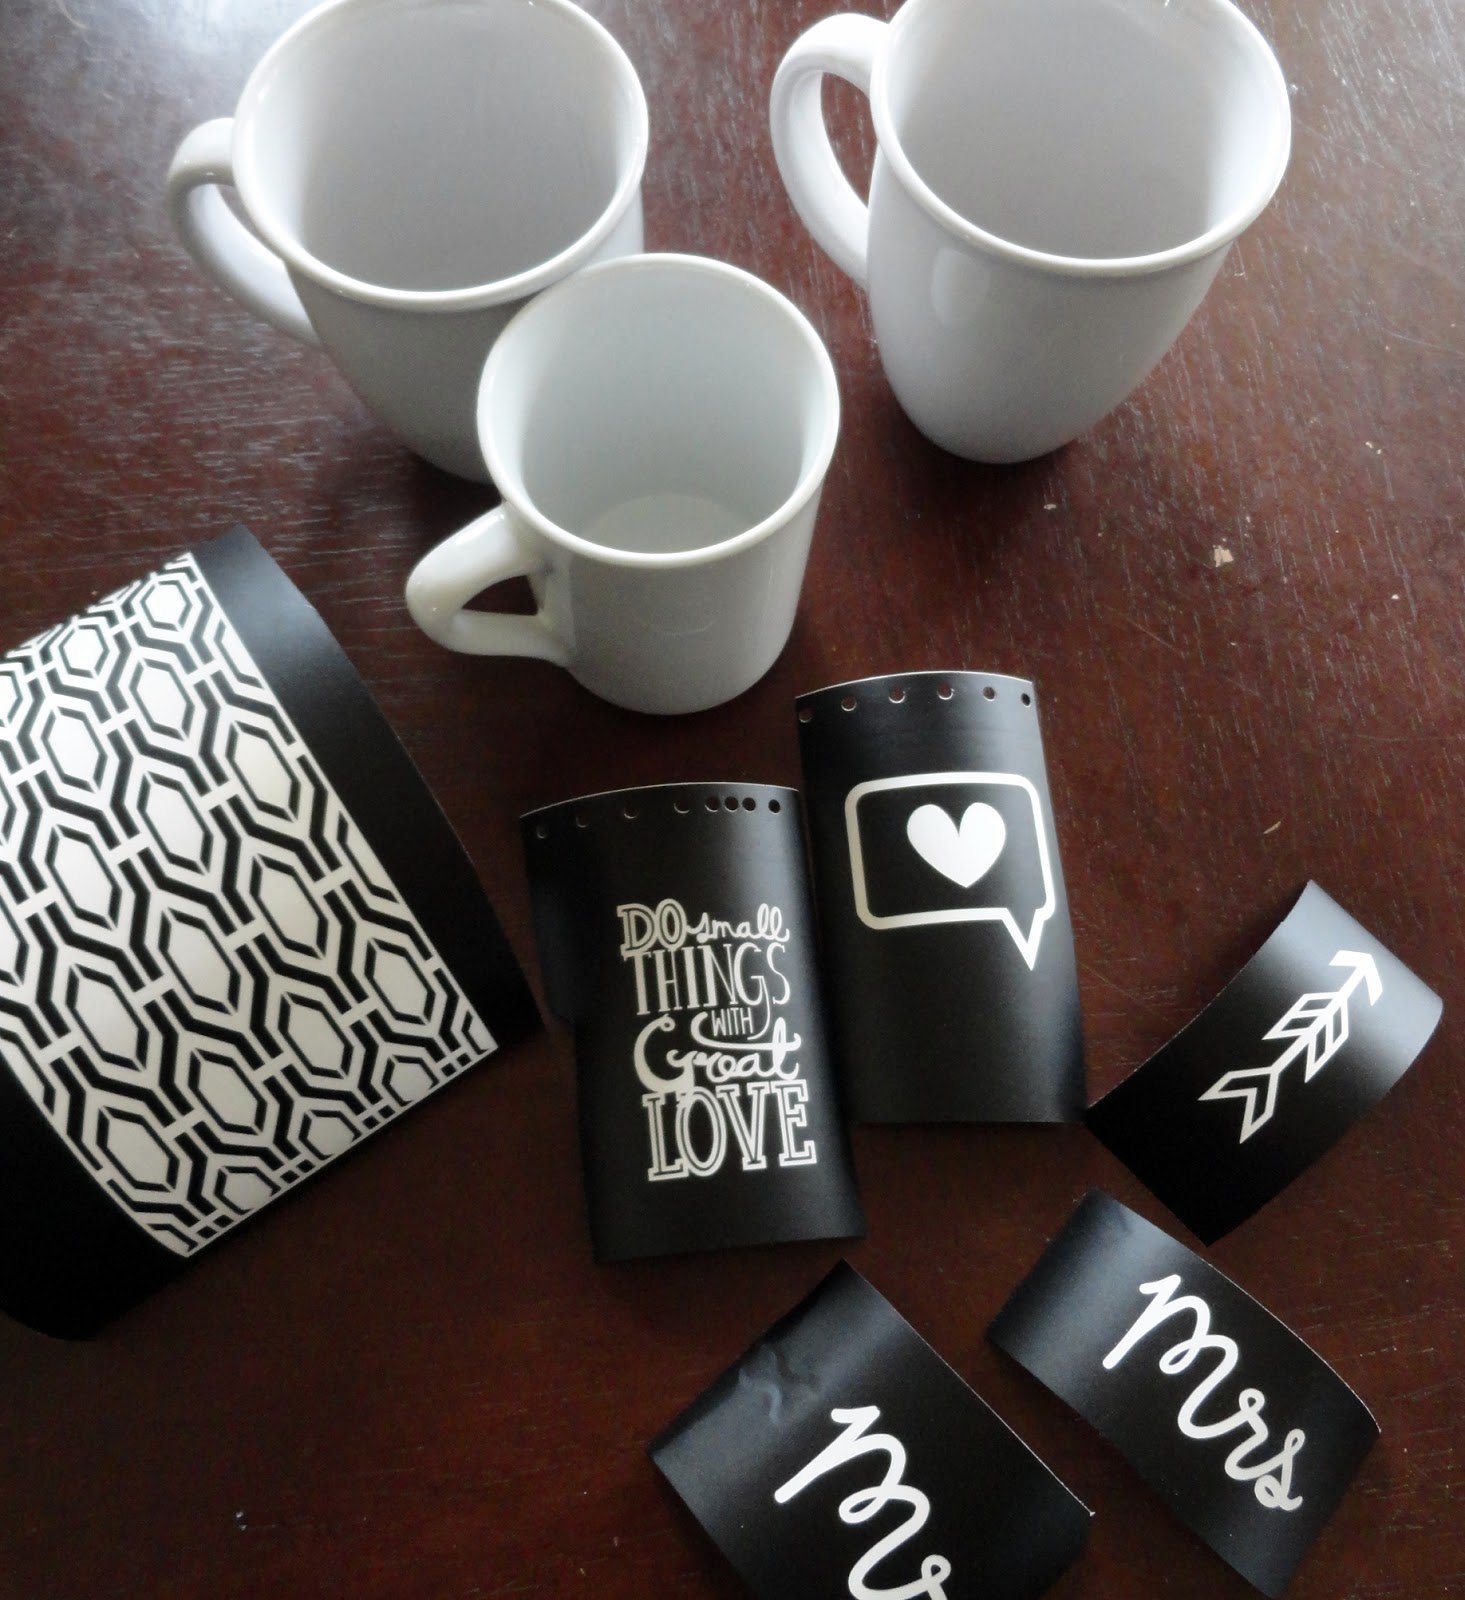
I started by creating some shapes in my Silhouette software.
Some worked better than others.
Pretty much, the simpler the better.
You will take the negative space from your image and weed out the positive space
{or is it the other way around???}
Whatever.
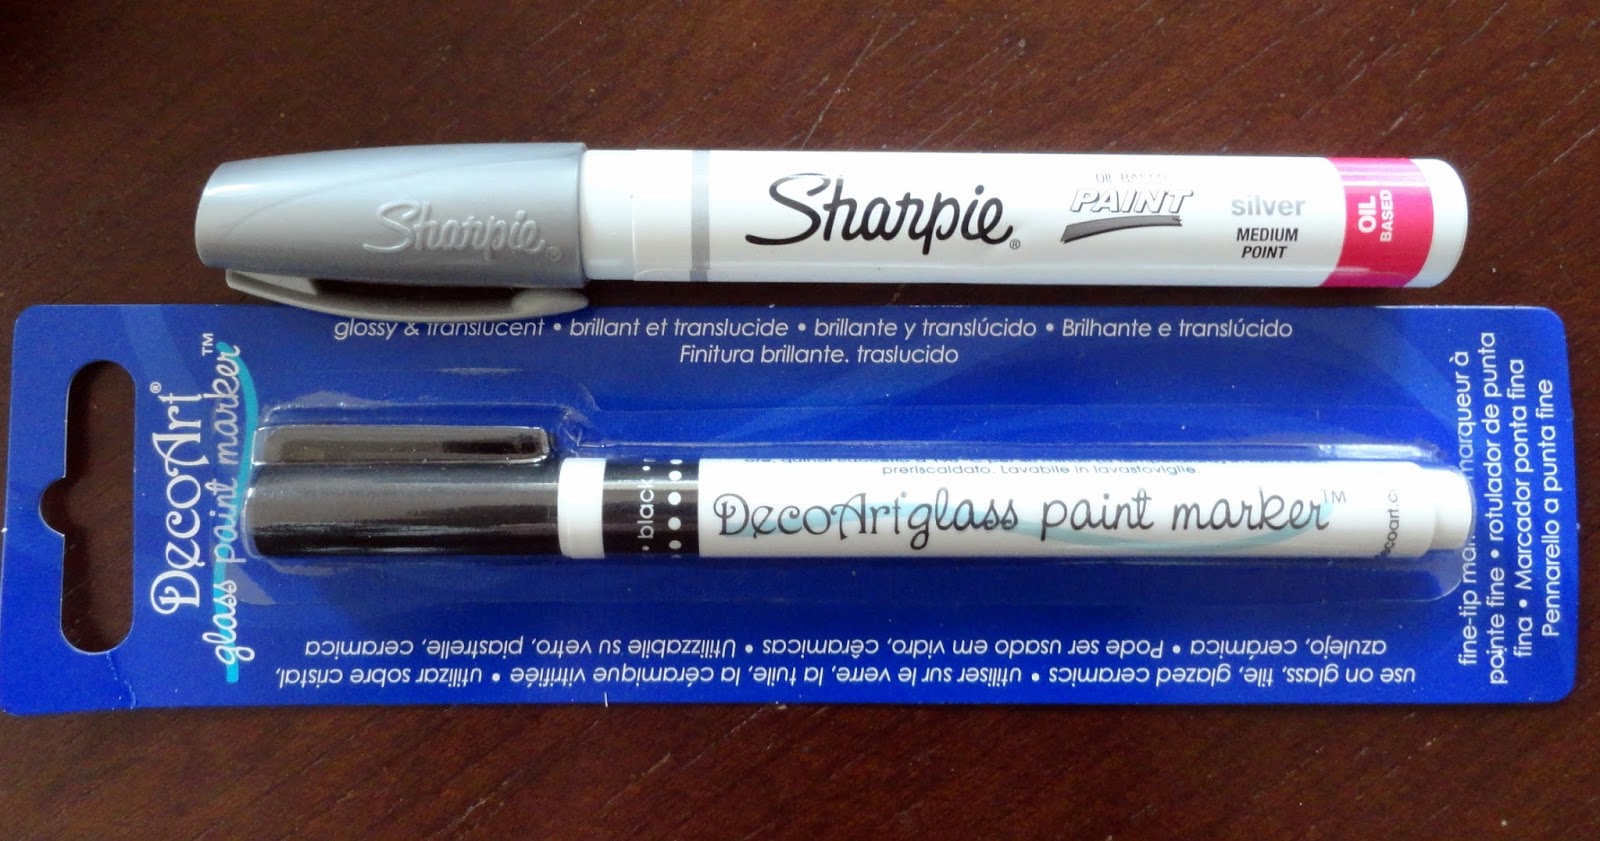
The key to making a sharpie mug that will hold up to washing is to get an oil based paint marker.
Sharpie makes them and so does Deco Art.
I used both.
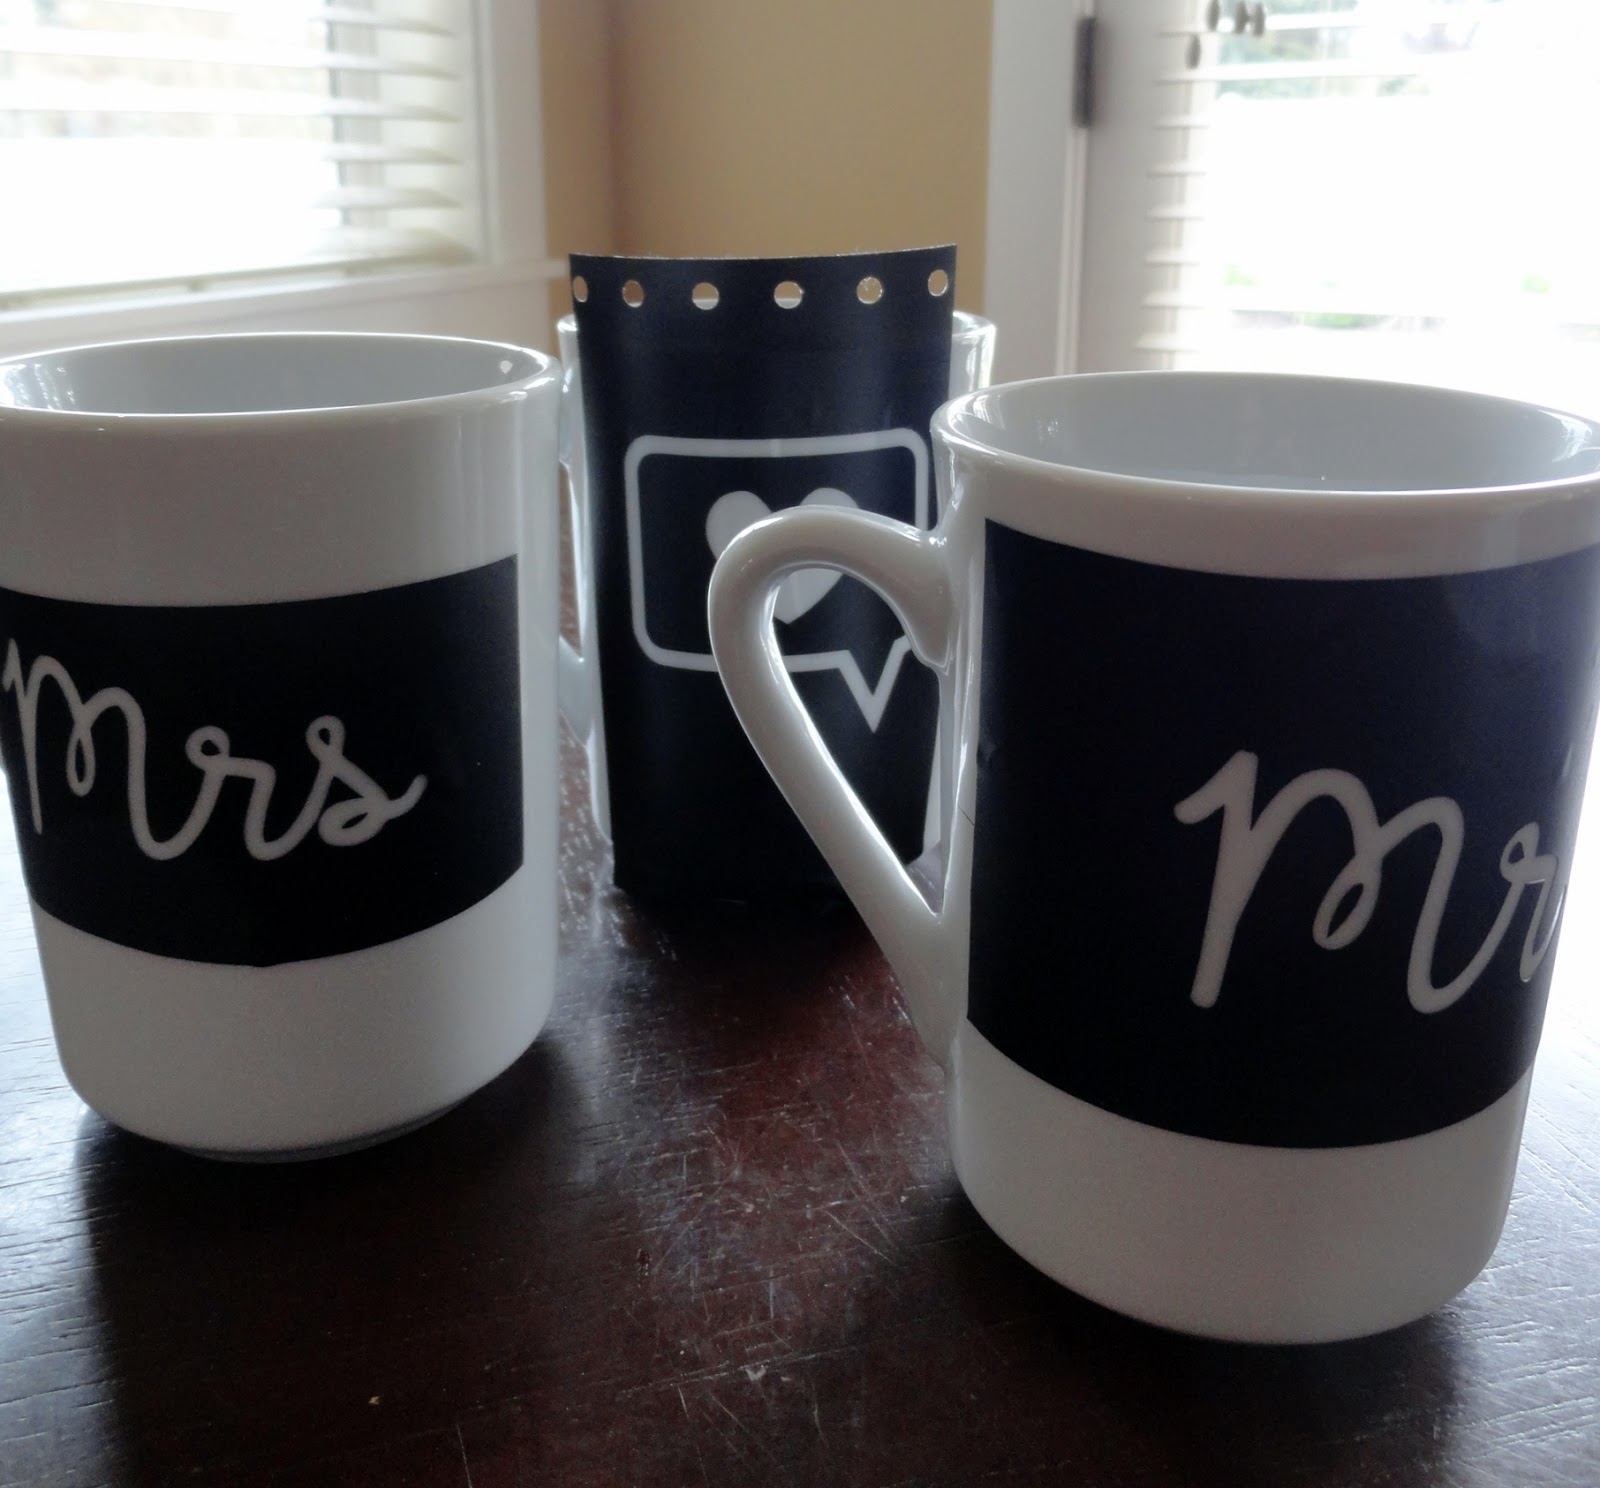
Peel off your vinyl image and stick it to your mug.
This is the tricky part.
I had a hard time getting the images placed straight.
Again, the simpler the image, the better.
It's nice to leave a pretty large border around your image so that you can scribble outside of the lines.
Use your sharpie and color in your image.
Some images will take a coat or two to cover.
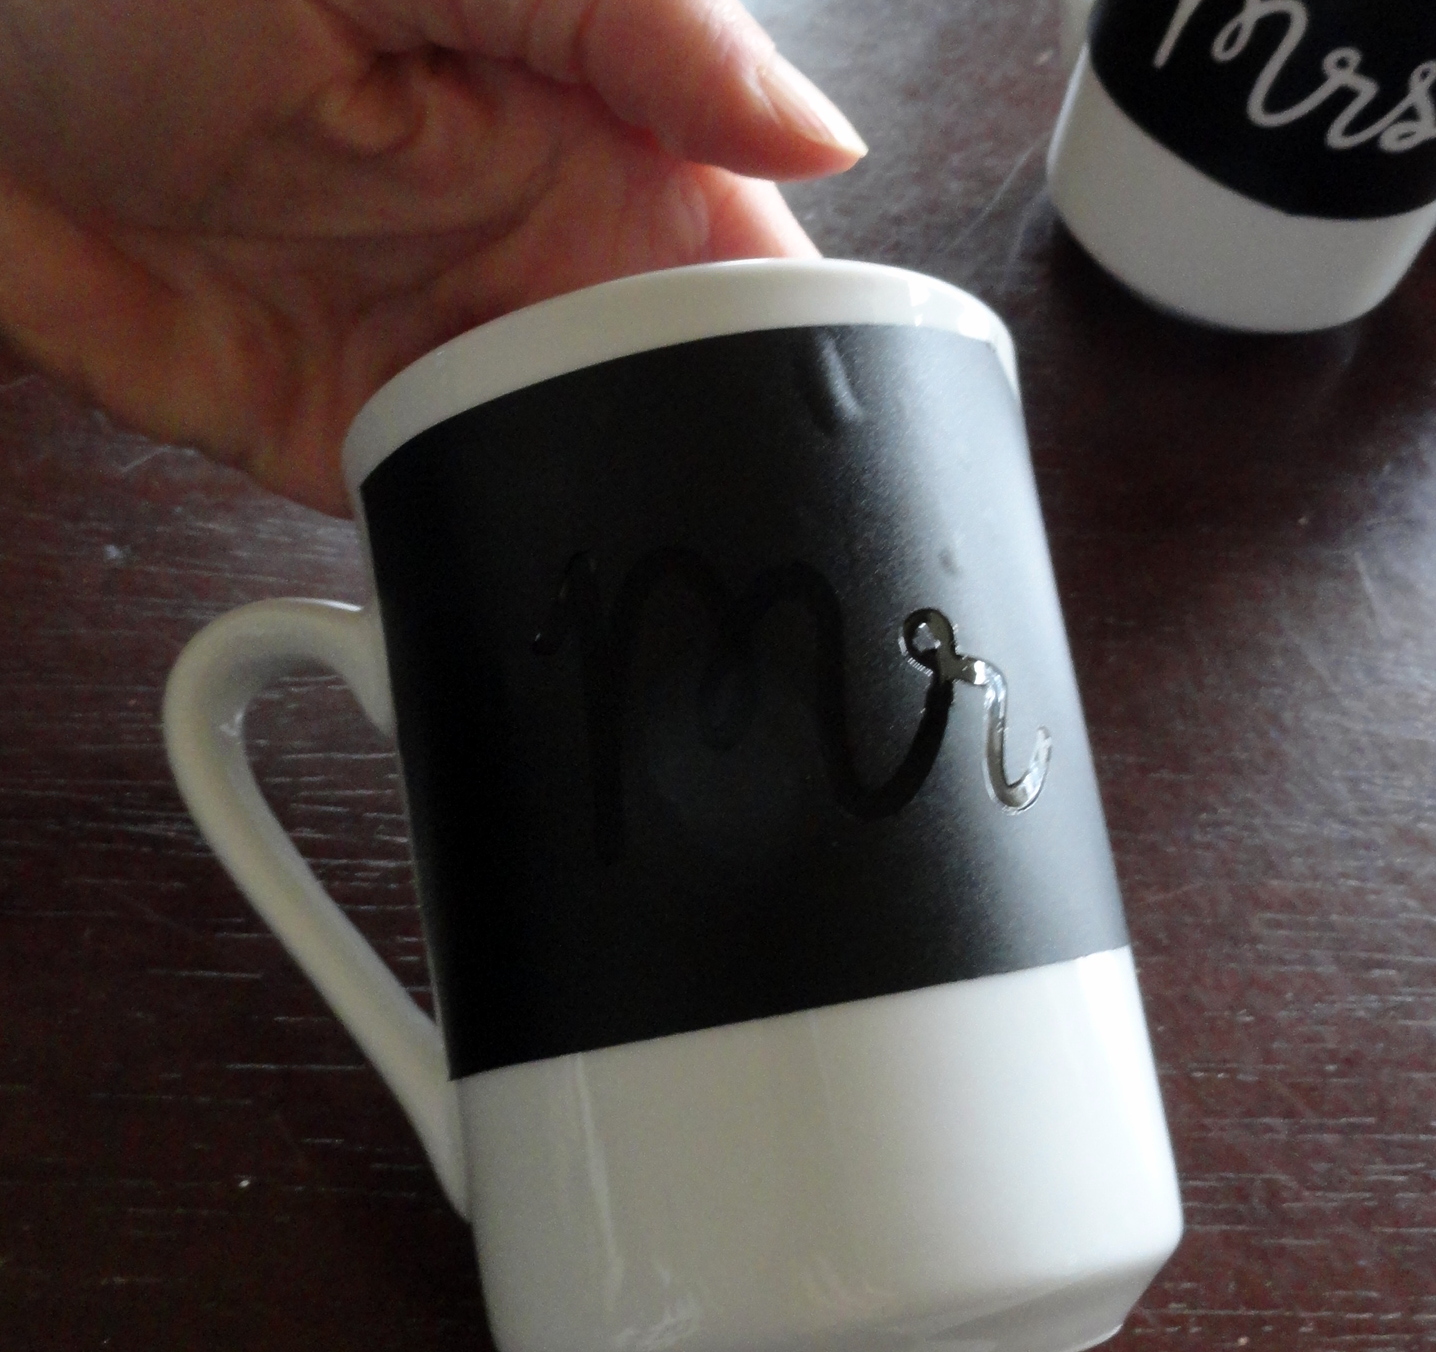
Once your mug is dry, peel off your vinyl.
Occasionally you will find some marker bleed.
This is a great time to use your fingernail and scratch off some of those oops marks on your mug.
You may also need to touch up parts of your mug that come off when the vinyl is removed.
Let your mugs dry for 8 hours.
After they have dried, place them in your oven on 350 degrees for 40 minutes.
This step is super important to make your marker permanent and hold up to dishwasher washing.
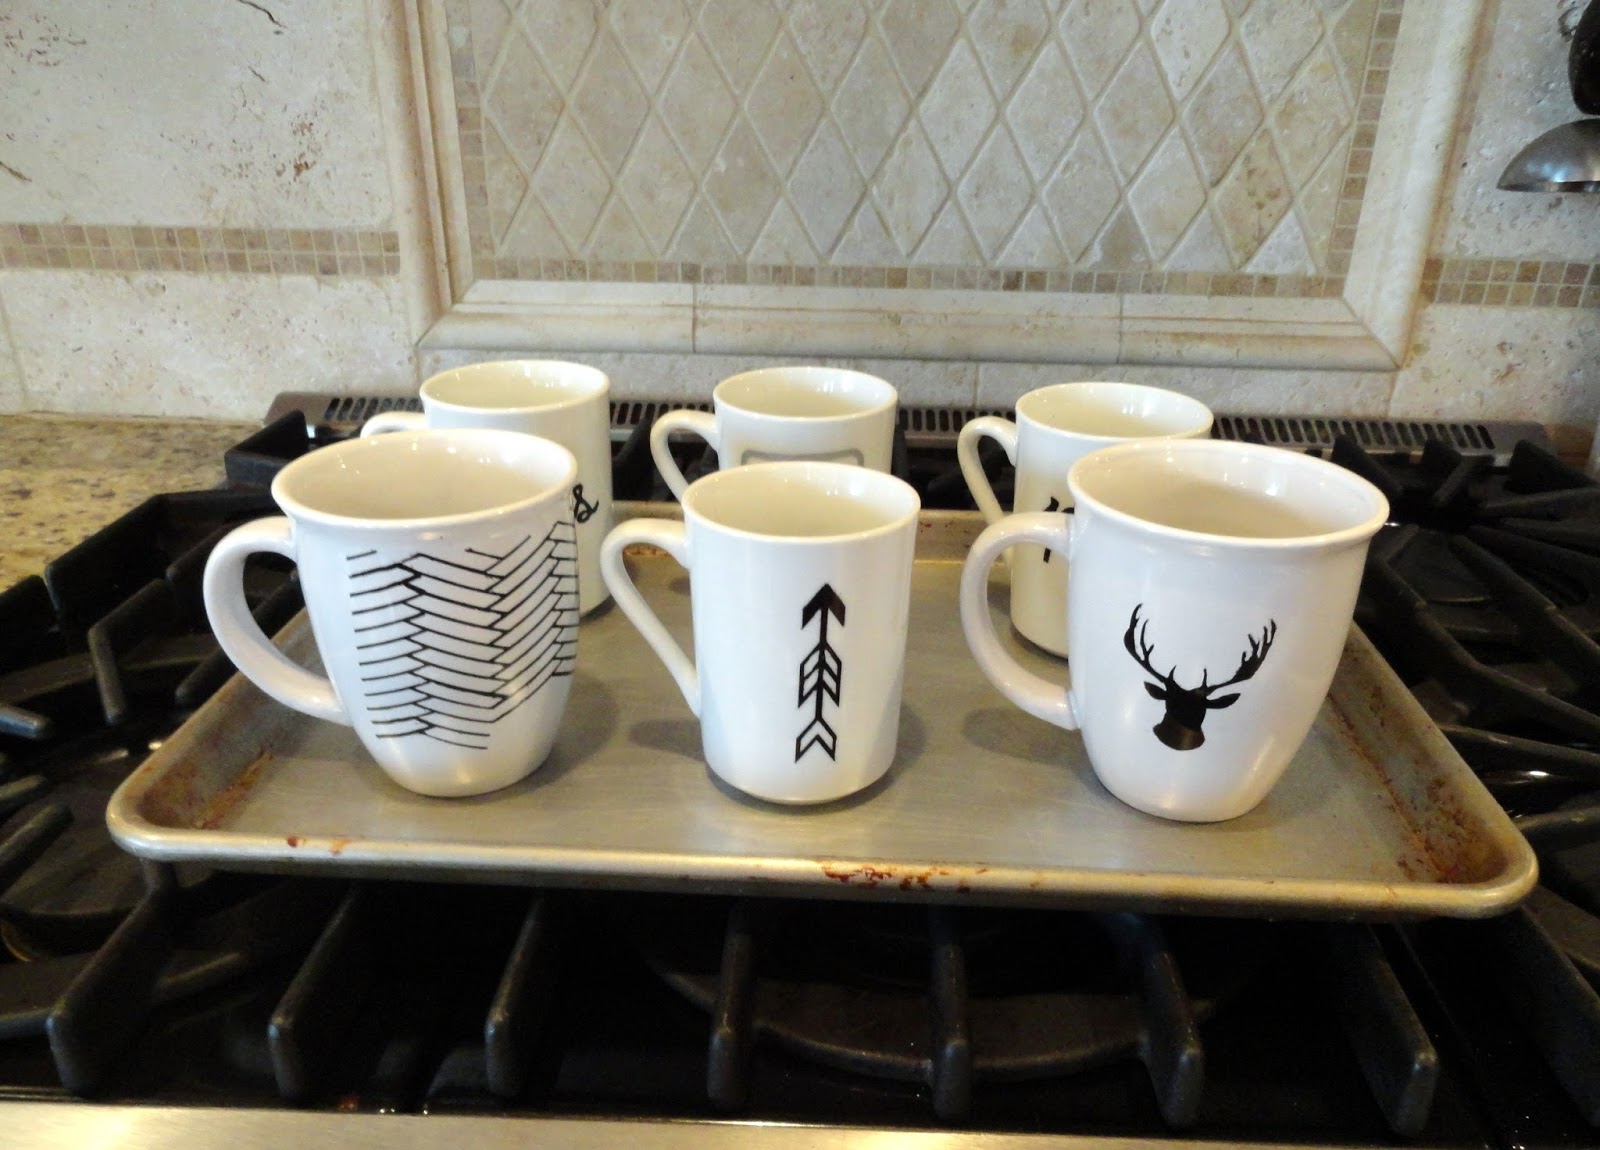
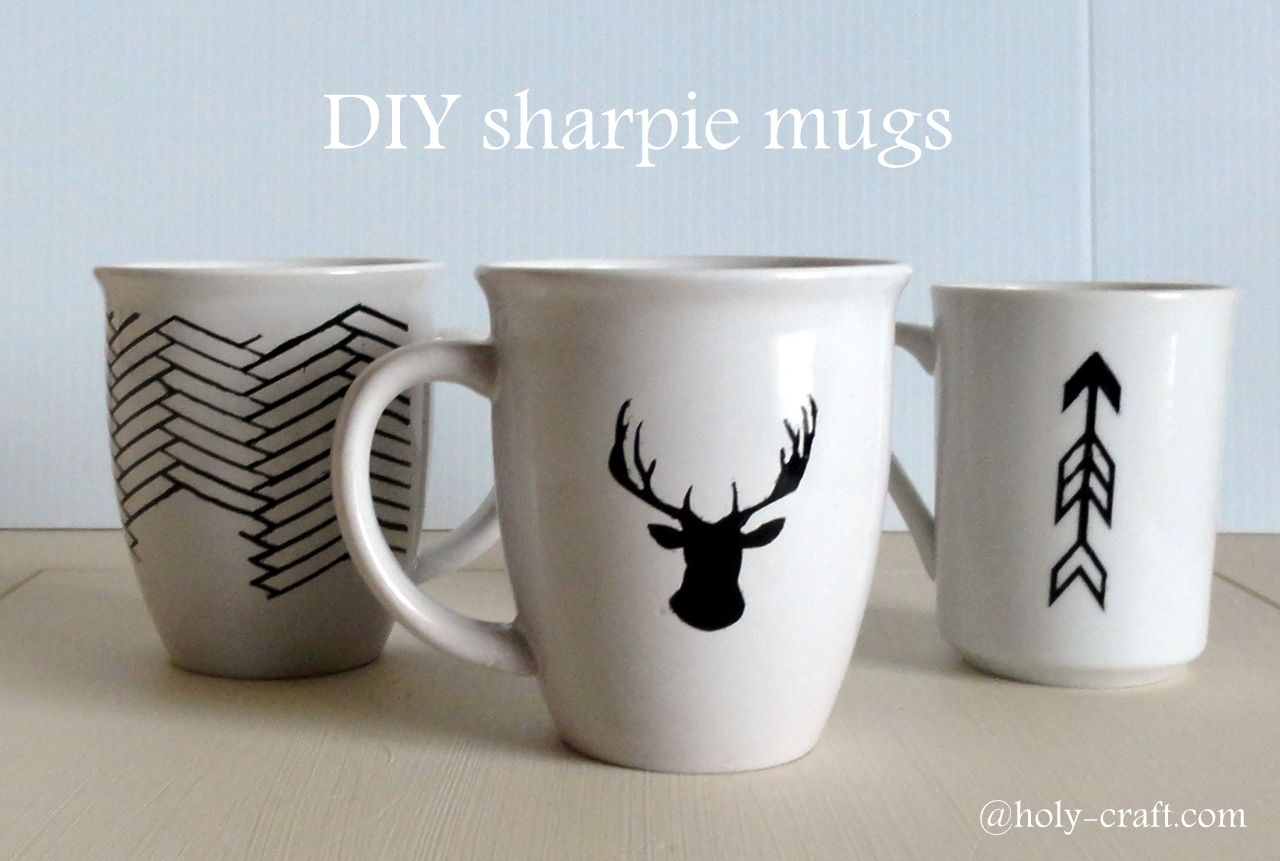
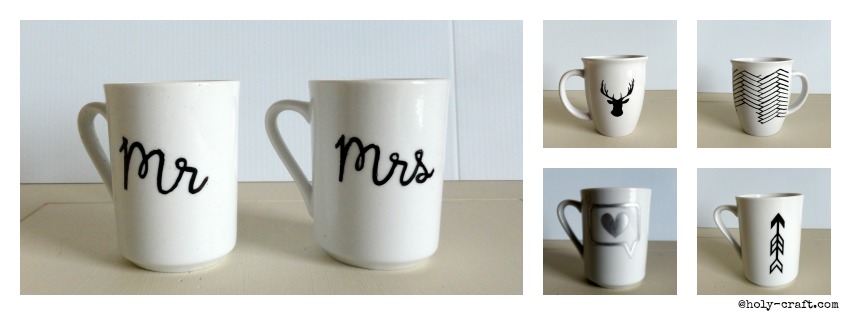
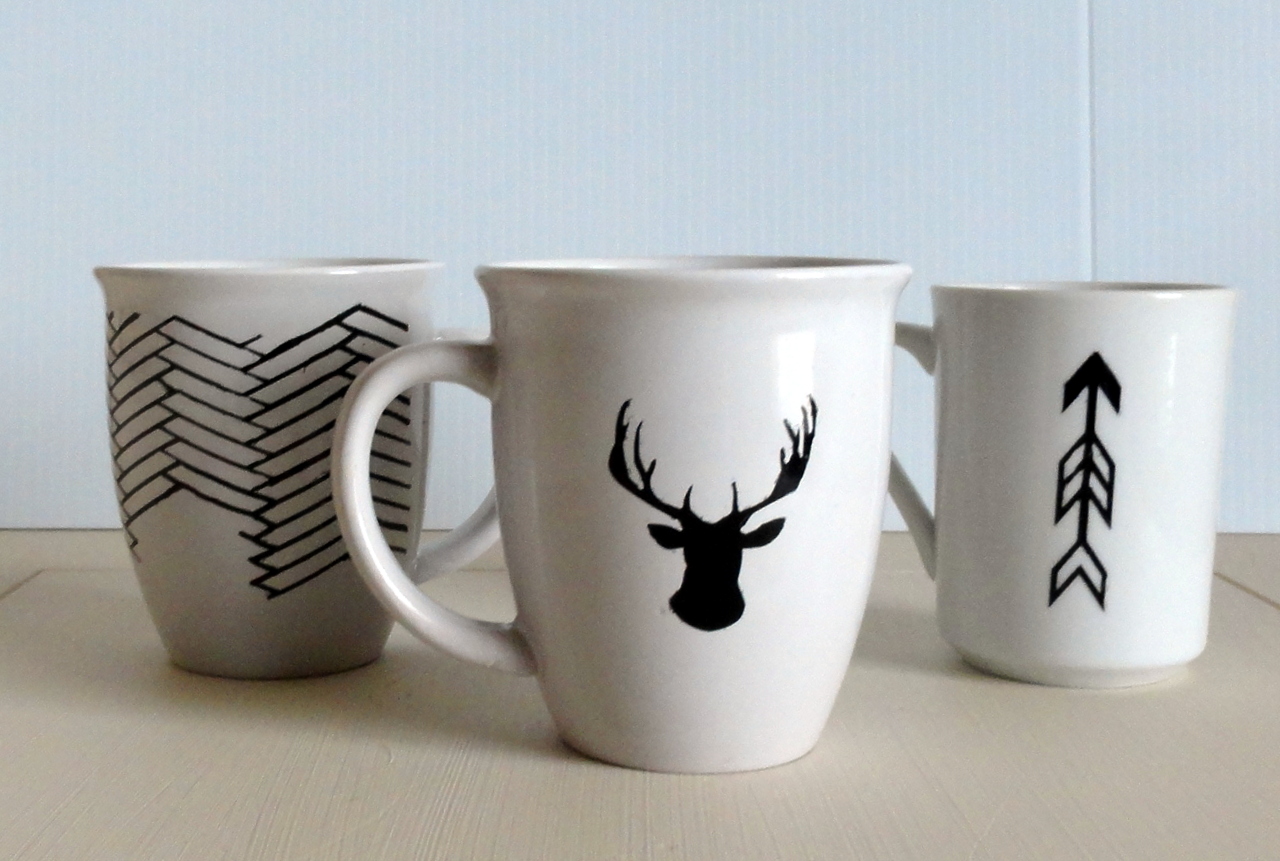
I'm pleased with the results!
I took a boring twenty five cent mug into something that looks awesome and is full of personality.
I took a boring twenty five cent mug into something that looks awesome and is full of personality.


4 comments:
Love this project! I made some recently and just used a regular Sharpie. Much to my dismay,it didn't last. I did not know that Sharpie made a marker like the one you featured. I wound up buying a Pebeo porcelain marker off of Amazon. That worked, but it could use a little touch up this point. Also, I didn't like how liquid-y the ink in the Pebeo was it would run very easily if I wasn't careful and I needed to be pretty quick with a tissue once or twice. Do either of those two markers that you featured run?
Those are neat stencils. I haven't seen those before. I had to make my own. It wasn't easy getting something printed on paper to lay right.
I made the stencils with vinyl on my silhouette. They worked great. The pens did run a little but weren't super runny. I would put the mug on their side to dry and only do a light layer at a time. These have 3-4 layers on them.
Thanks for sharing your experience!
Sent from my iPhone, but it could
I haven't tried this yet either but love how you did yours and used the vinyl stencils.
They look amazing! What a brilliant idea.
Best wishes,
Natasha in Oz
Post a Comment