


Our winter this year has been extremely mild. I'm not complaining because we have seen far more sun in our normally dark dreary rainy season than we normally do.
I'm pretty sure all this sun is to blame for my latest gardening itch. Though I'm in no hurry to weed my gardens outside so I'm just going to pretend that it's still too cold to do that and stick to my indoor plants {indoor plants beware! I am sort of a black thumb! You can read my confession about killing cacti here}.
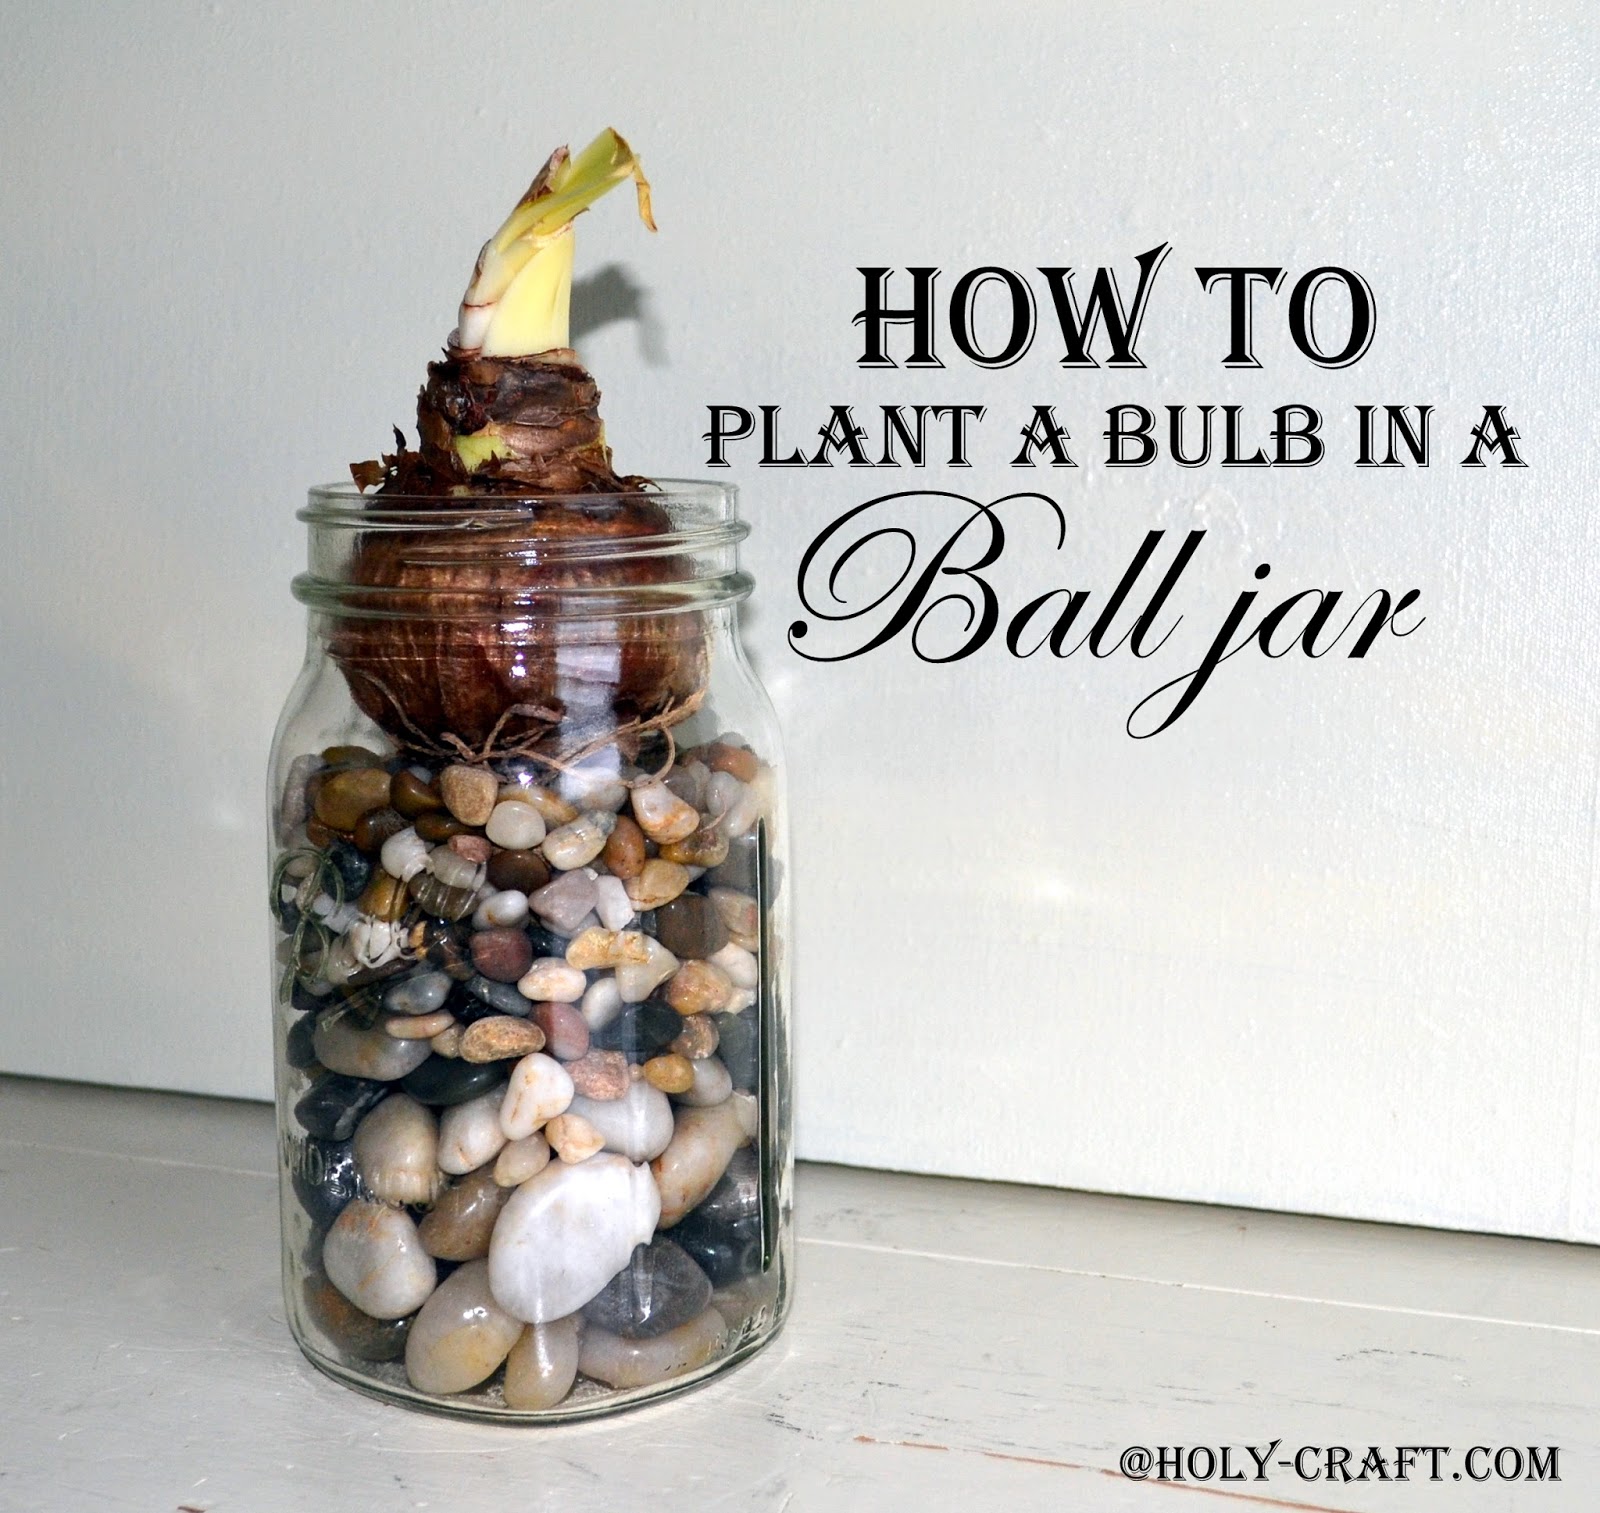
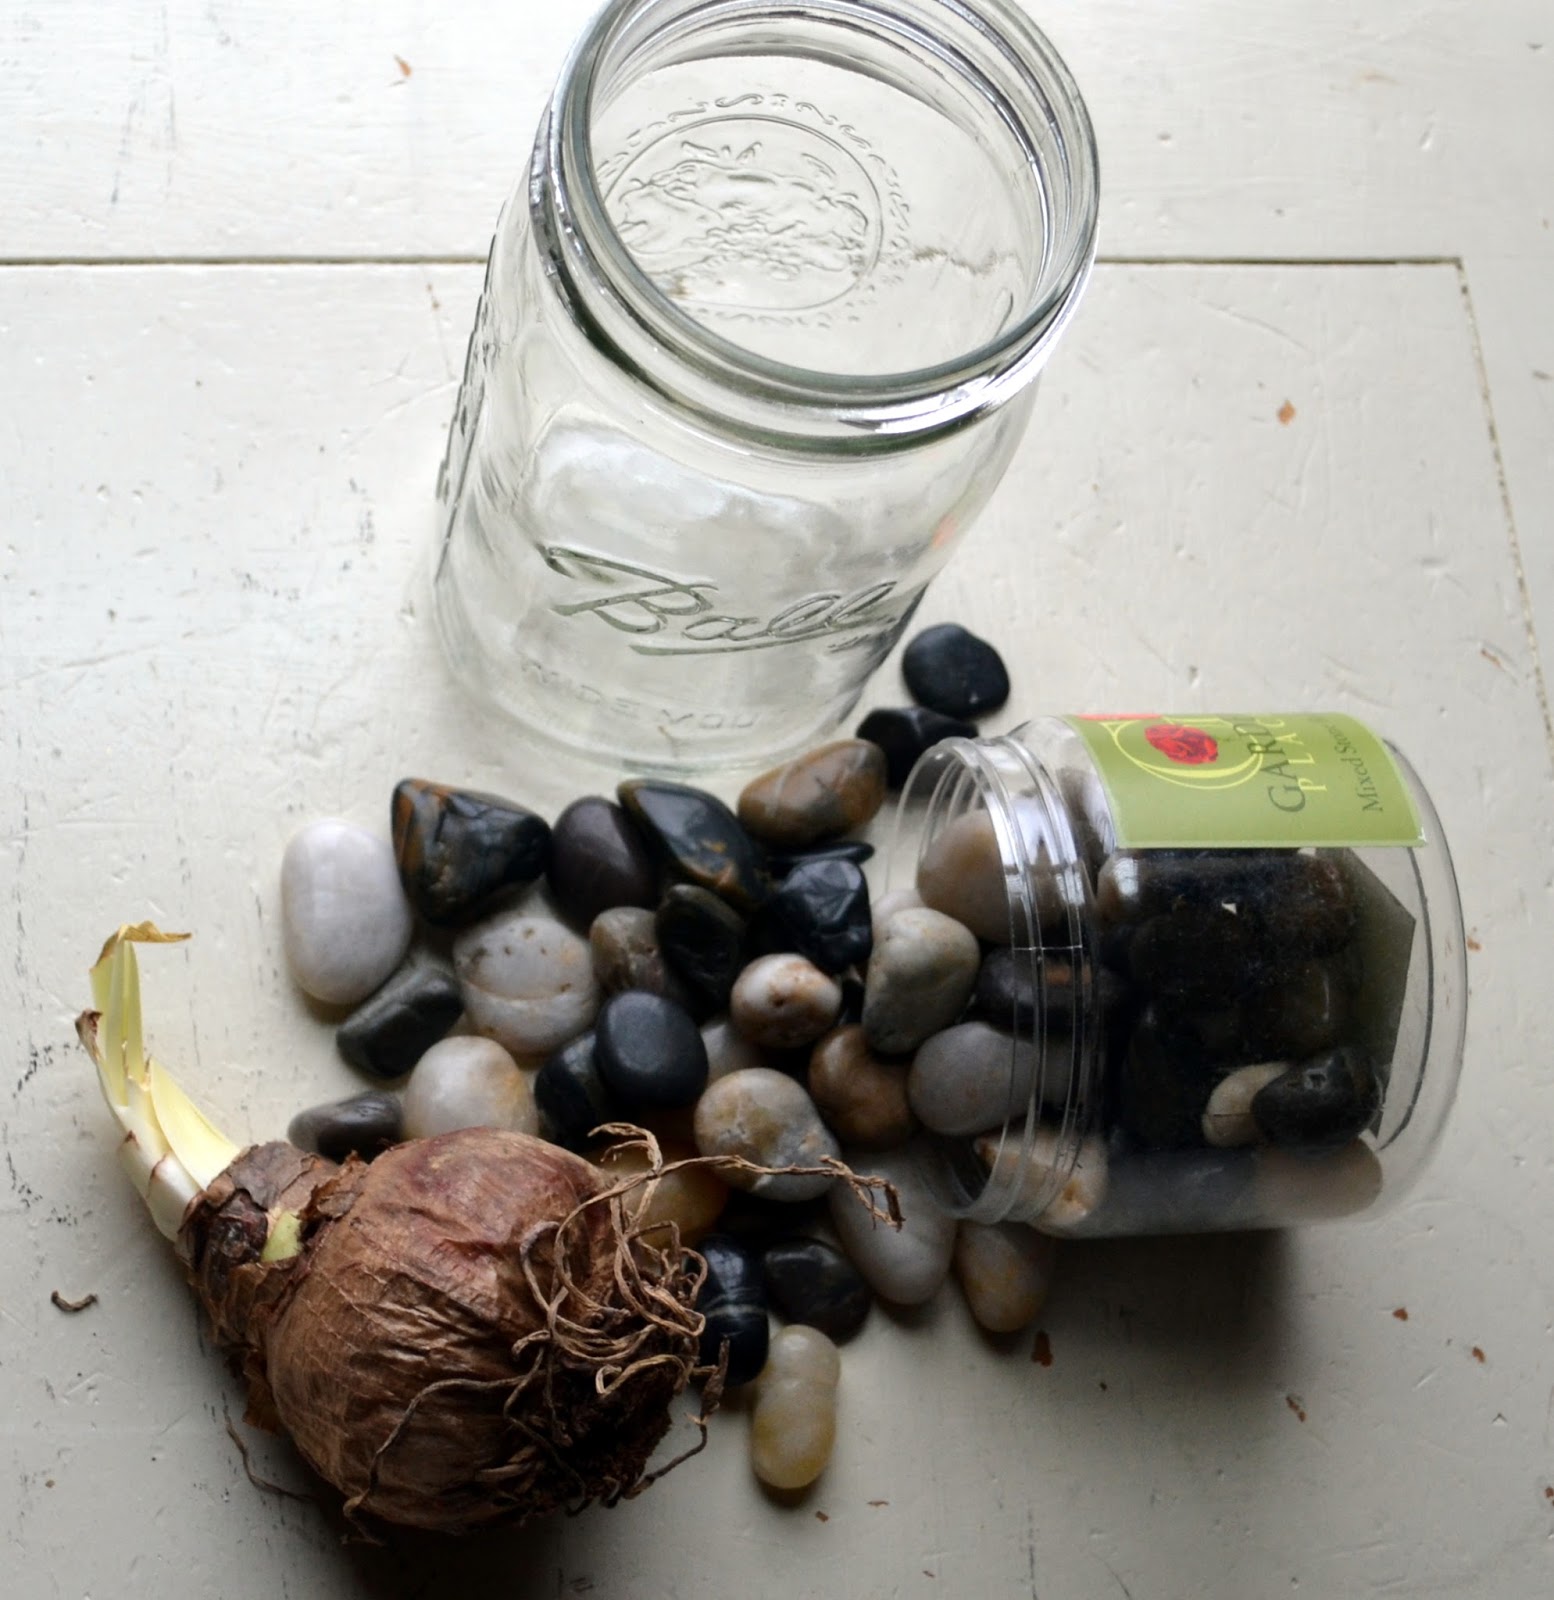
When I found an Amaryllis bulb kit for $2.99 at the Grocery Outlet {love that place!} I decided to give it a go and try planting a bulb in a vintage Ball jar.
The Amaryllis kit came with it's own pot and dirt cake, but I knew that I Amaryllis would grow quite well without dirt, so I decided to save the pot and dirt for another project {ranunculus bulbs...see! I told you I was on a kick!}.
I bought this jar of decorative rocks for $1 at a garage sale this summer and I had the Ball jar passed on to me from my husband's grandmother.
Simply add the rocks two thirds of the way up the jar and then fill the jar with water. The bulb will sit in the lukewarm water for a few hours {as pictured below} and then pour the water out until it's just touching the roots of the bulb.
You don't want the water level going higher than the base of the bulb. You don't want to soak the bulb or it will rot. Place your jar in a sunny location and wait for your Amaryllis to bloom.

Follow me on Instagram at HolyCraft1. Promise I will post a picture when my bulb blooms. That is, if I don't end up killing it like I do everything else.


No comments
Post a Comment