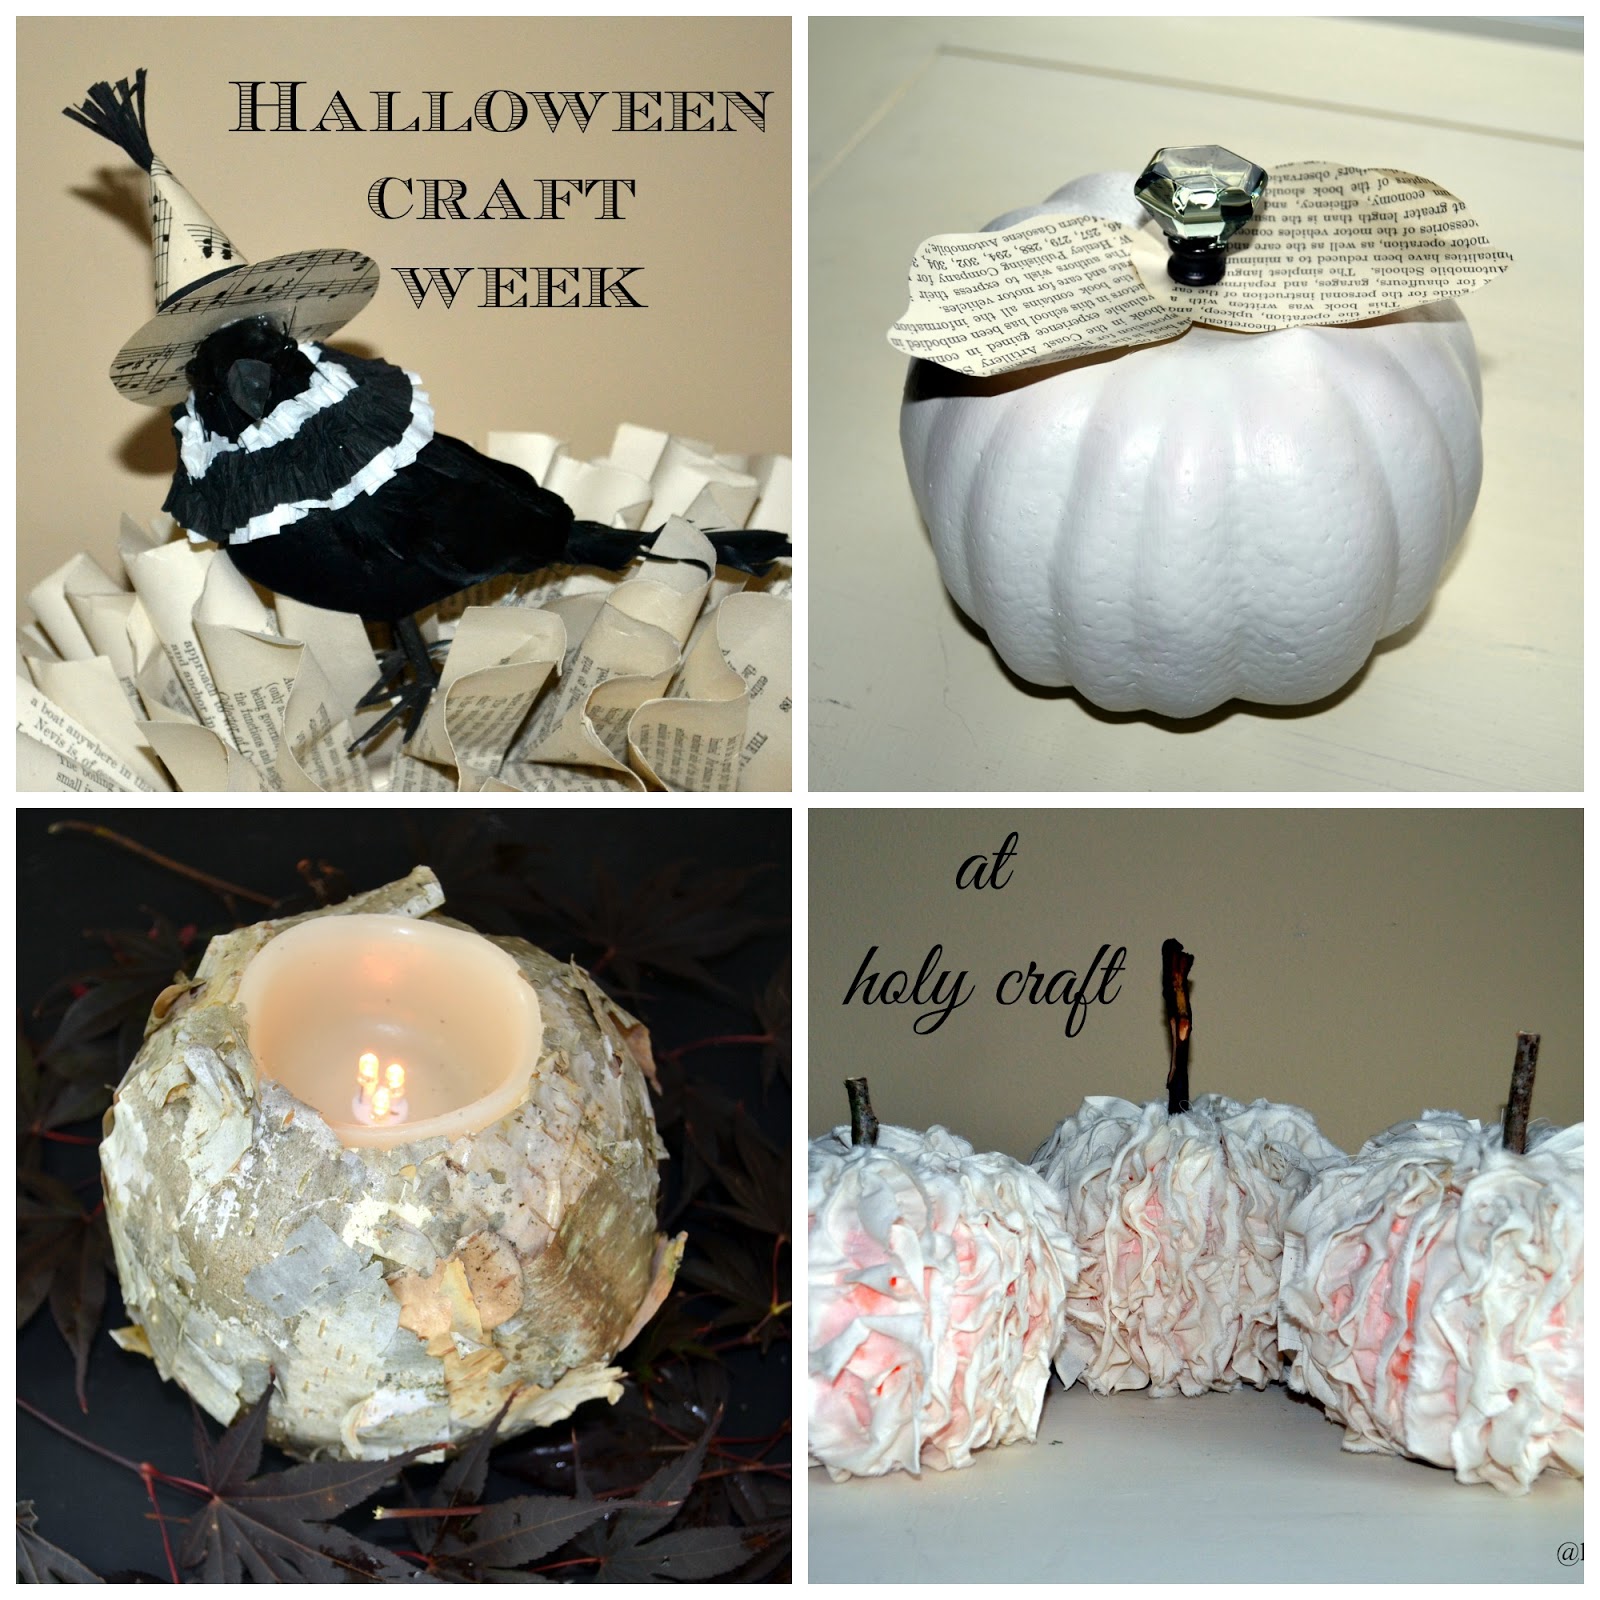
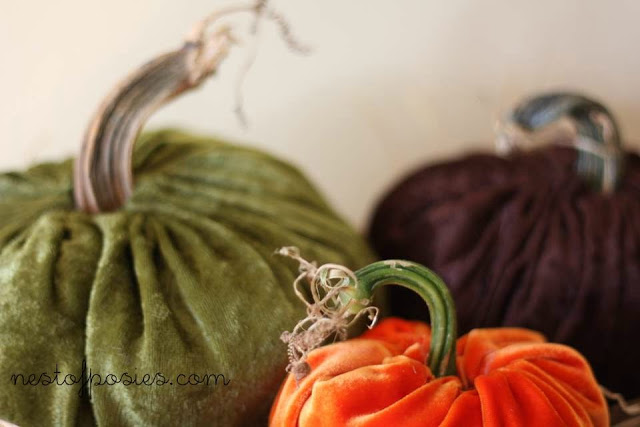
Welcome back to Halloween craft week at Holy Craft.
I've been sharing a few of my favorite crafts that I have worked on from this season.
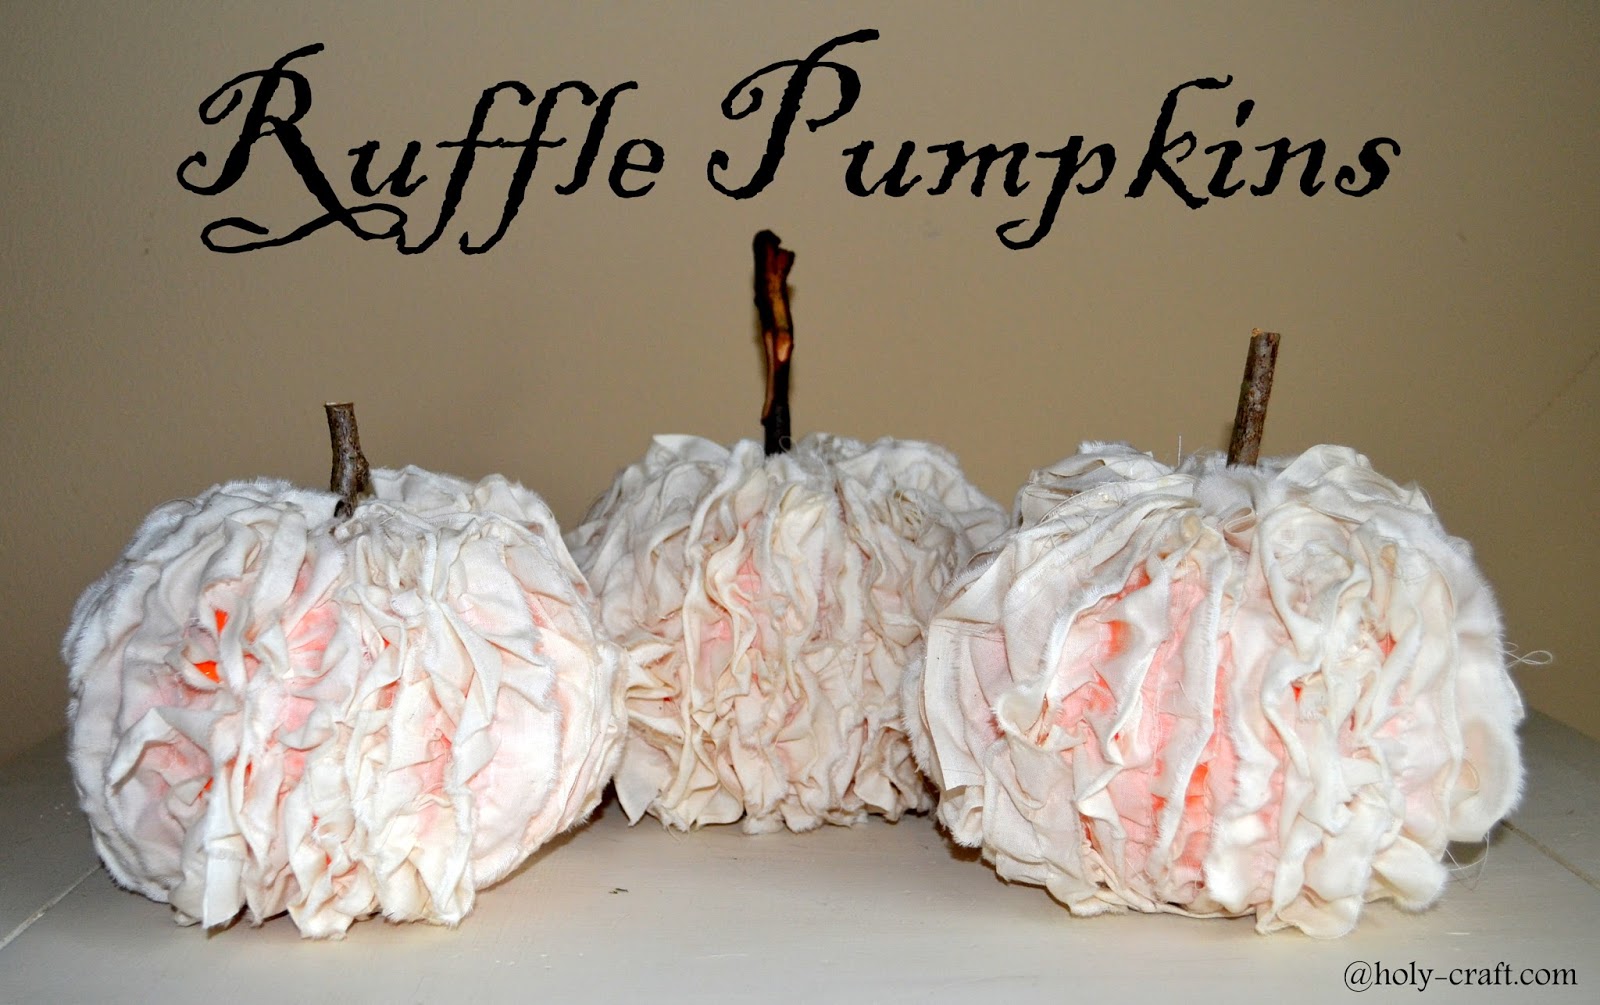
Today is our final day in Halloween craft week and I wanted to end it with a tutorial.
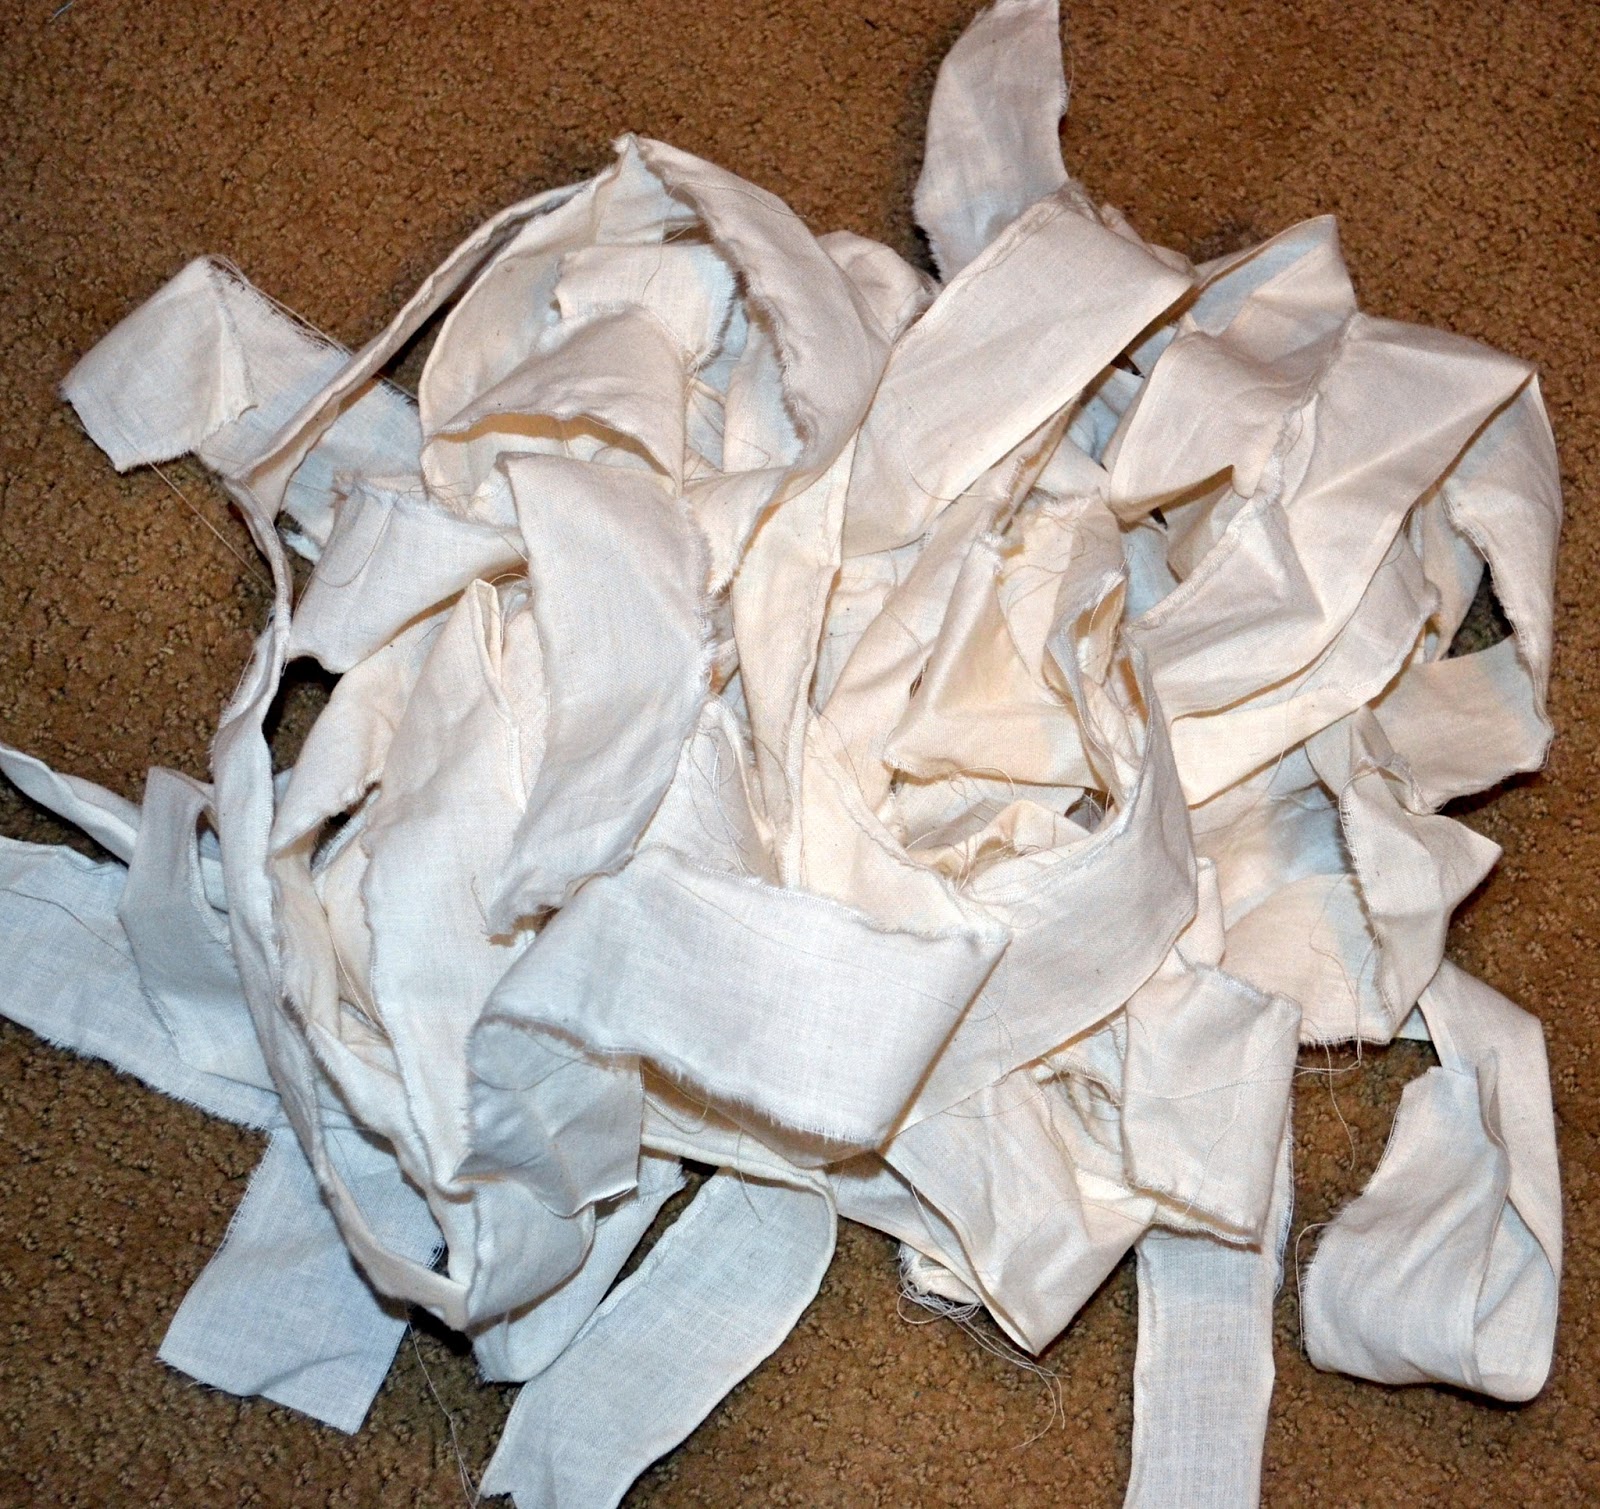
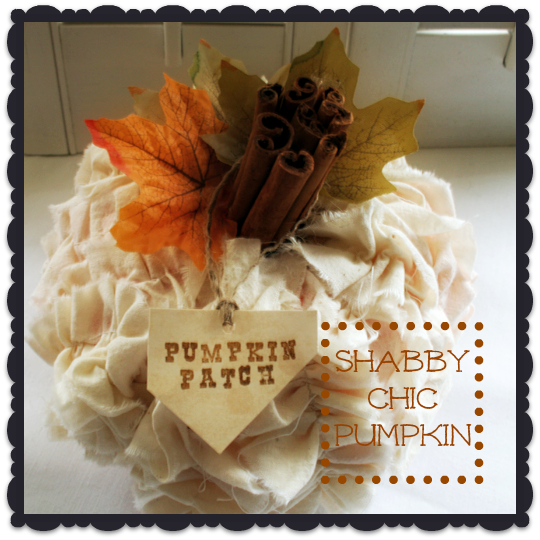
I ended up scoring about three yards of muslin in the free box this summer.
It didn't take me much time to figure out what to do with it.
I cut it up in about two inch strips
{muslin will tear, so you only need to make a small cut and then tear the rest}
I made multiple pumpkins, but one pumpkin will take 6 strips of 55" long muslin.
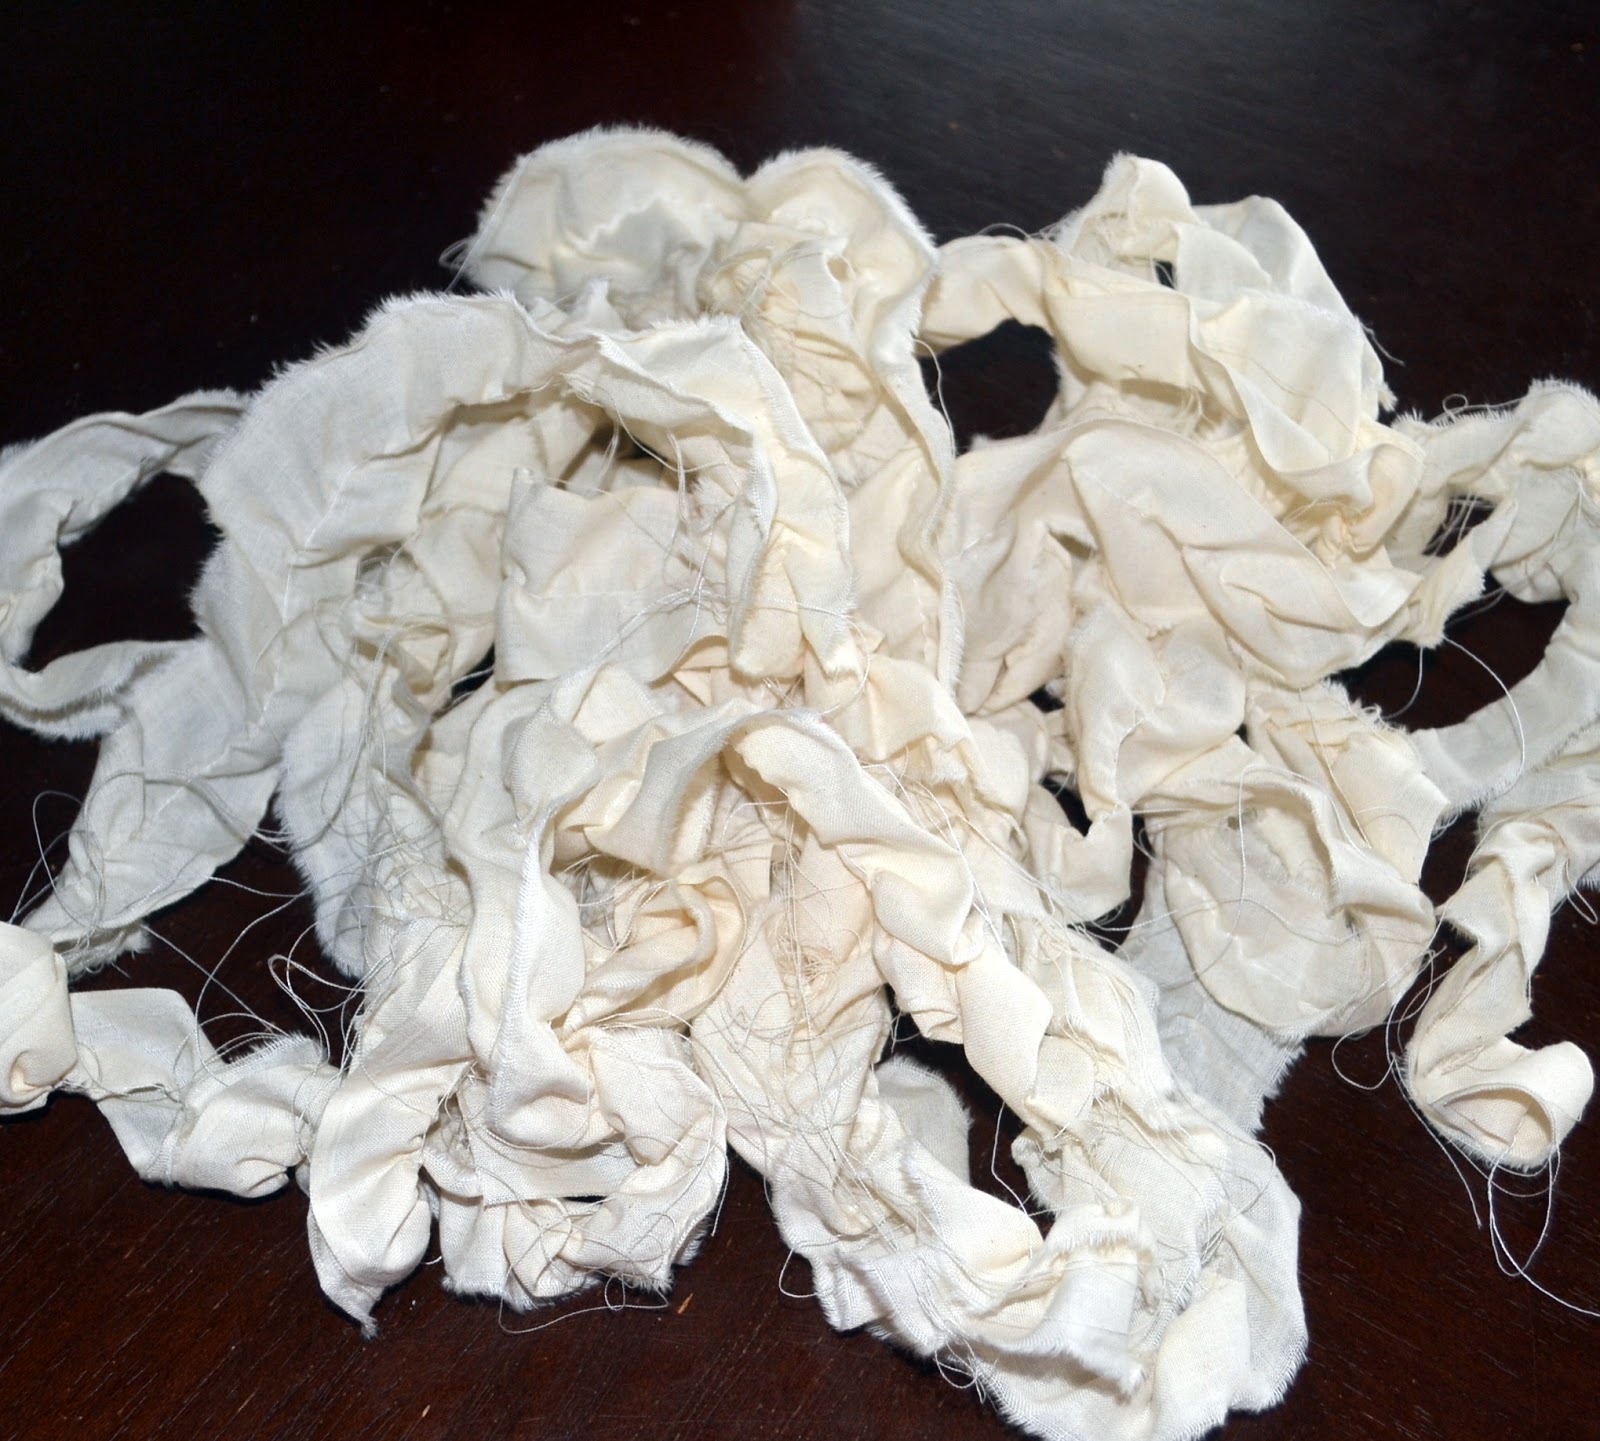
I used my sewing machine to ruffle the strips of muslin.
Simply turn the dial on the tension to the highest setting and the stitch length to the longest length.
Sew a straight line down the muslin, then pull one of the end strings gently ruffling your fabric.
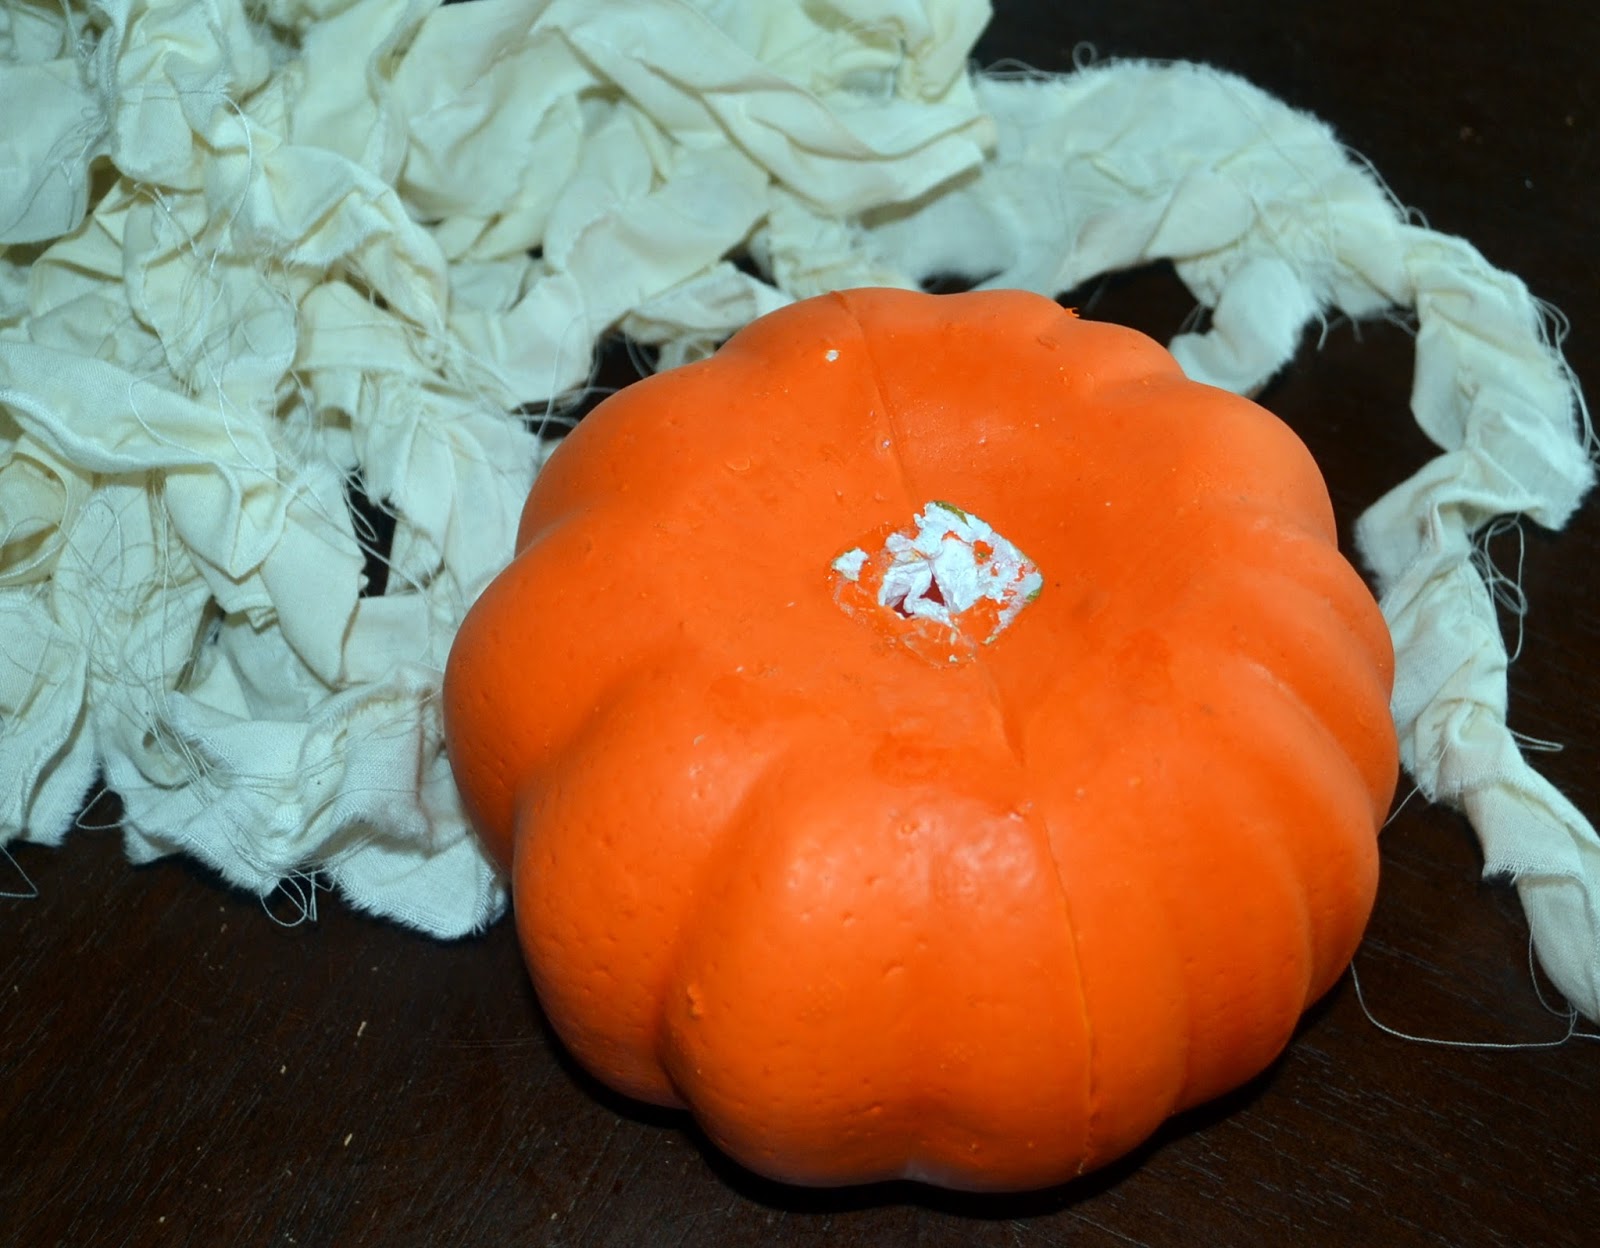
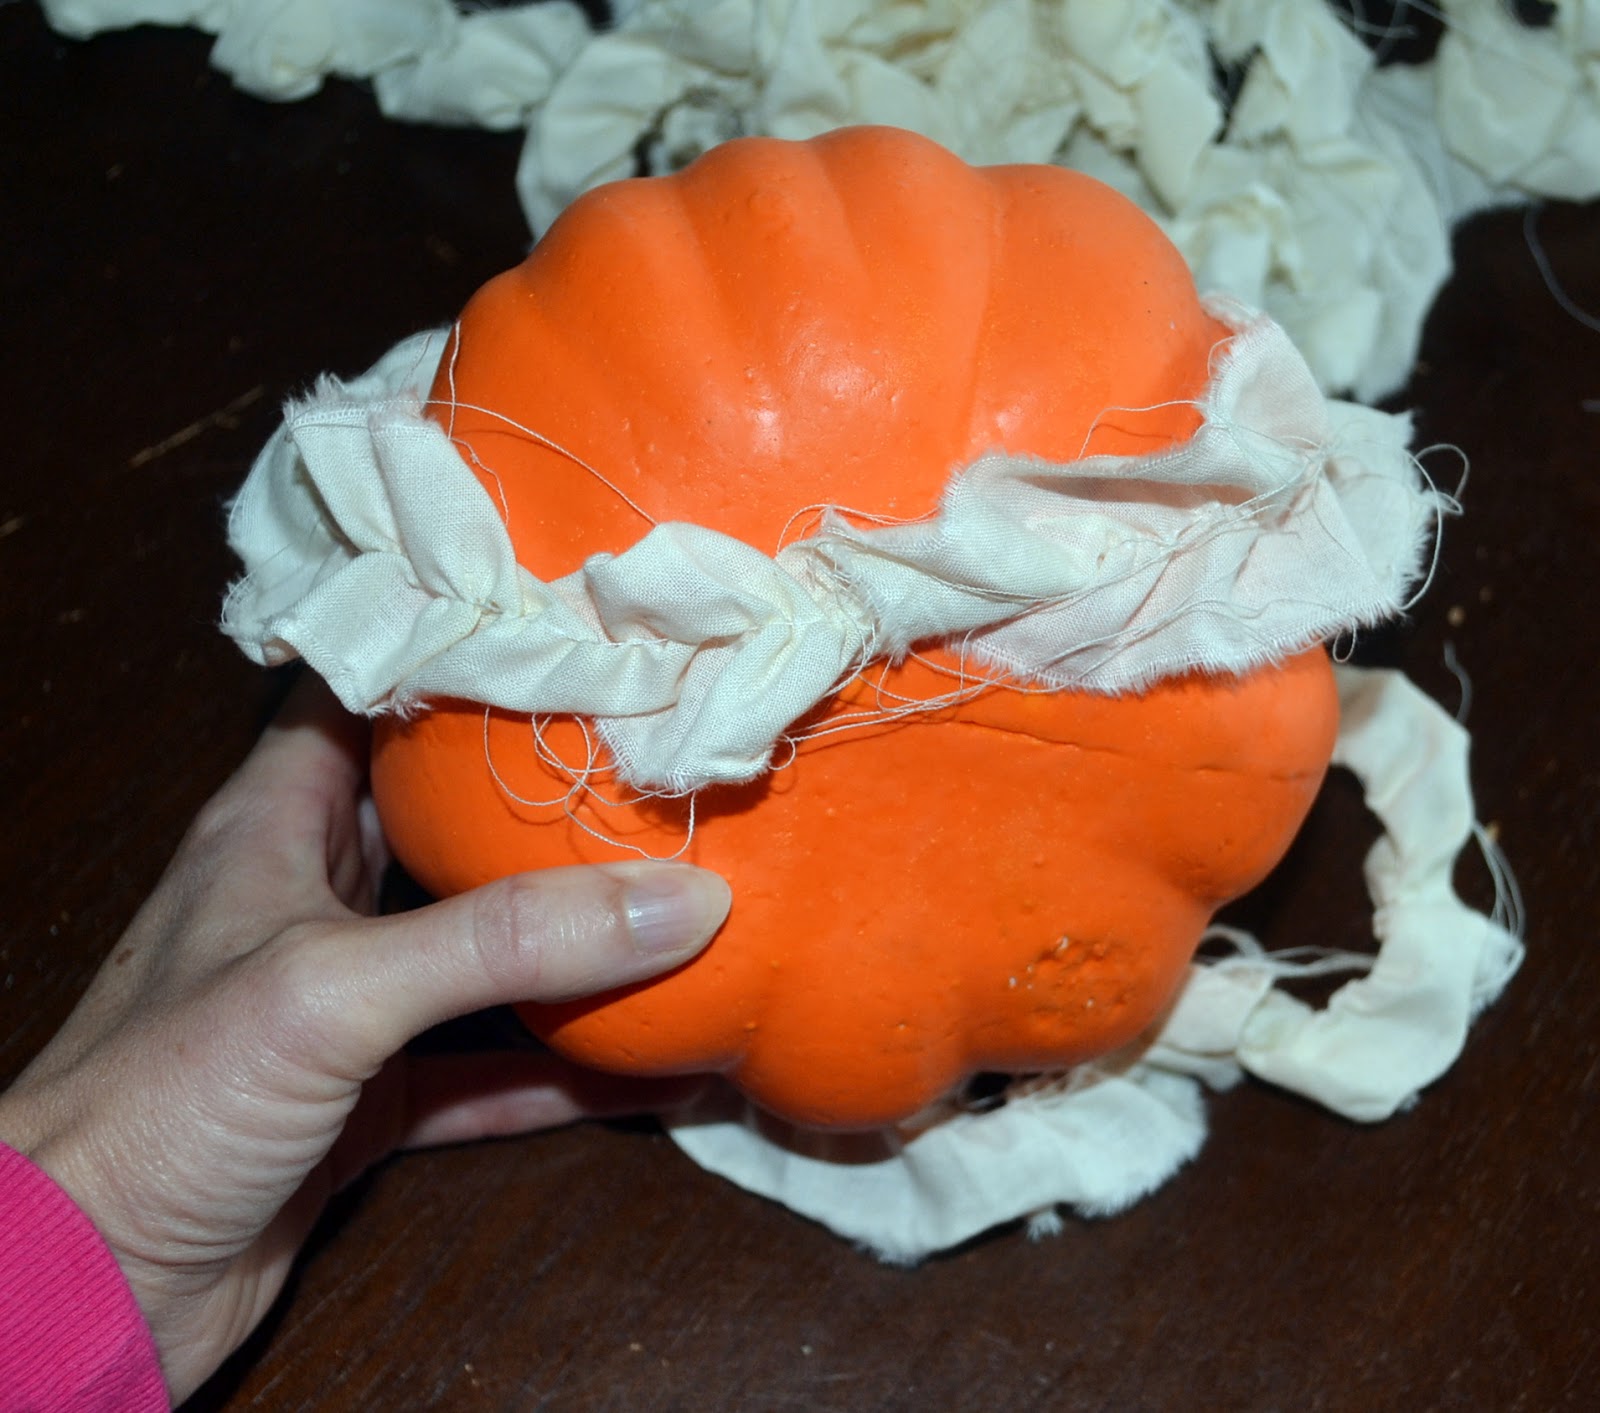
I used a dollar store pumpkin and cut the stem off.
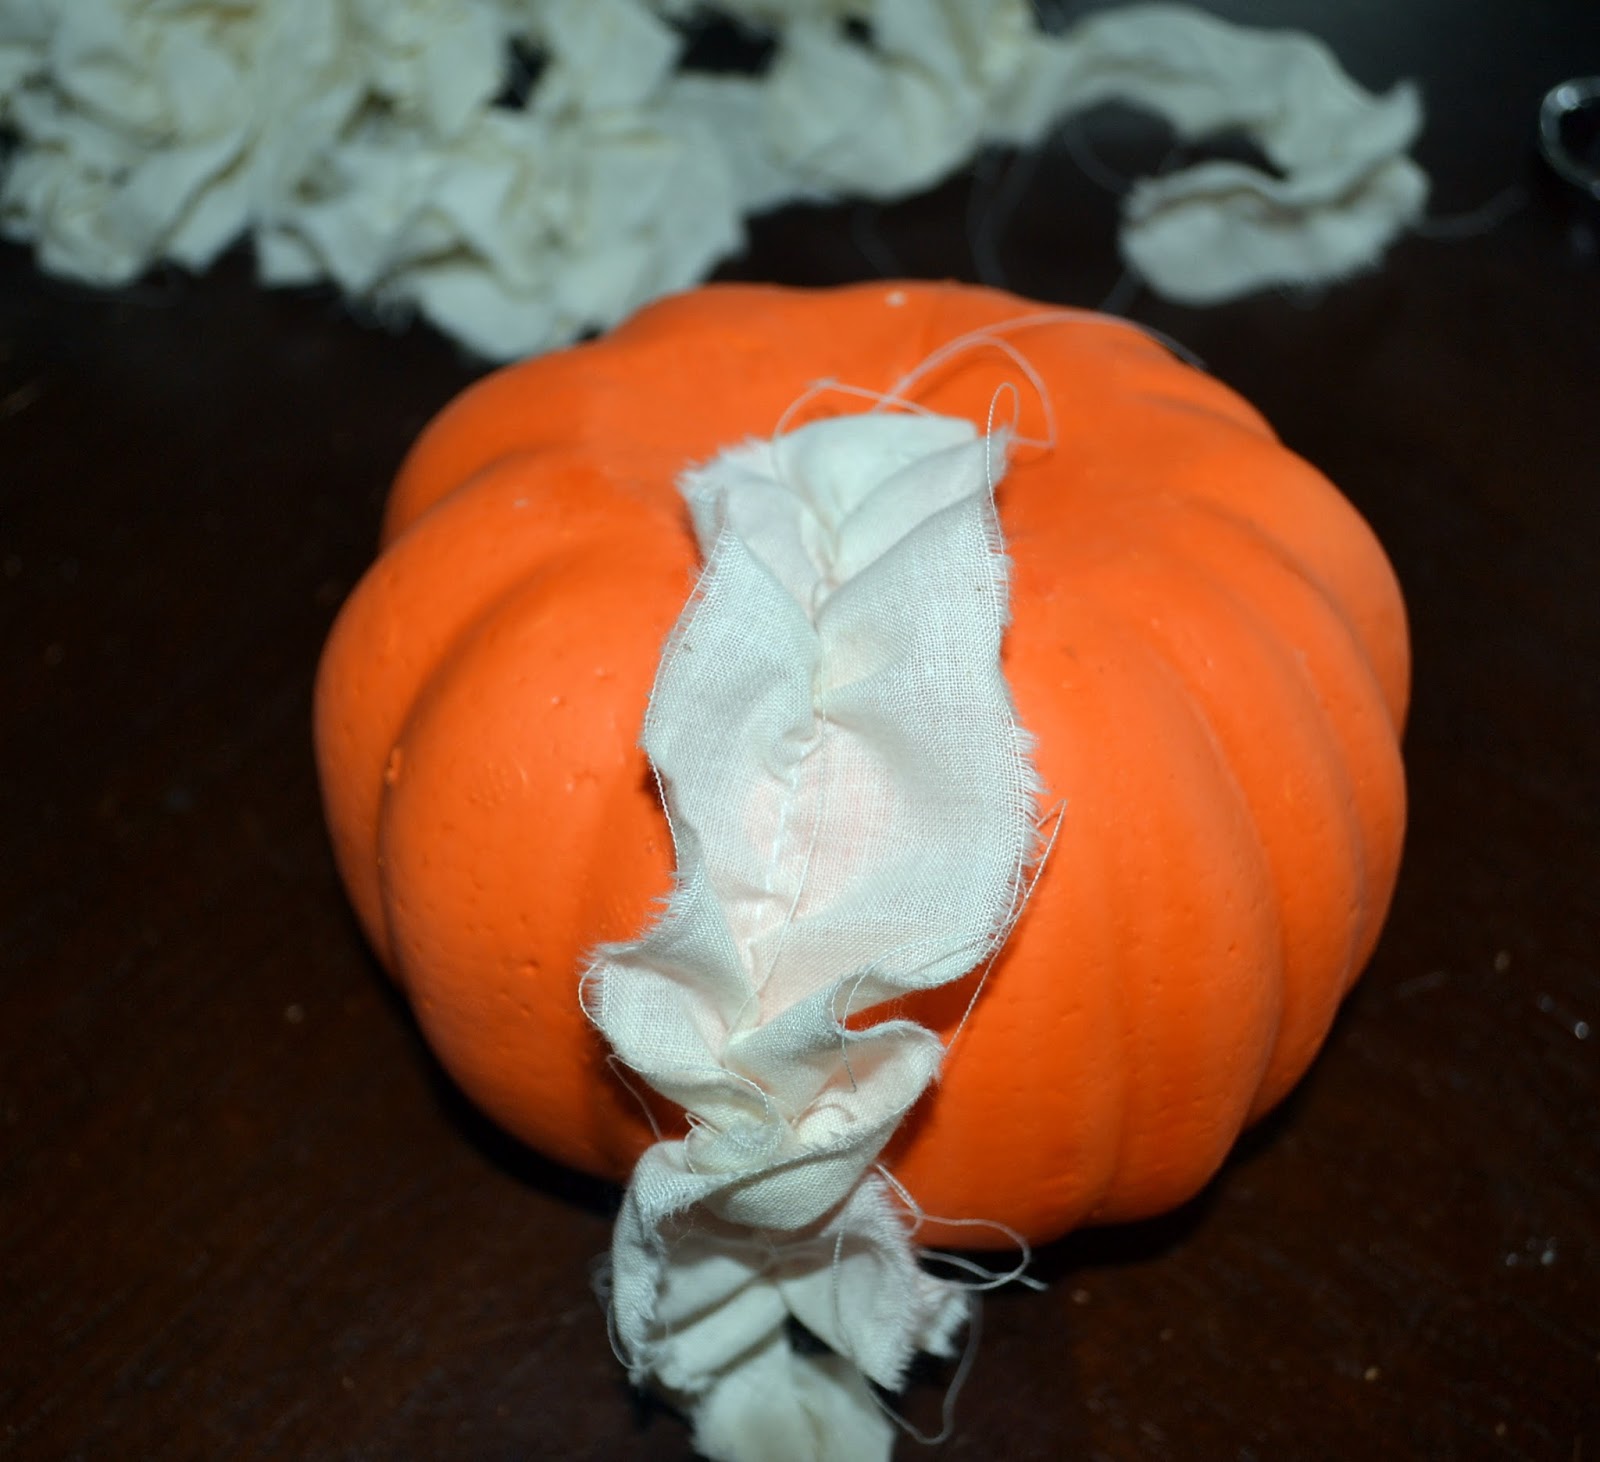
Using a hot glue gun, start in the center of your pumpkin and use the pumpkin's lines as a guide.
I found that it was easiest to make the ruffled pumpkins is you made them in segments.
I took my first muslin ruffle and started at the top, then worked my way to the bottom before coming up and around the top not quite halfway around the pumpkin.
Once your segments are created, go up and down as closely as possible gluing your muslin ruffles in place.
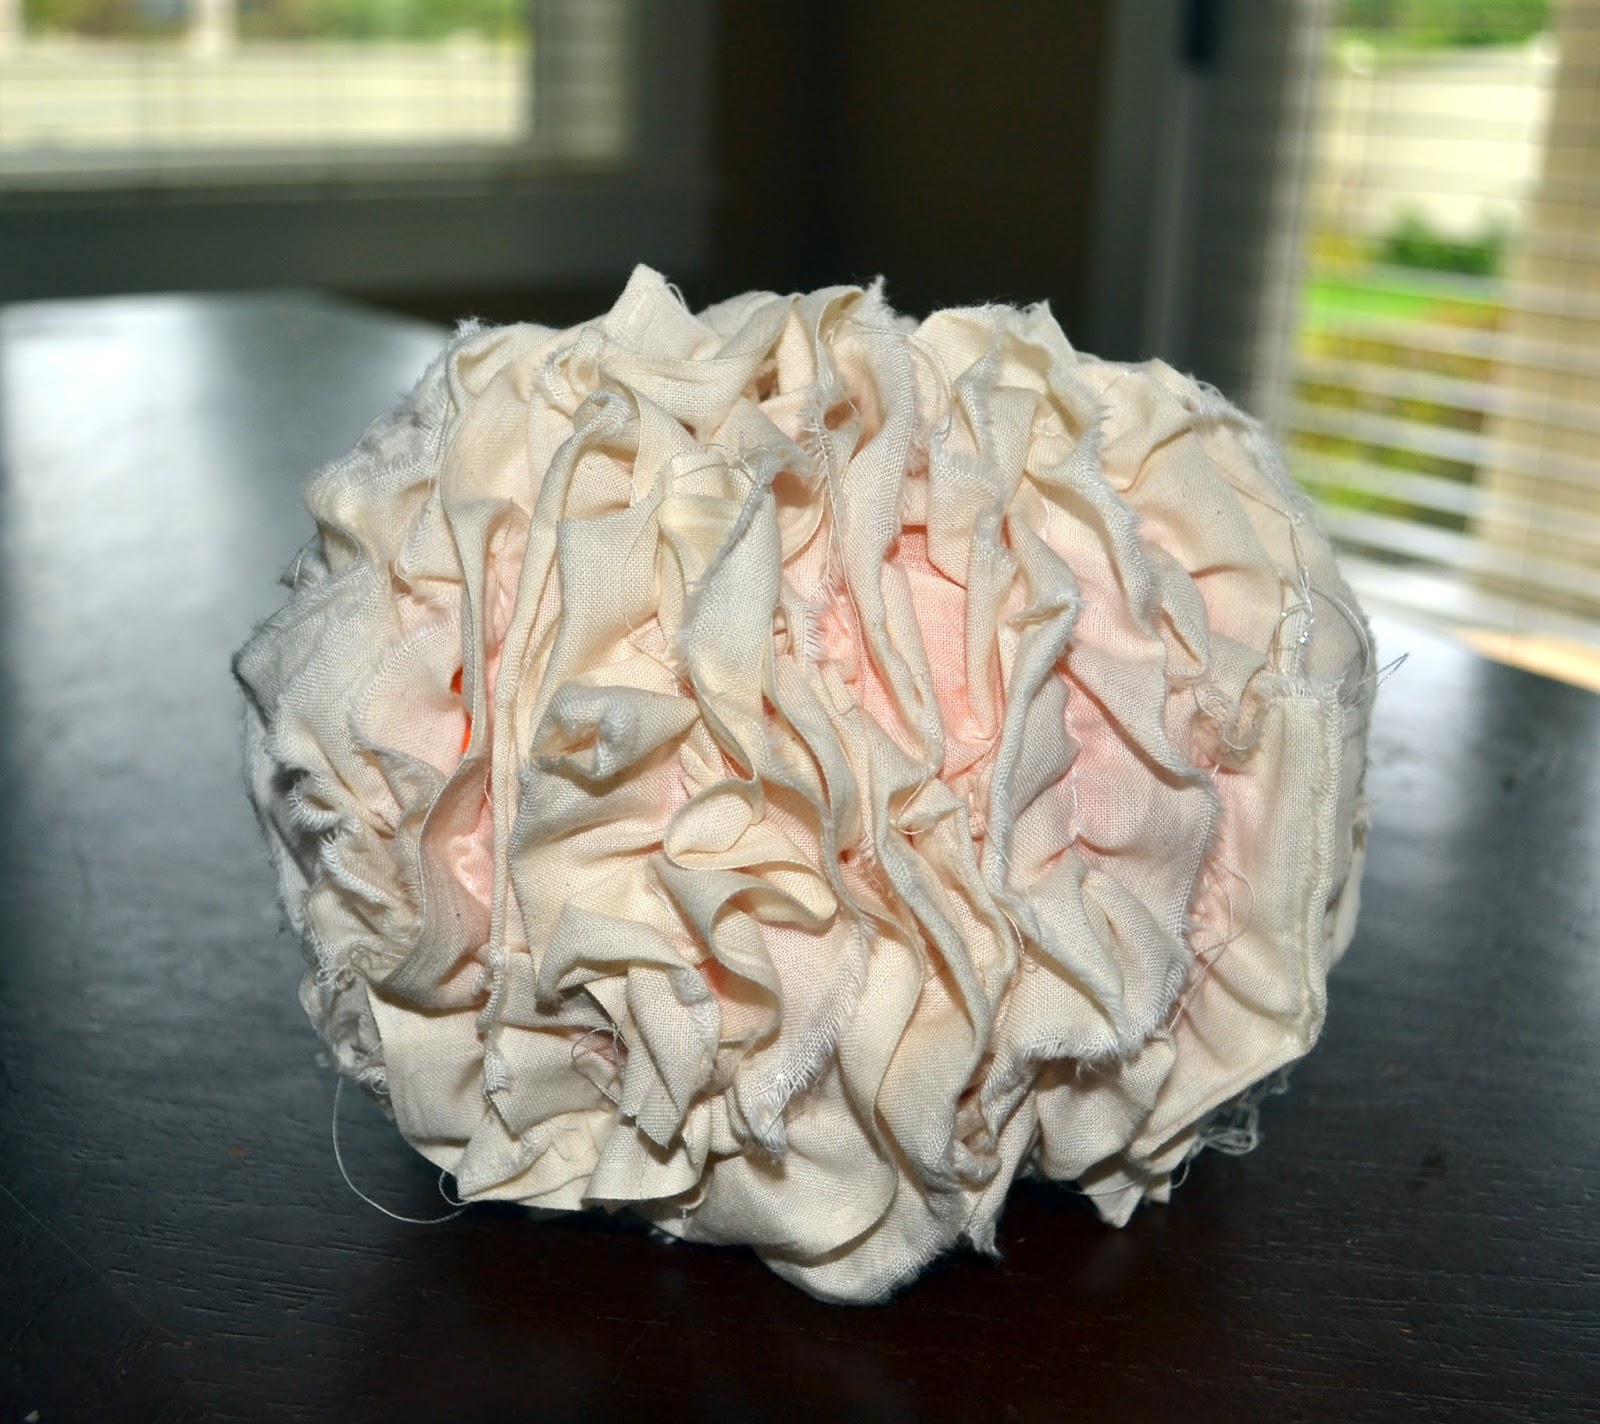
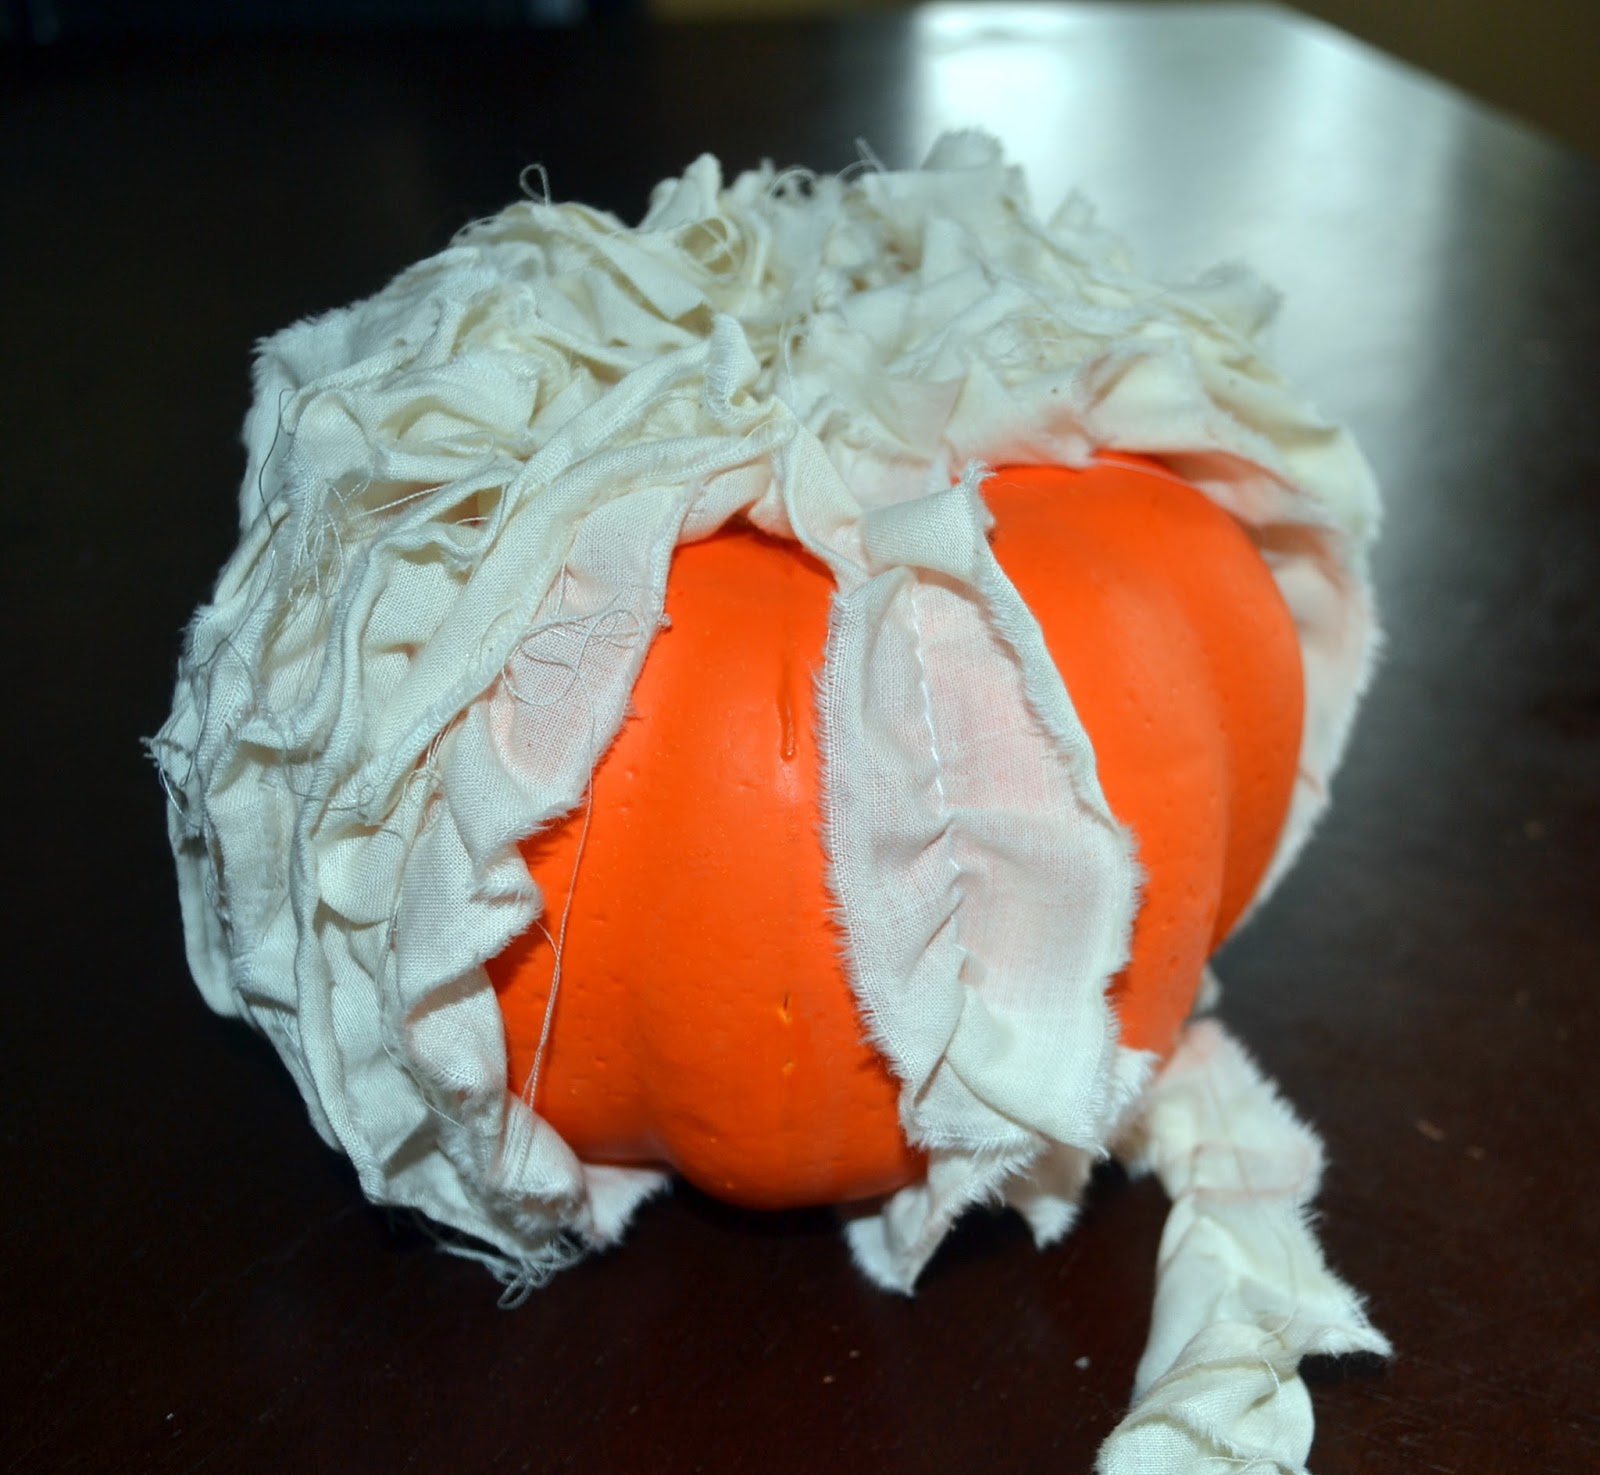
This is the segment completed.
Continue in the same way creating another segment on your pumpkin.
Filling in all of the orange space as much as possible.
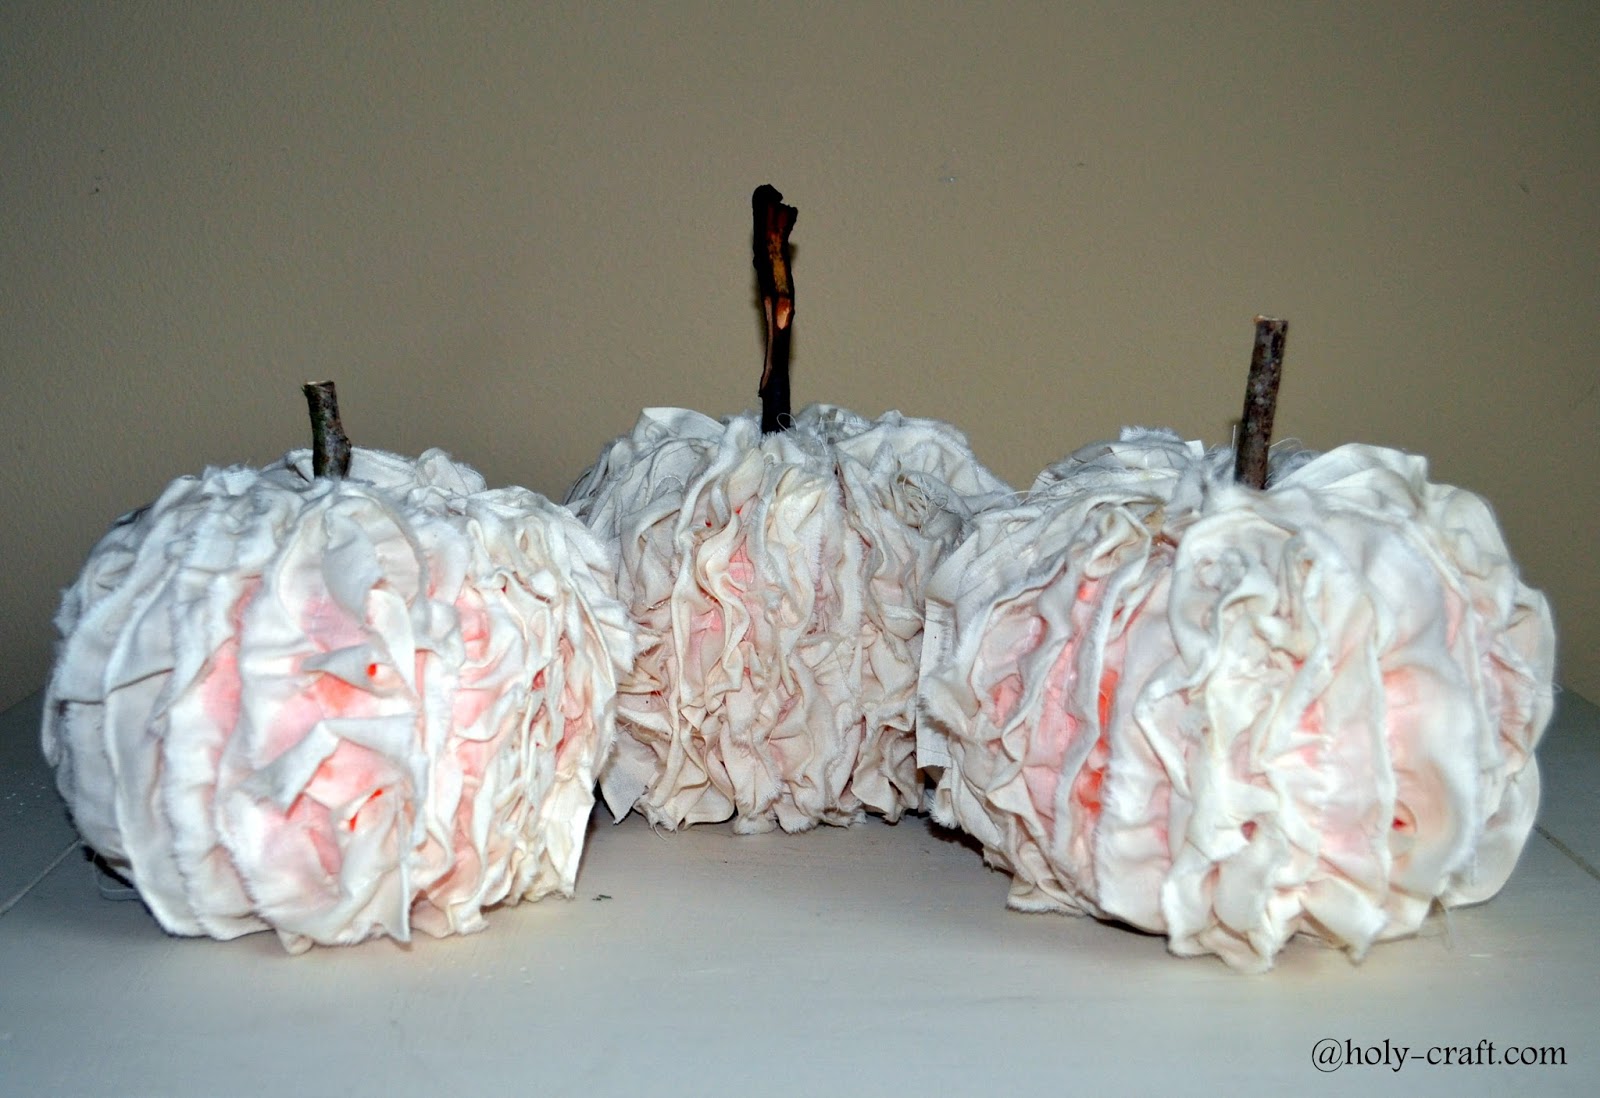
I found a stick on a walk that I used as the stem.
Simply push the stem in to the top and it will stay in place.
I hope you had as much fun as I did sharing my Halloween crafts with you this week.
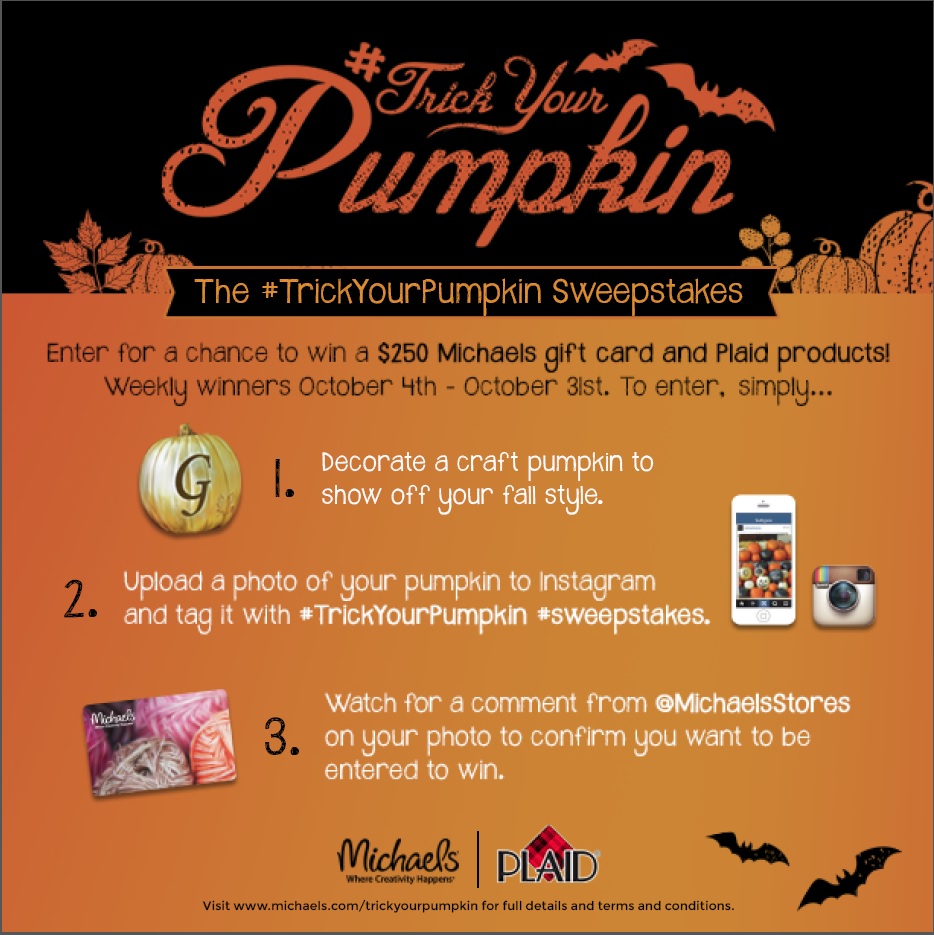
Don't forget to enter to win the Michael's #trickyourpumpkin sweepstakes on instagram.