Welcome back to week 5 of the Calling it Home One Room Challenge.
For the past 5 weeks I have been working on completing a vintage airplane themed room for my 8 year old son Owen.
In case you missed it you can catch up here:
week 1
week 2
week 3
week 4
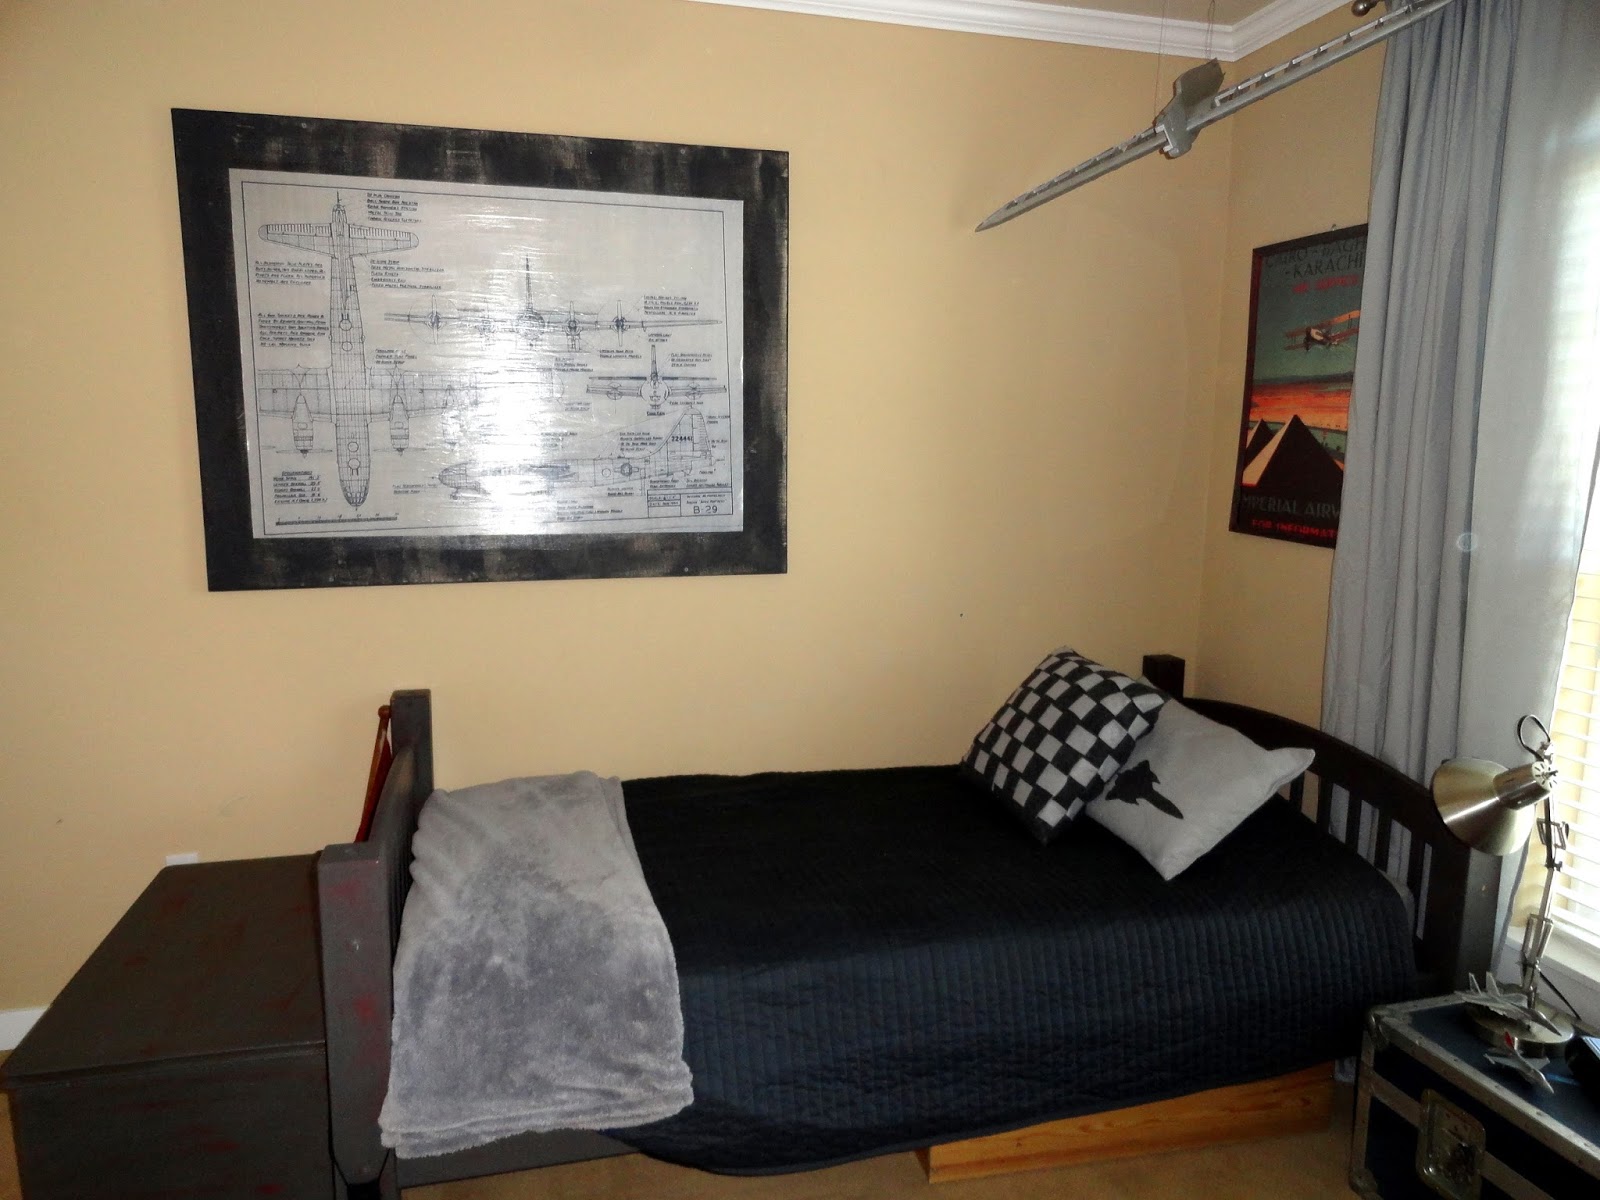
Last week I showed you the vintage airplane blueprint canvas that I worked on.
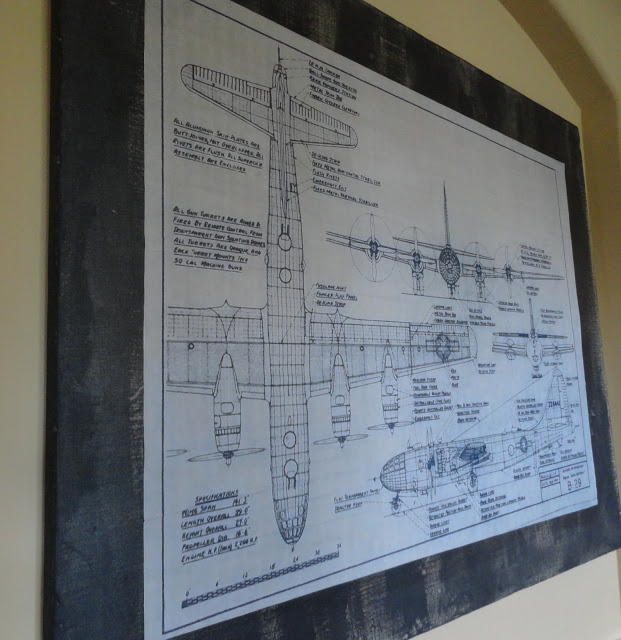
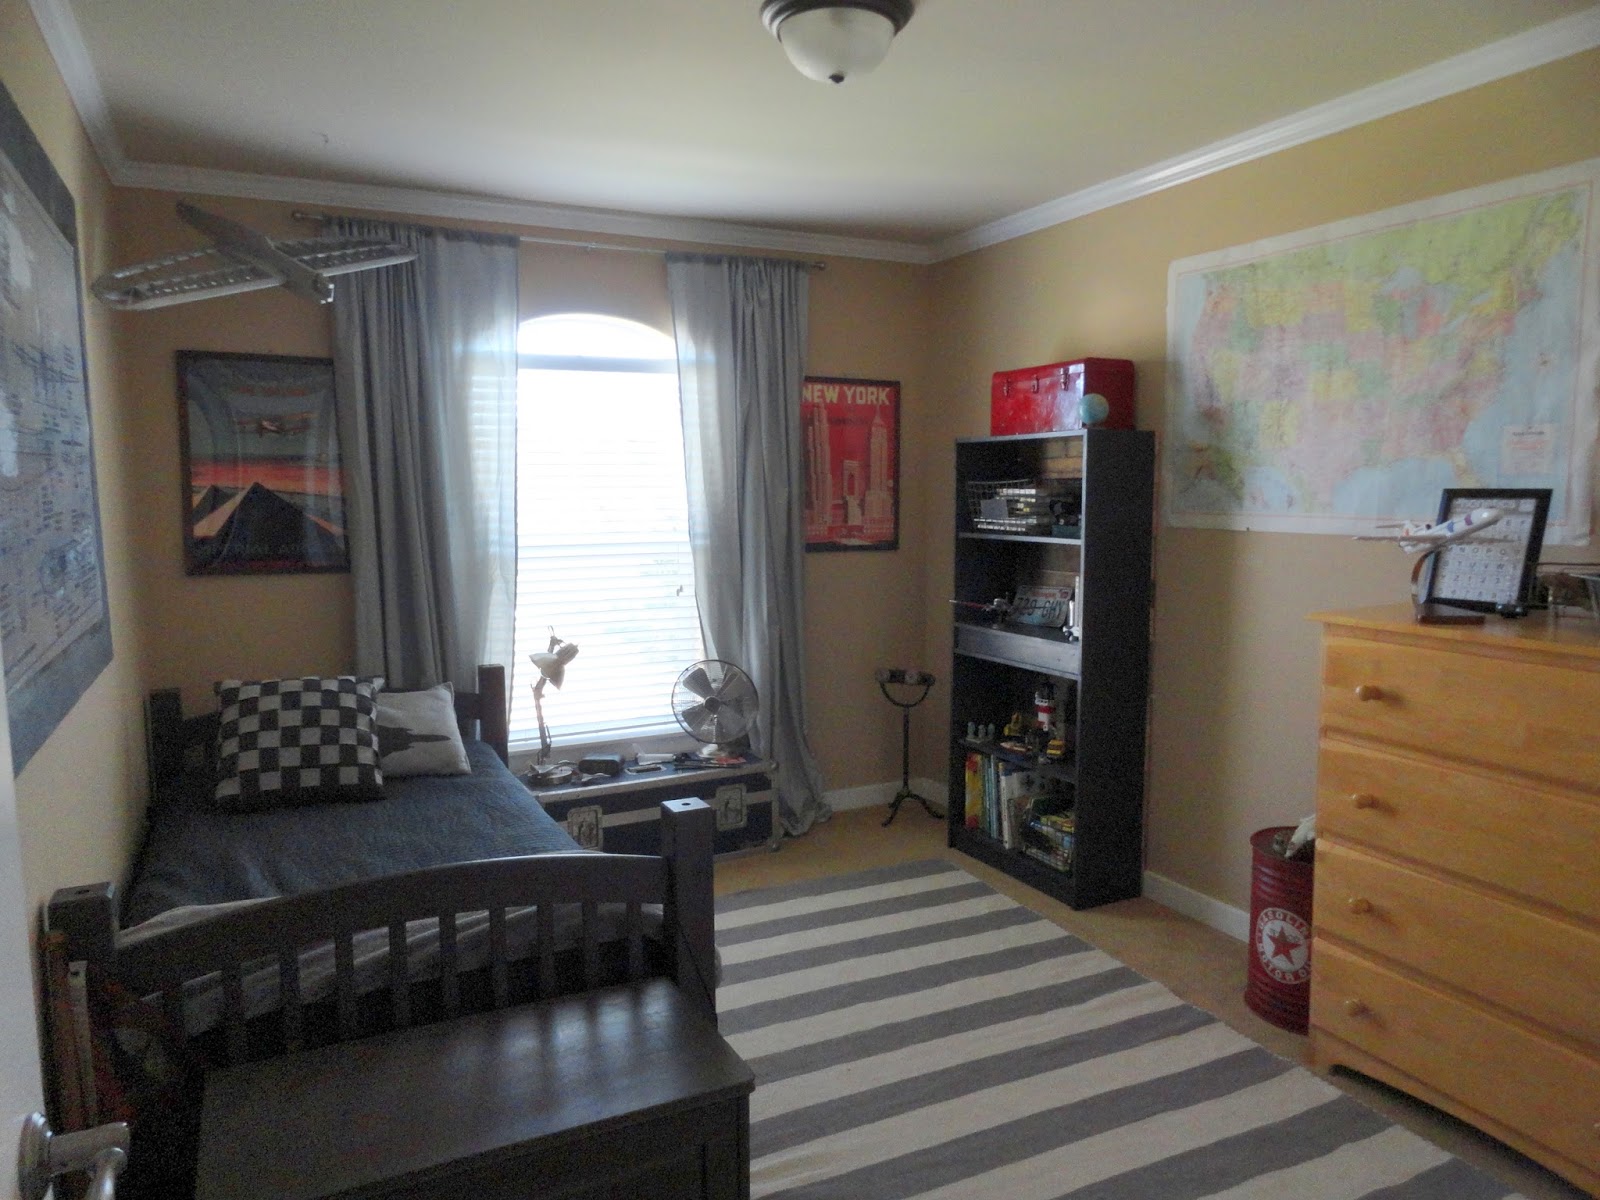
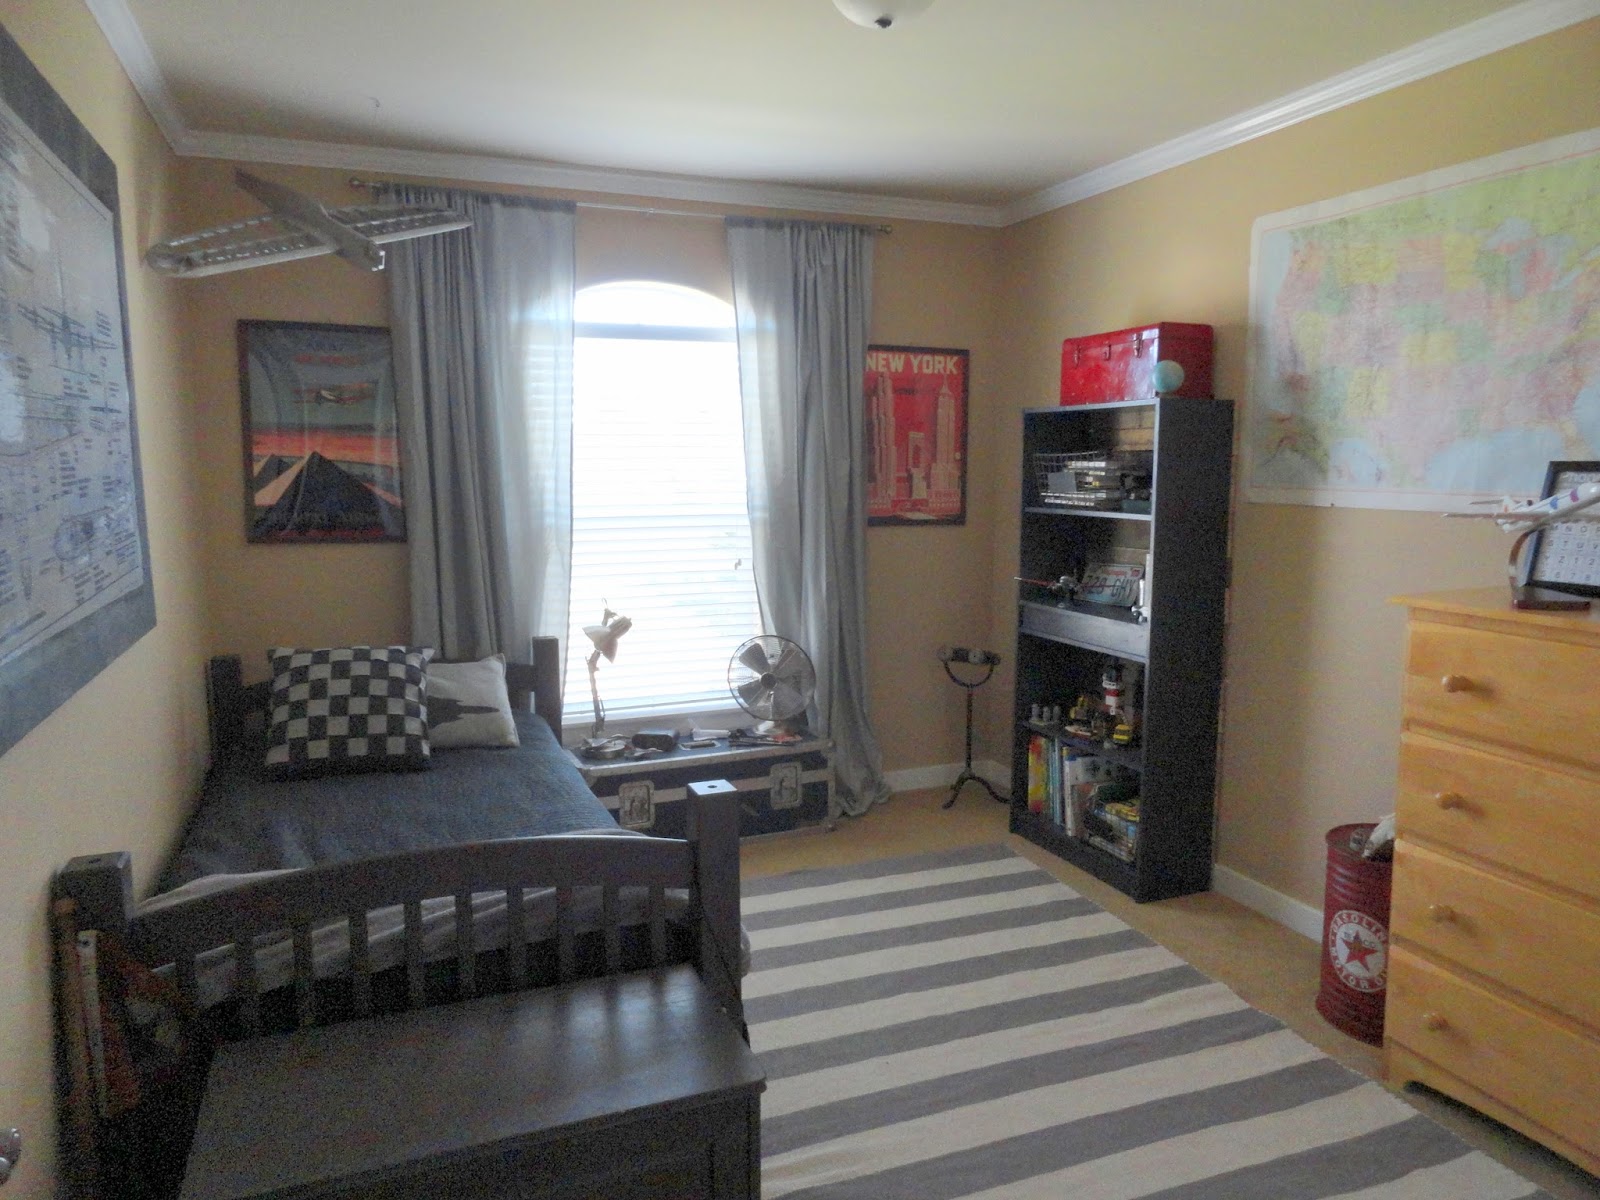
This week, we got the art hung on the walls and the room is starting to come together.
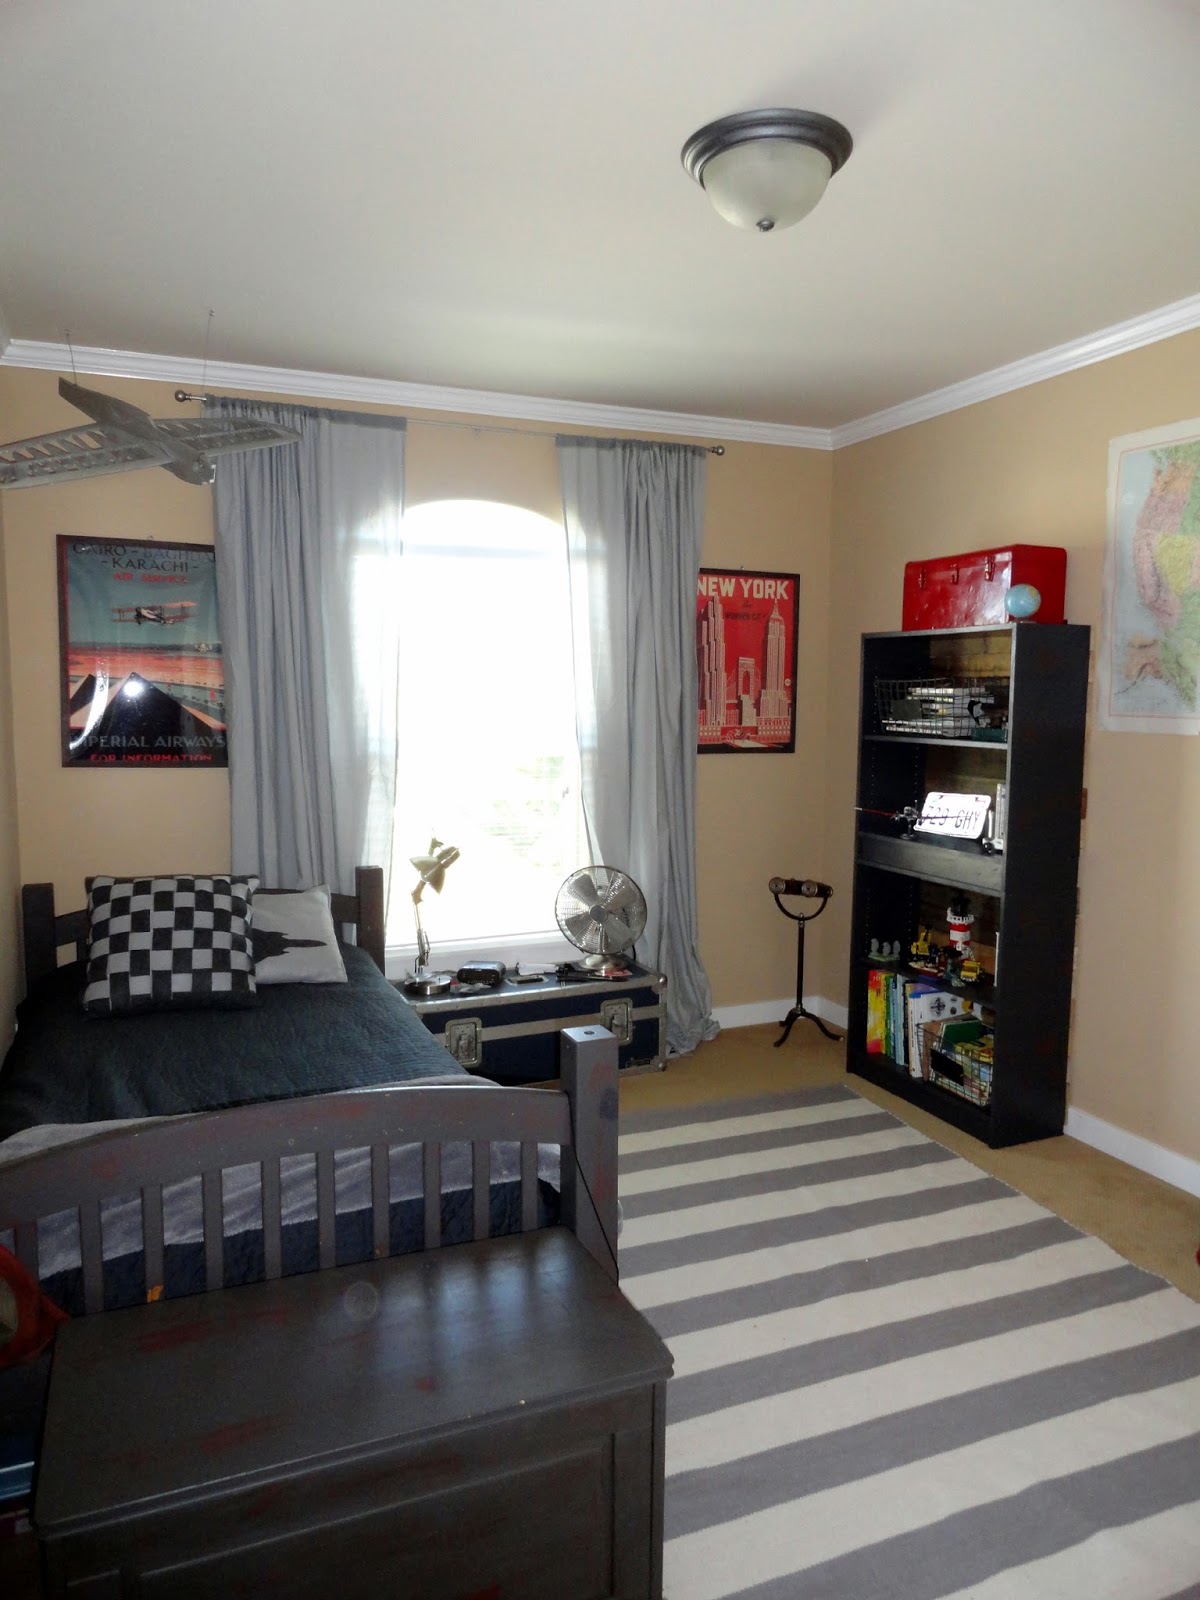
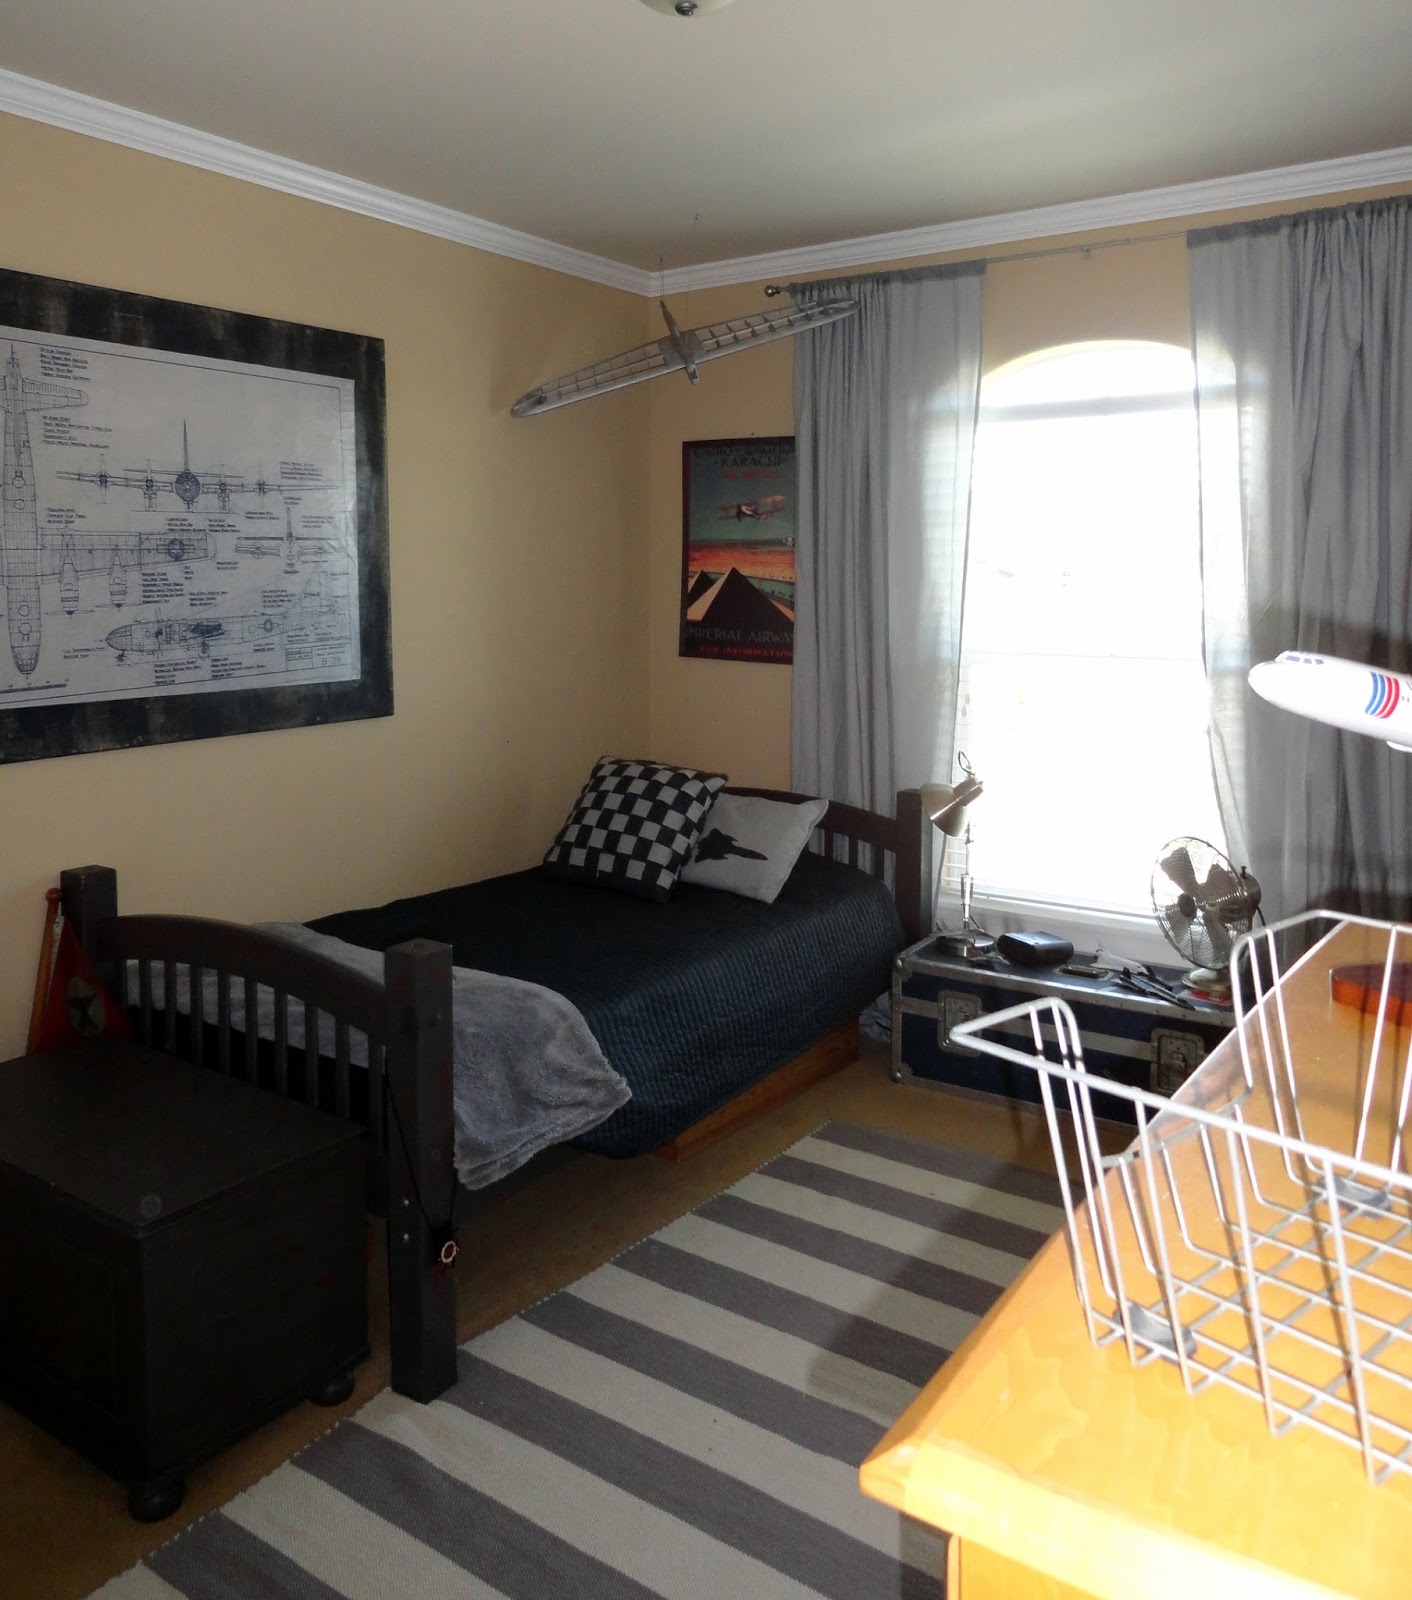
It all started with the poster frames that are seen flanking the window.
I bought those at a garage sale 2/$3 brand new.
They started out a pine wood color, I painted them blue like the rest of the furniture.
I found two vintage posters that I liked
add added those to the frames.
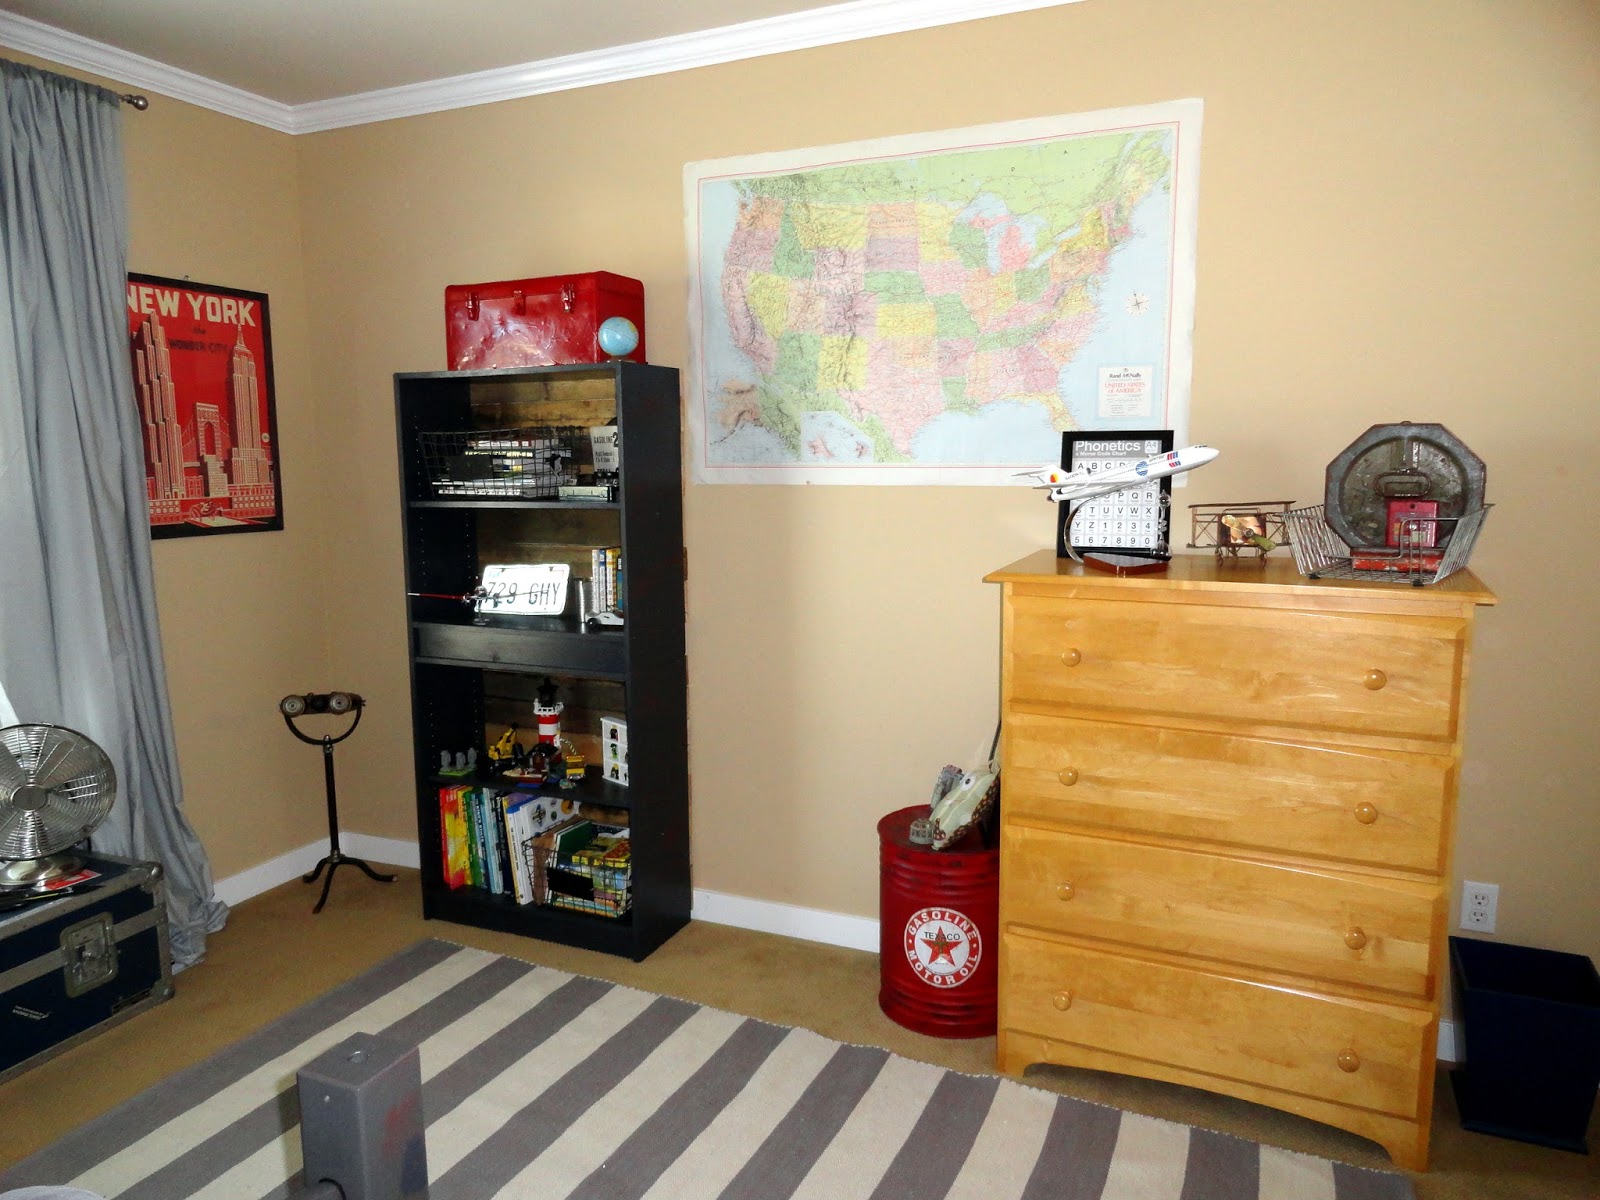
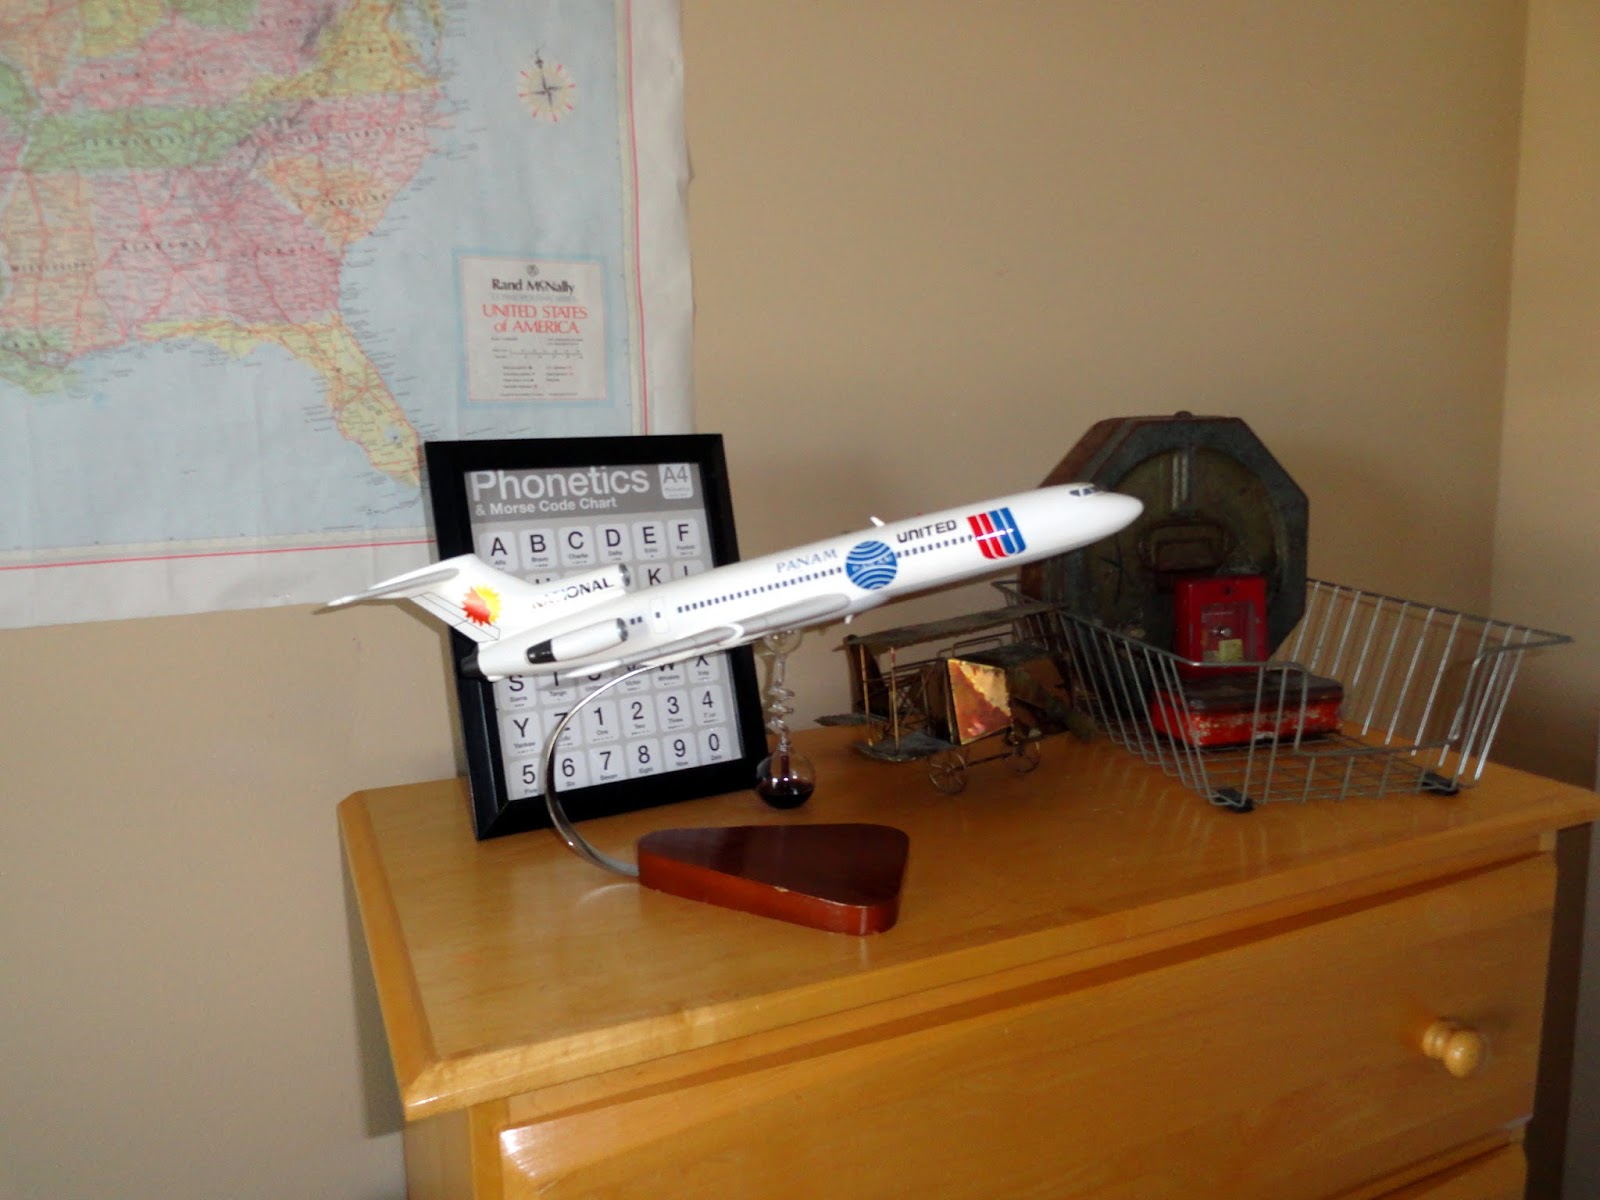
I wasn't planning on keeping this United States poster, but my son loves it and it is his room.
I didn't end up painting this dresser.
I have a few reasons why,
{it was the first piece of furniture we ever bought as a couple...it's been in every nursery for each baby we have had...it's in good condition...I didn't think it needed to be painted.}
and this vintage United airplane at a garage sale for $8 from an old Boeing employee.
The wire basket was $1 and it has a vintage fire bell, pen case and movie reel canister inside, all purchased second hand.
It's hard to see, but there is also a vintage copper airplane up there too that I got at a garage sale for 50 cents.
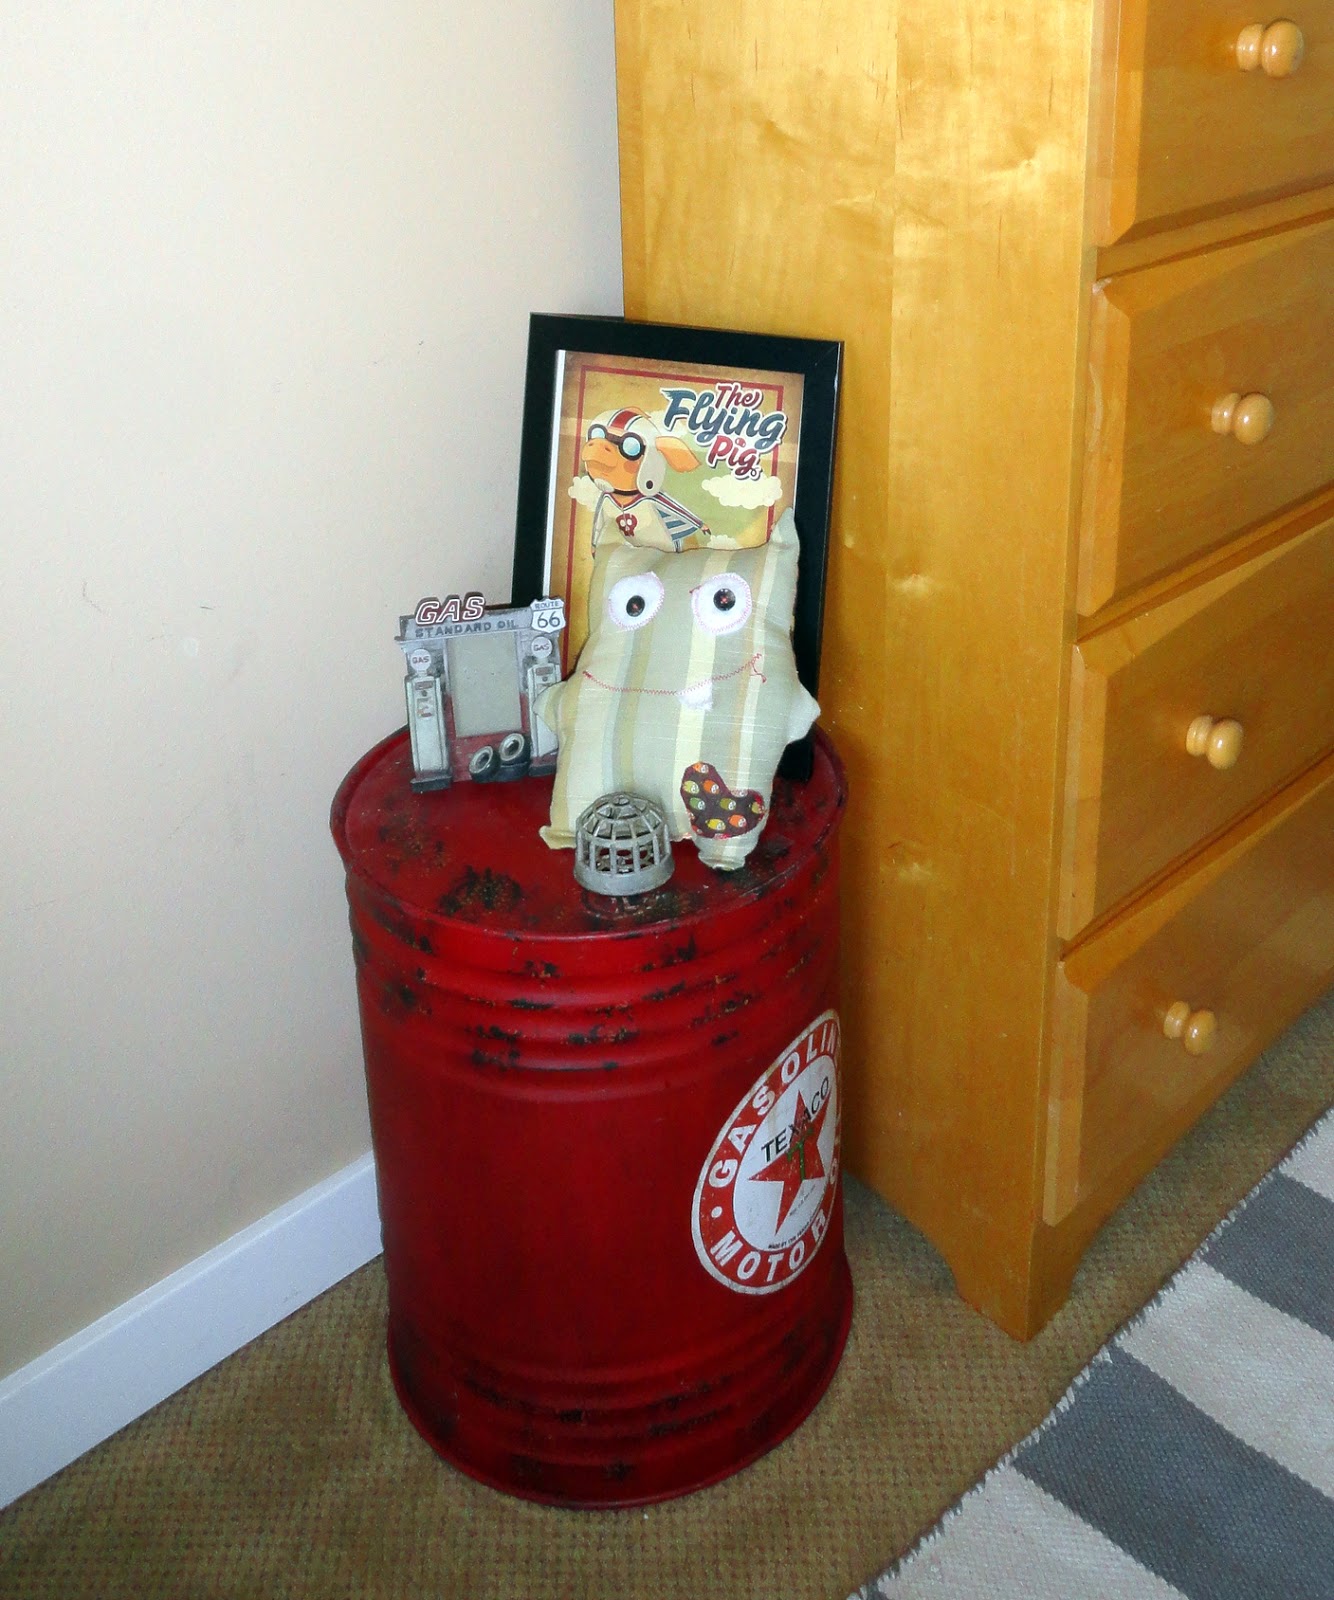
Next to the dresser, I placed a faux gasoline canister that I bought from Hobby Lobby for $35,
a Flying Pig vintage print I found on-line for free, Owen's scrap monster that he designed and sewed
and a few knick nacks, again, things I found at garage sales for less than a dollar.
And next to it are a pair of faux binoculars that I got at Home Goods for $19.
I think it's really starting to come together don't you?
From the hallway, this is the view into Owen's room after week 5.
There isn't much more to complete.
However, my husband has big plans for a propeller that I am hoping get finished before next week.
Stay tuned!
Thanks for dropping in to see the progress.


