Showing posts with label vintage. Show all posts

Tuesday, January 26, 2016

Talk of the Town Link party #4

Welcome back to Talk of the Town!

Take a look at what you may have missed from your party hosts!
ToT KnickofTime
projects from knick of time
ToT My Salvaged Treasures
cozy-dog-bed
ToT Beyond the Picket Fence
projects from Beyond the Picket Fence
ToT My Repurposed Life
latest-projects-my-repurposed-life
ToT Holy Craft
Holy-Craft
ToT Love My Simple Home
white-wicker-furniture
this week at sadie seasongoods
projects from Sadie Seasongoods
ToT Features
Here's what your hosts are talking about from last week's party!
ToT Angie's Pick
Trinket Box for RemotesW
Wooden Jewelry Box Upcycle from The Interior Frugalista
ToT Betsy's Pick
bathroom-makeover-reveal
Bathroom Makeover Reveal from Vintage Refined
ToT Becky's Pick
Pallet-Wood-Valentines-Heart-diy
Pallet Wood Valentine Heart from Scavenger Chic
ToT Gail's Pick FRENCH GRAPHIC TRAY MAKEOVER
Easy Image Transfer Tray by Design Dreams by Anne
ToT Rachel's Pick
Faux-Ship-Lap-Planked-Wall
ToT Julie's Pick
plaid-pillow-cover
Plaid Pillow Covers by Happy at Home
Sarah's Pick
VintageScaleHook5
Vintage Scale Sign Hook from Denise on a Whim
ToT Featured Blog
Each week we are featuring a blogger and their blog to introduce you to the different bloggers that link up with us each week! Make sure to pay them a visit, and say hello while you’re there!
This week, our featured blogger is Mindi from My Love 2 Create
Mindi-MyLove2Create
Mindi is a mom of six, and she shares tutorials dedicated to helping you create thrifty, repurposed, DIY and craft projects for your home.
projects from My Love 2 Create

Now, it's YOUR turn...

TOT something to talk about
By linking up at Talk of the Town, you agree that your photos may be shared on social media to promote the party or featured in a round-up by the blog hosts.
A link back to your party hosts is always appreciated!

Monday, December 7, 2015

Six days of handmade ornaments. Scrabble tile ornaments on a vintage ruler


Welcome to day one of six days of handmade ornaments. I can have a boxes full of ornaments, and yet every year, I end up making a few more to hang on the tree.  This whole week, I will be sharing with you easy and inexpensive ways to create your own handmade ornaments this year.


The first one I'm excited to show you is my scrabble tile ornaments mounted on a vintage yardstick and hung with plaid ribbon.


Friday, September 18, 2015

Garage Sale Finds Friday-American Pickers style


Welcome back to another garage sale finds Friday, where I share with you some of my favorite garage sale finds.  This week, things are going to be a little bit different.  

My husband and I have been watching the first season of American Pickers on Netflix, and since so many of the items that I find each week end up for sale, I thought I would do a fun little follow up on the items that I have found this summer, the price I paid for them and {here's the fun part!} the price I have sold them for and the profit that I have made.


Friday, August 14, 2015

Garage Sale Finds Friday-the week I find rusty vintage stuff

Welcome to another week of garage sale finds Friday, where I share with you my favorite garage sale finds. 

This week I am squealing at some of the most amazing vintage finds in some time. You guys are going to be jealous and want to all garage sale in my neighborhood when you see them.

Monday, March 9, 2015

How to plant a bulb in a Ball jar

Our winter this year has been extremely mild.  I'm not complaining because we have seen far more sun in our normally dark dreary rainy season than we normally do.  

I'm pretty sure all this sun is to blame for my latest gardening itch.  Though I'm in no hurry to weed my gardens outside so I'm just going to pretend that it's still too cold to do that and stick to my indoor plants {indoor plants beware! I am sort of a black thumb!  You can read my confession about killing cacti here}.

When I found an Amaryllis bulb kit for $2.99 at the Grocery Outlet {love that place!} I decided to give it a go and try planting a bulb in a vintage Ball jar.


Friday, December 5, 2014

Vintage button tree canvas

Last time my mom was up visiting, 
she brought me a tin full of old vintage buttons,
because I think every mom has a tin of old buttons, do they not?
I know I do!

I've been wanting to do something with the buttons but wasn't sure what.
This vintage button tree canvas is what I came up with.
It's easy!
Let me show you how!

I picked up these two small canvases at a garage sale this summer for a quarter a piece.
You can't go wrong with a blank canvas.
I sorted through my buttons
{even found a cool vintage wooden button in there}


and I picked out the ones that I liked and that would make a nice pattern.


Not one to leave a canvas blank, I decided to cover it with sheet music.
I used mod podge to cover the canvas and then let it dry.


Once the canvas was dry, 
I used my glue gun to attach my buttons.


I used some ink to distress the edges of the paper
and found a brown ribbon to create a hanger.


It was a fun project to use what I had on hand.
I'm always looking for projects with buttons.
Do you have any for me?

Tuesday, August 5, 2014

Vintage button ring upcycle

All this week, I will be pulling out some of my favorite old projects from my Holy Craft archives.
I'm currently in Uganda with World Vision on a vision trip and couldn't be more excited to share my trip with you when I return.  In the meantime, if I am able, I will be updating my instagram with pictures.  You can follow me at HolyCraft1
For now, enjoy this project from October 2010.

Today I am going to share with you my tutorial on how to make wire wrapped rings using a vintage button.

Here is what you need:
Measuring tape, wire cutters, a button with the shank on the back, 28 gauge wire, a deep well socket (I found mine in my hubby's tool box. I used 1/2 inch but I have little fingers! You can use an actual ring making tool if you have one, I don't, so I made do) and some needle nose pliers

Cut your wire to 36" long
Find the center point of your wire and do a cheesy grin (only kidding about the grin part!)
Starting with the center of the wire, place it on your socket and start wrapping around about 6 times.
Cross your wires and thread each end through the button shank
Pull tightly so that it's close to the socket
Making a figure eight, thread the wire through again with both ends
Equally wrap both ends around the shank covering it with wire to hold it in place. Working from the top of the shank to the bottom closest to the ring.
Start wrapping your wire around the ring on each side. I did about 15 wraps on each side. Make sure you pull tightly and that each wrap is next to the other with no gaps.
Once you have the desired amount of wraps, cut off the excess wire as close to the ring as possible. Using yourneedle nose pliers, squeeze down the end so you don't have any sharp ends left up.
That's it! Put it on and accessorize!
Pretty cool right? And all one of a kind.
You can wrap the whole ring or just a portion of it. Create it any way you like!

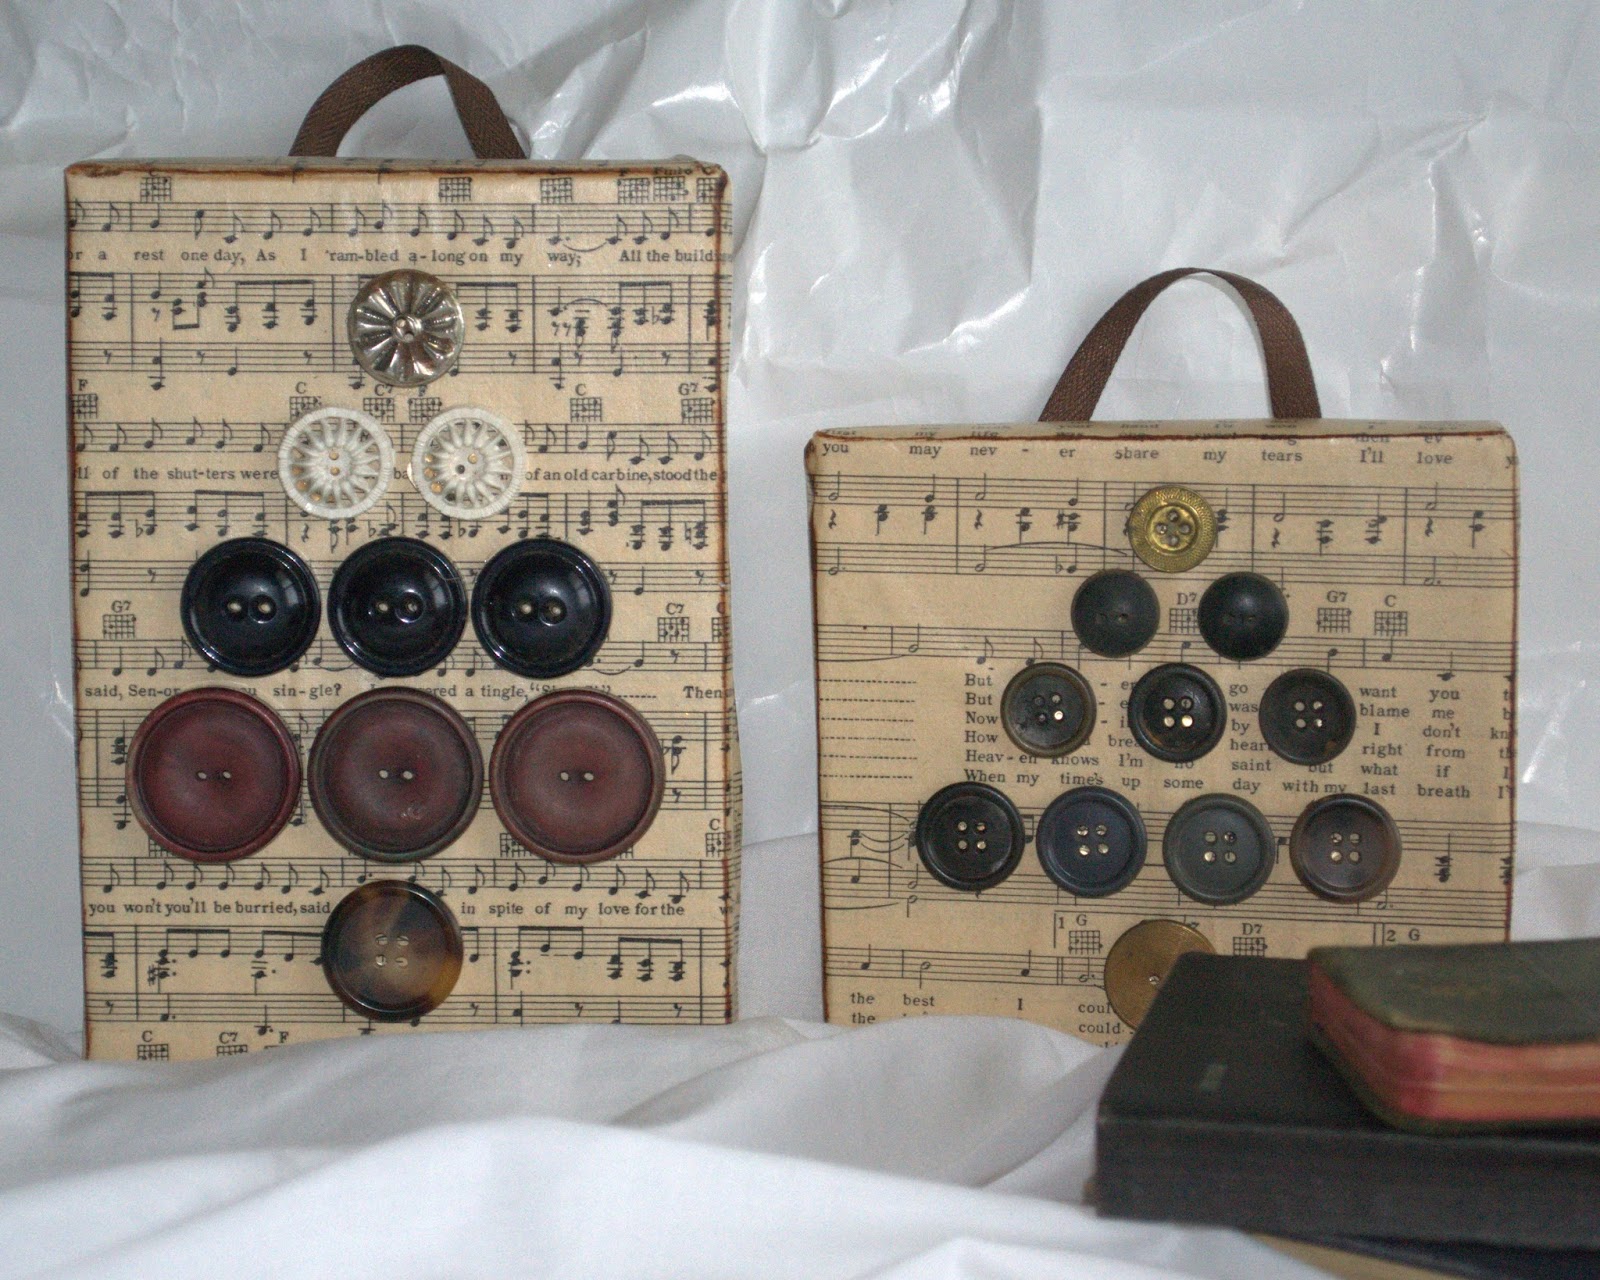
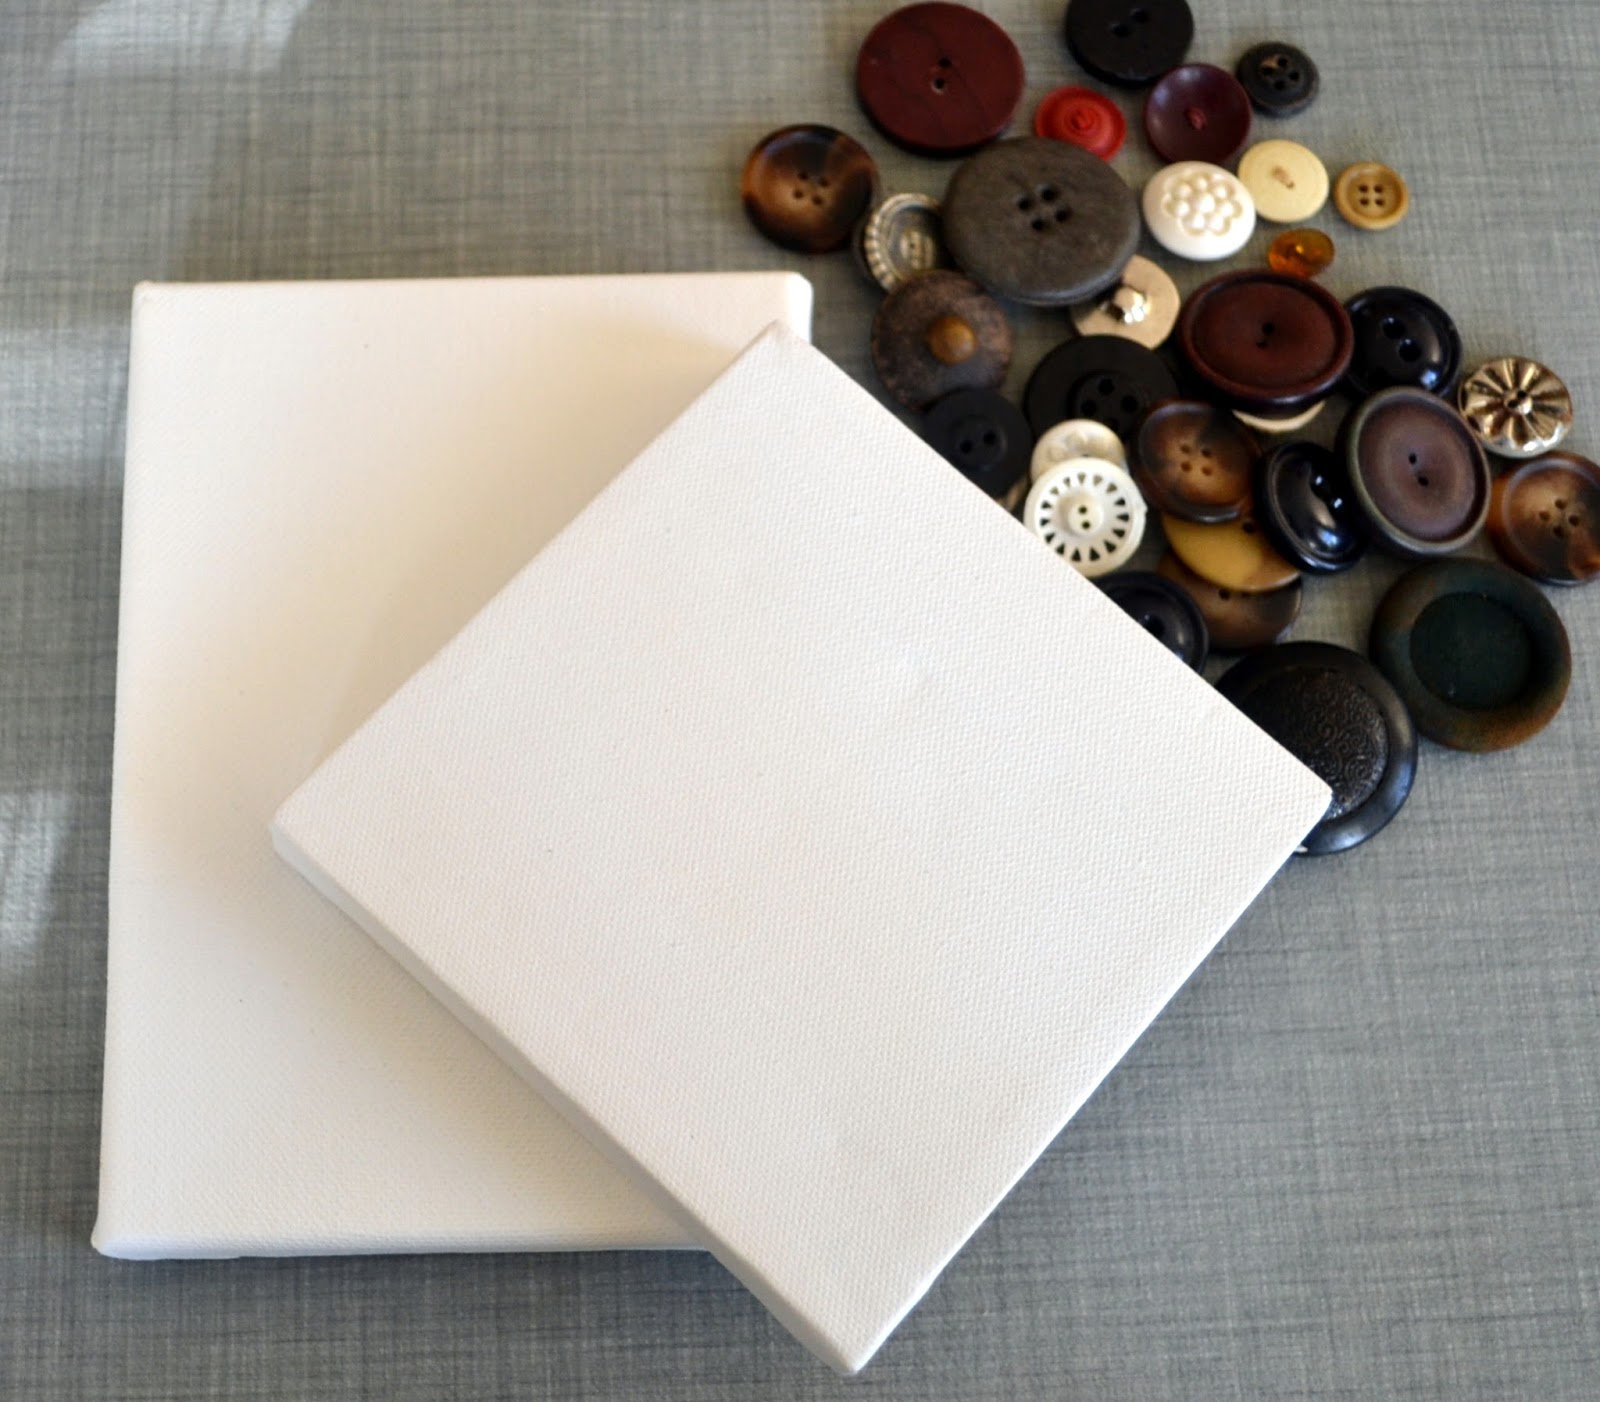
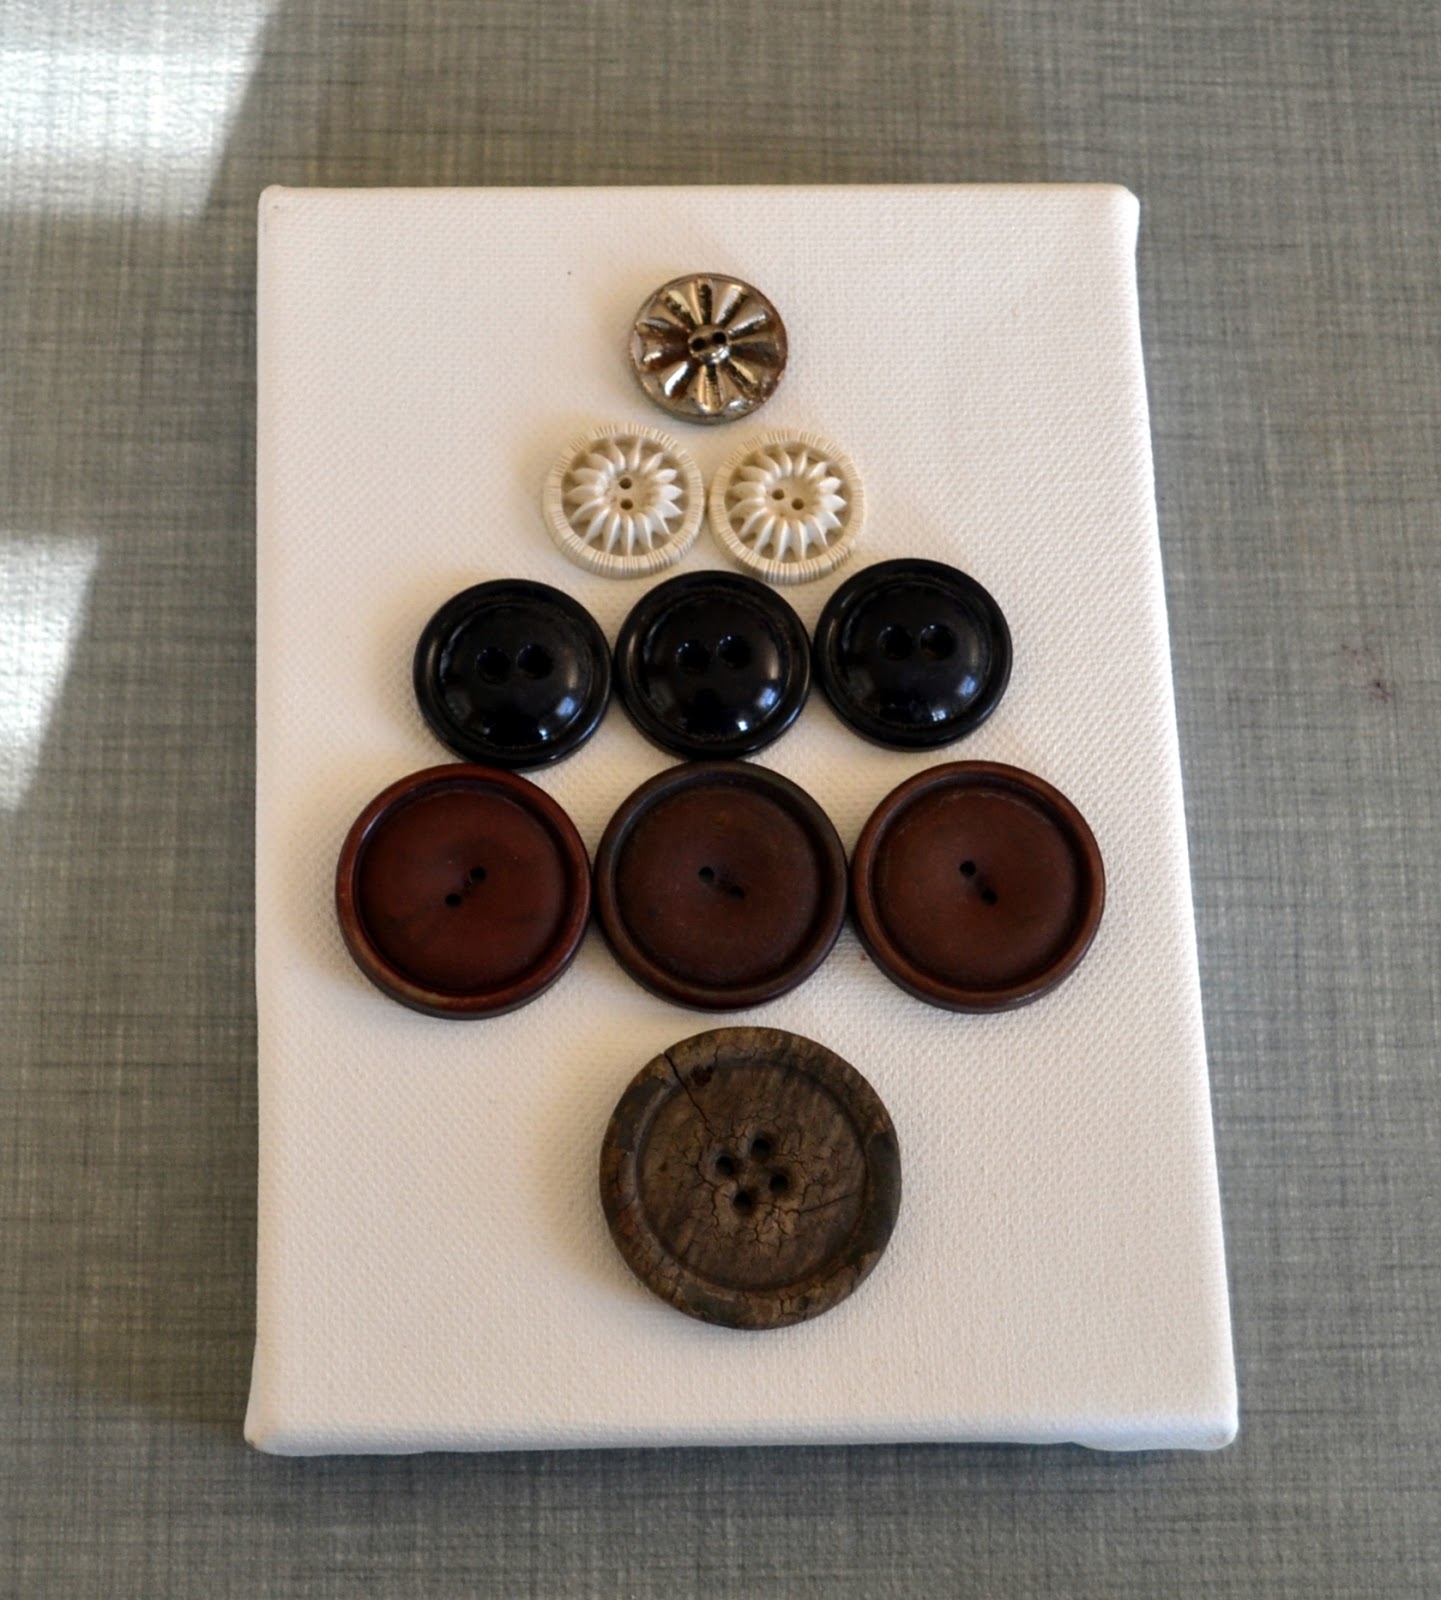
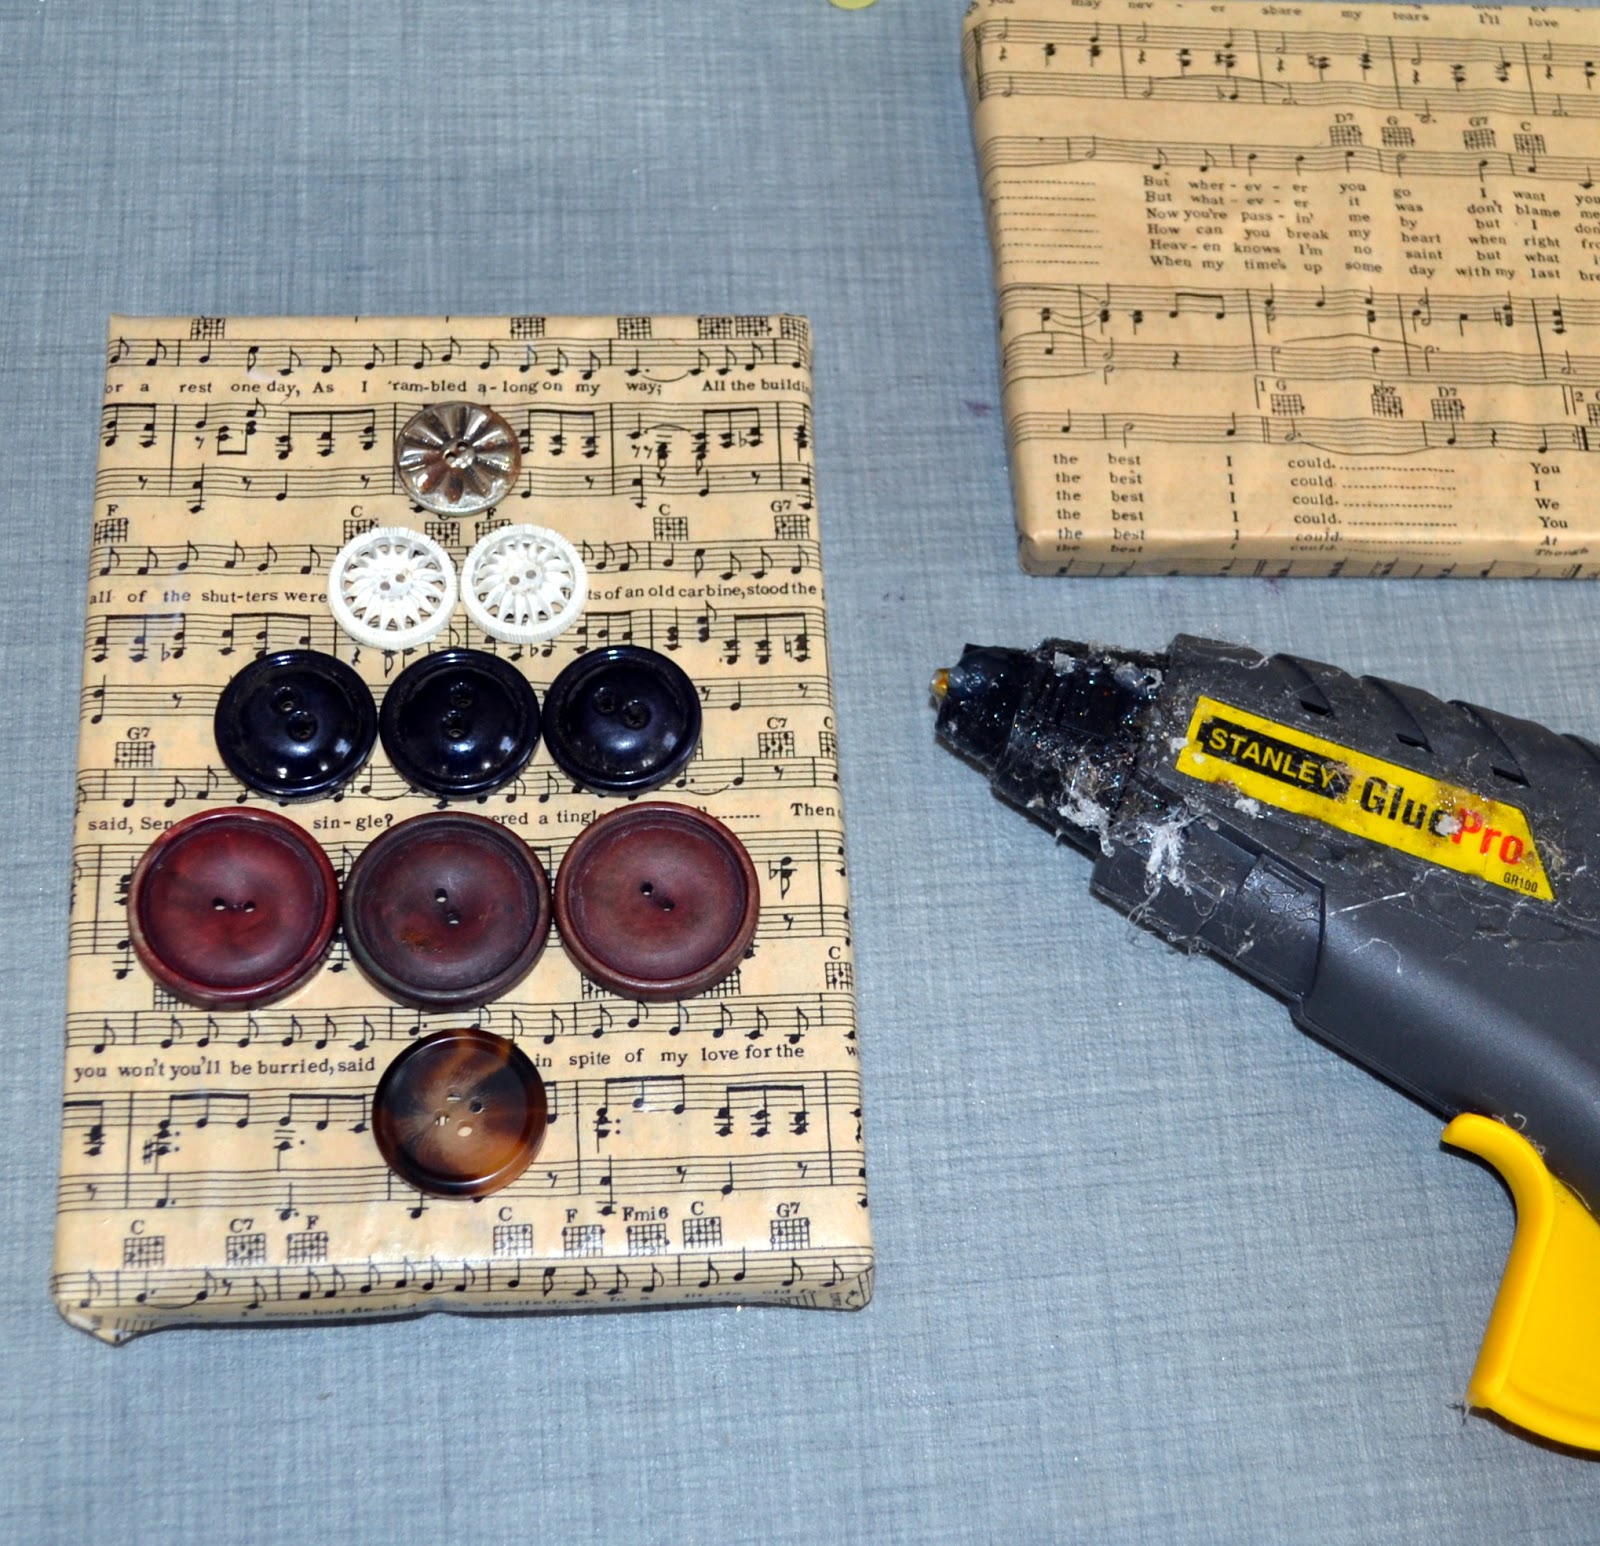
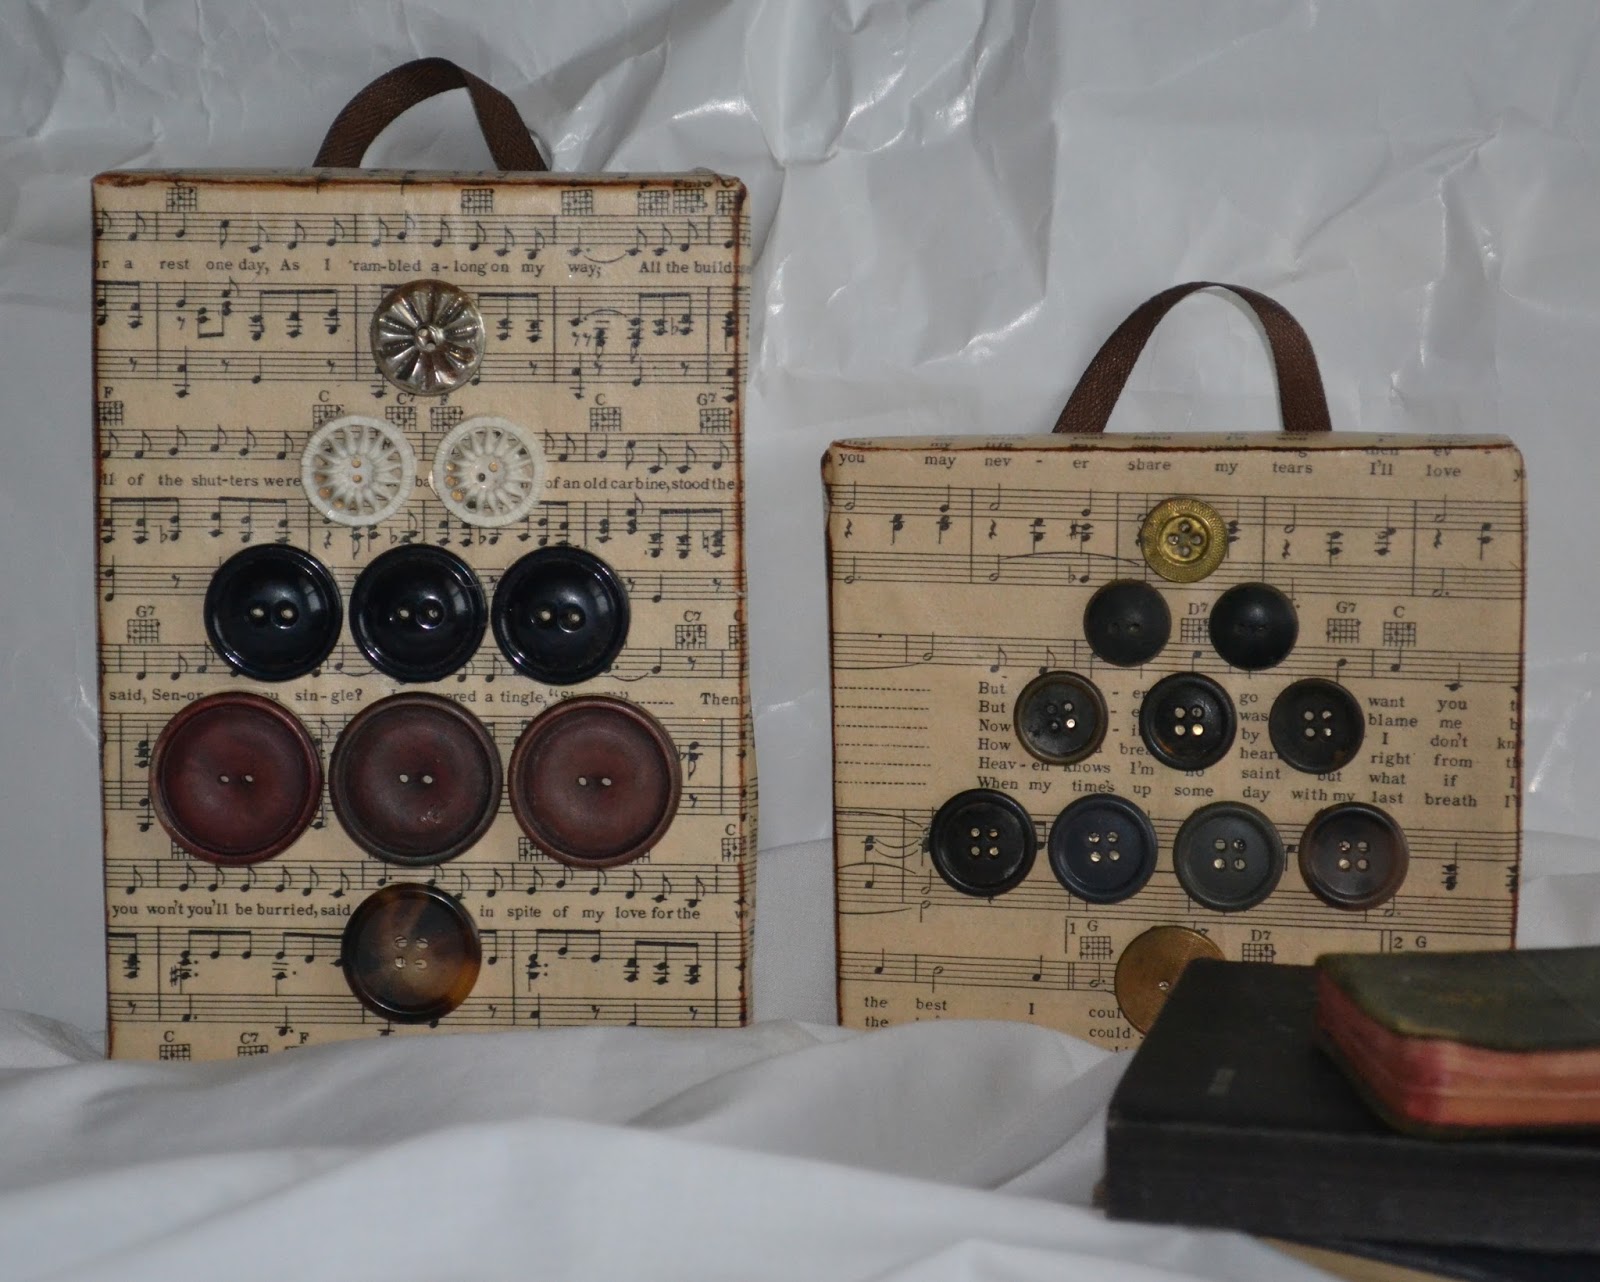
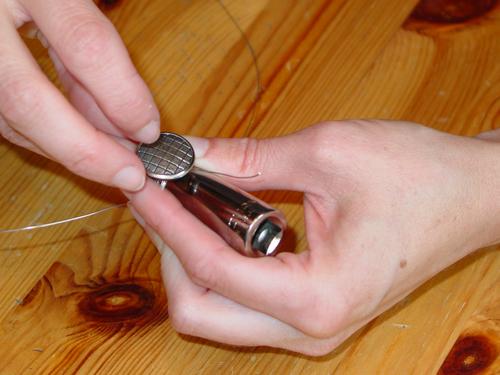
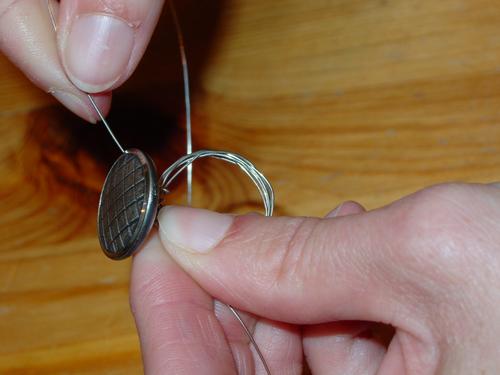
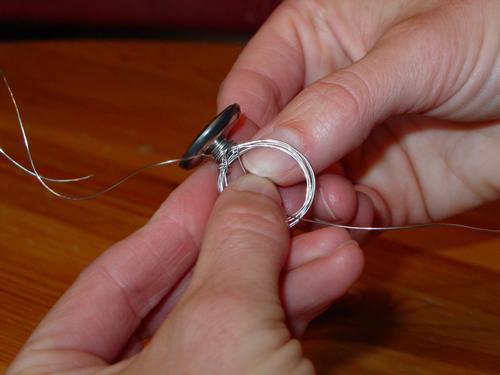
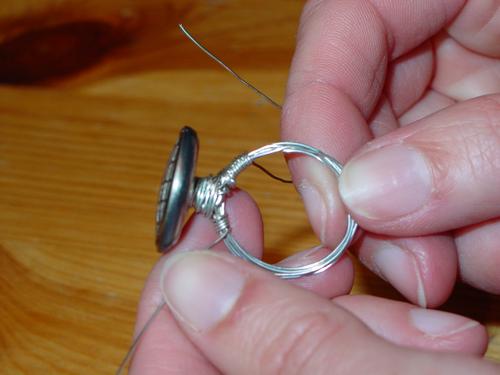
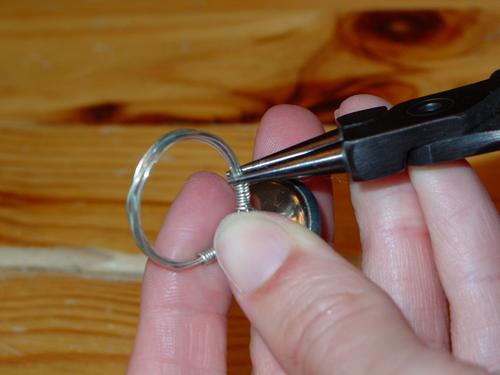
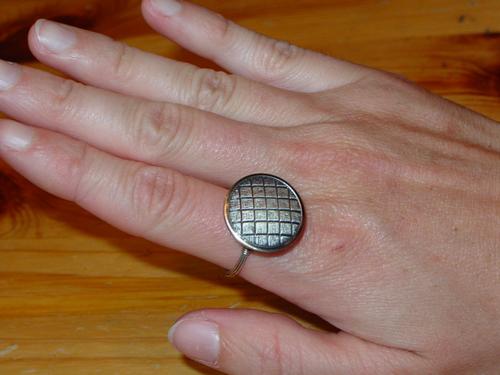
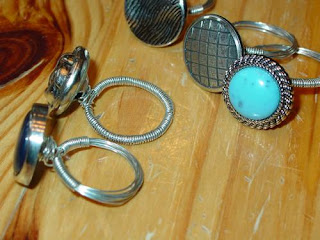
I'm sort of a button hoarder, so it's fun for me to find projects that I can use what I have on hand.
Is there some craft item that you like to hoard?